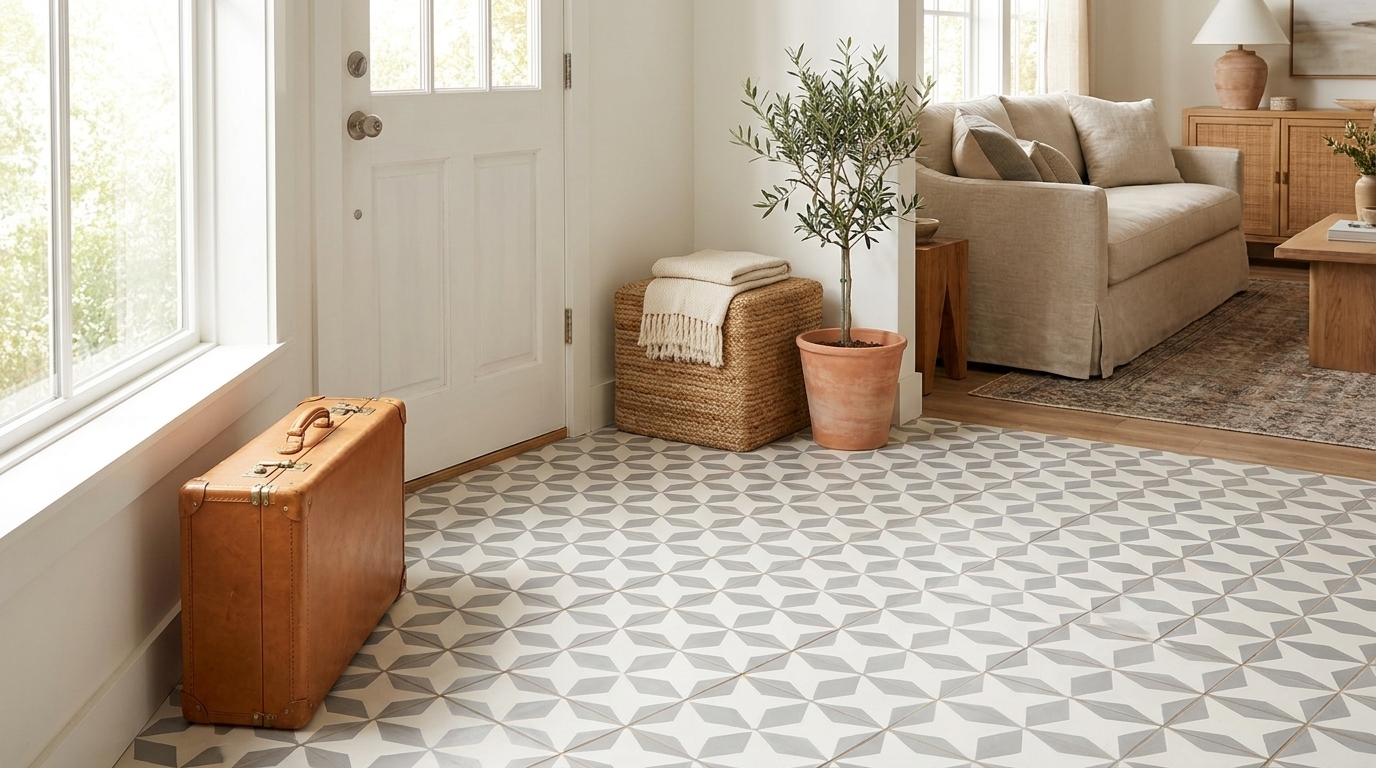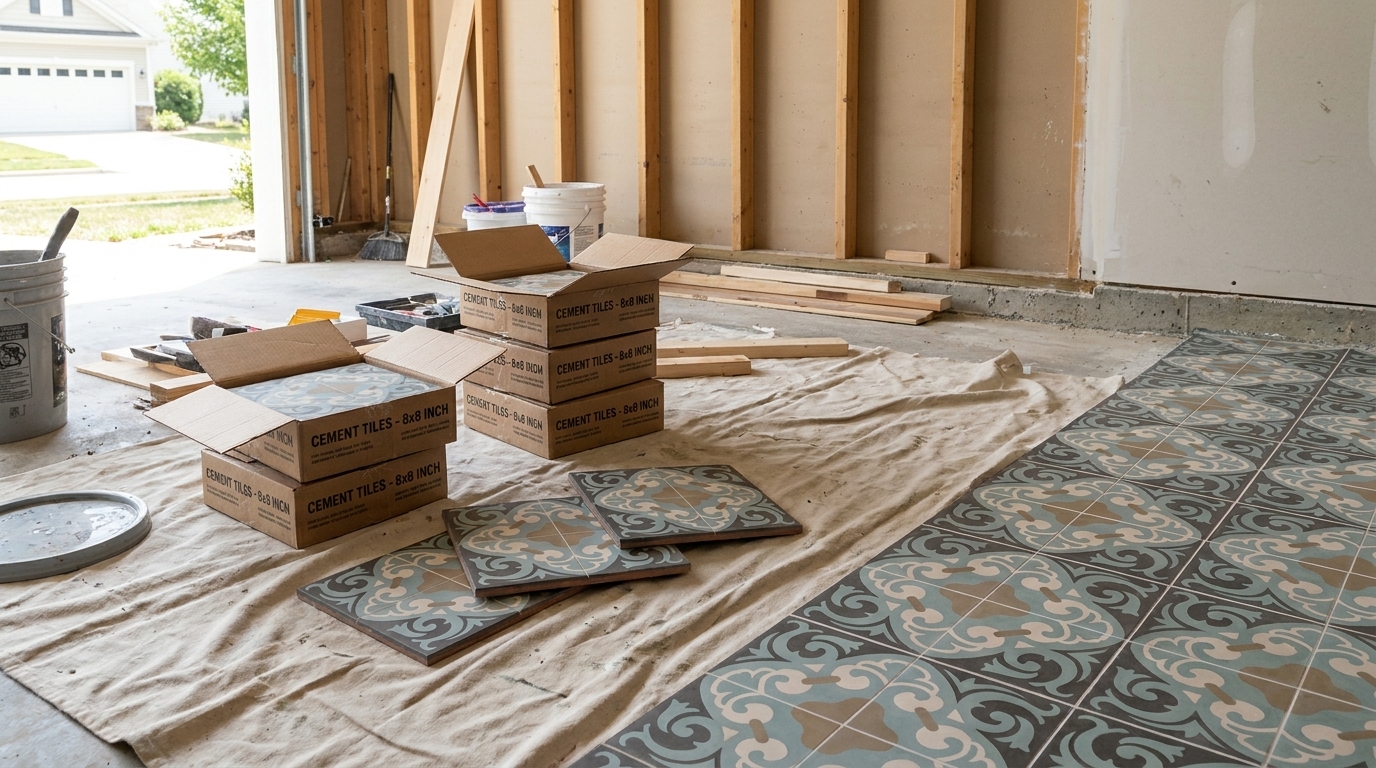
You notice it right after the install. The glass still looks new, the faucet still has that clean gleam, and the tile you chose so carefully still feels like a finished design decision instead of a maintenance project. Then a pale ring appears where water sat too long. A few showers later, the ring turns into a film. On matte tile, it can look even worse because the deposit flattens the surface visually and makes a handcrafted material look dirty when it isn't.
That's when one often starts looking for cleaners. In practice, that's already late.
Hard water stain prevention works better than stain removal because mineral deposits get more stubborn after repeated wetting and drying. If you're protecting handmade surfaces, especially porous cement tile, the wrong “cleaning hack” can do more harm than the stain itself. The right approach is less dramatic. Control the water, dry the surface, protect the finish, and match the method to the material.
Why Prevention Is the Only Cure for Hard Water Stains
Hard water stains start as evaporation. Water lands on a surface, sits there, and disappears. The minerals don't disappear with it. They stay behind and begin building a chalky layer that gets harder to remove the longer it's ignored.
Hard water is defined by calcium carbonate concentrations exceeding 121 mg/L, and water above 180 mg/L is classified as very hard, which is why some homes see mineral buildup fast on glass, tile, and metal surfaces according to Lysol's guide to hard water. Once those minerals bond to the surface, removal often requires acidic cleaning. That's manageable on some materials and a terrible idea on others.

The scale of the problem tells you something important. This isn't a niche annoyance. The global hard water stain remover market is projected to grow from USD 3.12 billion in 2024 to USD 5.94 billion by 2033, and North America alone accounted for USD 1.02 billion in 2024, according to Dataintelo's hard water stain remover market report. People spend that money because once stains become visible, they're time-consuming, repetitive, and often only partially reversible.
What the stain is really doing
On glass and polished metal, the first sign is usually spotting. On shower doors, it becomes haze. On grout edges and corners, it turns into crust. On porous decorative tile, the problem is more deceptive. The mineral deposit traps soil, soap residue, and daily grime, so the surface starts looking uneven and tired.
Practical rule: If water is allowed to dry on the surface, the stain has already started.
That's why I don't treat hard water as a cleaning problem first. I treat it as a design maintenance problem. Beautiful surfaces stay beautiful when the routine matches the material.
What works better than scrubbing
Prevention has three layers:
- Control the source with softer or conditioned water where possible.
- Interrupt evaporation by drying surfaces before minerals crystallize.
- Protect the finish with the right sealer or coating for the material.
If you're already dealing with visible spotting, a removal guide can help you reset the surface. This practical guide on how to remove water spots is a good place to start before shifting into prevention mode.
The mistake most homeowners make is assuming all surfaces tolerate the same chemistry. They don't. Glass, chrome, stainless, glazed ceramic, and handmade cement tile each need a different level of caution. That matters most when the finish is matte, porous, or pigmented.
First Step How to Test Your Water Hardness
Before choosing a prevention strategy, find out what kind of water you're fighting. “Hard water” isn't one condition. It's a range, and that range affects how aggressive your prevention plan needs to be.
A house with light spotting on faucets can often stay under control with disciplined drying and periodic sealing. A house with persistent film on glass, crust at fixture bases, and fast buildup around drains usually needs source-level treatment as well.
Three practical ways to check
Use a simple bottle-and-soap check
Fill a clear bottle with tap water, add a small amount of liquid soap, and shake it. If the water clouds quickly and you get limited suds, that's a practical sign you're dealing with hardness. It won't give you a precise reading, but it helps explain why surfaces keep spotting.Read your municipal water quality report
Many local utilities publish water quality information online. If you're on city water, this is often the fastest way to understand your baseline conditions. It also helps designers and builders working on new projects before fixtures and tile are selected.Use a hardness test strip or kit
This is the most useful option for real decision-making. A test strip gives you a reading you can compare against the hardness categories used in cleaning and water-treatment guidance. If the result lands in a harder range, daily wiping alone may not be enough in shower-heavy bathrooms or hospitality settings.
Why the test matters
Testing keeps you from overspending in one house and under-protecting another.
- Mild to moderate problems often respond well to drying habits and surface protection.
- Persistent spotting across many surfaces usually points to a whole-house solution.
- Delicate materials such as unglazed cement tile need careful prevention no matter what the test says, because the cleaning margin for error is so small.
Don't guess from the stain alone. The same visible spot can come from very different water conditions, depending on how often the surface gets wet and how fast it dries.
A designer planning matte handmade surfaces should know the water profile before finalizing the maintenance plan. That single step prevents a lot of expensive frustration later.
Investing in Long-Term Prevention Systems
A shower can look clean at 8 a.m. and already show fresh spotting by dinner. If that cycle keeps repeating across glass, faucets, and tile, the problem is no longer housekeeping. It is source water.
Water treatment earns its keep when staining shows up throughout the house or when the surfaces are expensive enough that one bad cleaning choice can leave permanent damage. That matters even more with porous, matte, handmade cement tile. On those surfaces, the usual consumer advice often drifts toward acidic products and aggressive scrubbing, which solves one problem by creating another.
The key decision is simple. Choose between removing hardness minerals or changing how they behave.

What a softener does
A water softener removes calcium and magnesium before that water reaches the shower, lavatory, and laundry. The U.S. Geological Survey explains hardness in those terms, which is why softeners remain the clearest source-level fix for mineral spotting and scale formation in the first place, as outlined in USGS guidance on water hardness.
For homes with constant buildup on shower glass and metal trim, ion exchange gives the most predictable surface result. It also has trade-offs. Softener systems need salt, periodic maintenance, and enough space for proper installation. Some homeowners also prefer not to soften every line in the house, which is why system design matters.
What a conditioner is better at
A water conditioner, often sold as TAC or scale-control technology, leaves the hardness minerals in the water but changes their form so they are less likely to cling as dense scale. That can reduce maintenance in the plumbing system and cut some visible buildup on fixtures.
The trade-off is straightforward. Conditioners do not give you soft water, so they are usually a partial answer for visible spotting. I use them more often in projects where owners want lower upkeep and accept that routine drying and gentle cleaning will still be part of the plan.
A side-by-side view
| Feature | Water Softener (Ion Exchange) | Water Conditioner (TAC) |
|---|---|---|
| Primary action | Removes calcium and magnesium | Conditions minerals to reduce scale adhesion |
| Effect on water hardness | Directly lowers hardness | Hardness remains present |
| Best use case | Homes with frequent mineral spotting and scale | Homes seeking lower-maintenance scale control |
| Ongoing upkeep | Requires regular replenishment and service attention | Lower routine involvement |
| Surface protection goal | Reduce stain-forming minerals at the source | Reduce the tendency of minerals to form stubborn deposits |
The third category people confuse with both
Whole-house filters help with sediment, chlorine, taste, and other water-quality issues, but they do not replace hardness control. A filter can protect finishes indirectly by reducing grit and chemical exposure. It will not stop calcium spotting on its own.
If you want a plain-language explanation of tap-level filtration choices, this Melbourne tap water filter guide is a useful starting point.
A filter improves water quality. A softener reduces hardness minerals. A conditioner helps limit scale attachment.
What I'd choose by project type
For a family bathroom with frameless glass, polished fittings, and daily shower use, I would usually specify a water softener if testing showed hard water and the budget allowed for proper maintenance.
For a remodel where owners want less buildup but do not want salt service or a larger system footprint, a conditioner can be a reasonable compromise.
For handmade cement tile, I stay strict. Source treatment helps, but it does not replace sealer maintenance, pH-safe cleaning, and fast drying. Porous matte surfaces do not forgive residue, and they do not forgive the wrong cleaner either.
The Daily Habits That Keep Stains Away
The cheapest hard water stain prevention method is also the one people skip because it feels too simple. Dry the surface before the water evaporates.
That's not housekeeping folklore. It's the basic chemistry of stain formation. Minerals only become visible deposits after the water leaves and the residue stays behind.
The five-minute rule
Immediate drying or squeegeeing within 5 minutes after water exposure can reduce mineral deposition on vertical glass surfaces by up to 85%, according to Sparkle Tech Window Washing's hard water stain prevention guidance. The same source notes that without that five-minute window, stain recovery rates drop by 40% within 30 days.
That timing changes how I advise people. I don't tell them to “clean more.” I tell them to change the end of the shower routine.
A routine that actually sticks
Keep the tools where the water lands.
Inside the shower
Hang a squeegee on the glass, not in a closet. If it isn't within reach, it won't become a habit.At the vanity
Store a microfiber cloth under the sink for faucet and counter wipe-downs. Mineral rings around the faucet base start with droplets that sit there day after day.At edges and frames
Don't ignore corners, tracks, and trim. Water collects there, dries slower, and feeds the same stain repeatedly.
A short routine works better than a heroic weekly cleanup. One pass on the glass. One wipe on the faucet. One quick dry around the edges. Done.
What people get wrong
The most common failure points are ordinary:
- Cleaning too large an area at once so one side dries while you're still working on the other.
- Working during hotter parts of the day when evaporation speeds up.
- Skipping the final dry step because the surface “looks clean enough” while still wet.
If you leave droplets on the surface, you're scheduling tomorrow's stain.
If shower glass is one of your trouble spots, this practical guide on how to keep shower doors clean pairs well with a drying routine and helps keep the process simple enough to repeat.
Why daily habits matter even with other systems
Even in homes with softened water or sealed surfaces, drying still matters. No whole-house system turns a wet bathroom into a self-maintaining one. Daily habits reduce the workload on every other protection layer you install.
The habit I trust most is the one that takes less than a minute and happens every day.
Applying Protective Sealants and Coatings
A sealed surface gives hard water less to hold onto. That matters most in bathrooms where droplets sit, dry, and return to the same spots every day.
For glass, stainless steel, and other non-porous finishes, a hydrophobic coating helps water bead and release instead of spreading into a thin film that leaves minerals behind. The result is simpler maintenance and slower buildup, provided the surface is prepared properly and the product matches the material.

The trade-off is straightforward. Coatings reduce adhesion. They do not stop scale from forming forever, and they do not excuse poor prep. A rushed application usually fails early, sometimes in patches that look worse than an uncoated surface.
How to apply them correctly
Application quality decides whether a coating helps for months or disappoints within weeks.
Strip off residue before you seal
Soap film, old polish, and mineral haze block adhesion. Use the cleaner recommended by the coating manufacturer for that specific surface, then rinse or wipe away all residue. On glass and metal, this step is usually more labor than the coating itself.Dry the surface completely
Even light moisture can interfere with bonding and leave weak spots. I treat corners, caulk lines, and fixture bases as the danger zones because water hides there longer than people expect.Apply a thin, even coat
More product does not mean more protection. Thin coats cure more evenly, haze less, and are easier to buff out if the product requires it. A microfiber applicator or lint-free pad usually gives the cleanest result.Respect the cure time
Keep water off the surface for the full curing window listed on the label. Cutting that wait short is one of the fastest ways to waste the job.
For readers comparing options for tile areas and adjacent finishes, this guide to choosing ceramic tile sealers for different surfaces helps clarify where a penetrating sealer, enhancing sealer, or topical product belongs.
Here's a visual walkthrough of proper application technique and product handling:
Conditions that quietly sabotage the result
Clean chemistry matters, but job-site conditions matter too. High humidity slows curing. Residue trapped under the coating leaves a cloudy look. Applying over a warm surface can make the product flash off before it levels properly.
The National Association of Home Builders notes that many sealants and coatings are sensitive to temperature, moisture, and surface preparation during application, which is why bathroom work should follow the product's stated conditions closely (NAHB Research Center sealant guidance).
The best coating job starts with surface prep, not the bottle.
Where coatings make the most sense
Use coatings where they save real maintenance time. Shower glass, polished trim, stainless sink surrounds, and other smooth non-porous surfaces usually respond well because water can bead and release cleanly.
Use more caution on tile.
Some tile sealers are made to soak in and reduce absorption. Others sit on the surface and can change the sheen, especially on matte finishes. On handmade cement tile, that difference is a big deal. The wrong product can darken the face, create blotchy patches, or trap mineral residue in a finish that was supposed to stay soft and natural.
That is why I separate coating work into two categories. Non-porous surfaces get hydrophobic protection. Porous decorative tile gets a material-specific sealing plan.
A Special Protocol for Cement and Porous Tiles
At this stage, generic advice breaks down.
Most hard water guides are written around glass, chrome, and glazed surfaces. They tell you to reach for vinegar, acidic descalers, or aggressive scrubbing pads. That can be acceptable on some non-porous materials when used correctly. On unglazed cement tile, it can permanently damage the surface.

According to Healthier Home Products on the science of hard water stains, cement tiles are 30–40% more absorbent than standard glazed tiles, which makes them especially vulnerable to acid damage. The same source notes that applying acids like vinegar to unglazed cement tile risks etching the lime-based binder and fading mineral pigments.
Why porous matte tile needs a different plan
Handmade cement tile has a very different surface structure from glazed ceramic or polished stone. It's absorbent, matte, and often richly pigmented. That's part of its appeal. It's also why a hard water stain can settle in visually instead of merely sitting on top.
Mineral deposits on porous tile can trap dirt and create a surface that looks dirty even after cleaning. People respond by scrubbing harder or switching to stronger cleaners. That usually makes the tile look worse, not better.
The safe protocol
For cement and other porous decorative tiles, prevention should follow this order:
Seal at installation
Use a high-quality penetrating sealer appropriate for porous cementitious material. The goal is to protect from within, not leave a shiny topical film that changes the character of the tile.Use pH-neutral routine cleaners
Daily and weekly care should never depend on acidic shortcuts. A pH-neutral cleaner protects both the tile and the sealer.Keep standing water off the surface
Splash zones matter. Shower benches, vanity backsplashes, sink surrounds, and floor areas near tubs need quick drying, especially where water repeatedly lands in the same place.Blot, don't grind
If spotting starts, use a soft microfiber cloth and gentle cleaning method rather than abrasive pads or stiff brushes.
What I tell designers and installers
Specify the maintenance plan at the same time you specify the tile.
If the project includes handmade cement in a bathroom, powder room, spa, restaurant wash area, or pool-adjacent space, the owner needs written care instructions from day one. A gorgeous material with the wrong cleaner under the sink is a preventable failure.
For a practical care baseline, this guide on cleaning cement tiles is worth keeping on hand.
Porous tile doesn't forgive bad chemistry. If the finish is matte and handmade, assume the prevention plan must be gentler and more disciplined than the internet's generic advice.
This is the central point many hard water articles miss. On delicate porous surfaces, stain prevention isn't just more effective than removal. It's the only approach that protects the material you paid for.
If you're specifying, installing, or caring for handmade cement tile, Original Mission Tile offers the kind of material knowledge that helps you protect the surface from the start, not after damage appears. Their guidance on installation, sealing, and maintenance is especially useful for homeowners, designers, and trade professionals working with matte, porous, artisanal tile in real-world spaces.