A successful large format tile installation starts long before the first tile goes down. It's all about the foundation. With big tiles, substrate flatness isn't just important—it's everything. Get this wrong, and nothing else matters.
Building a Flawless Foundation for Your Tiles

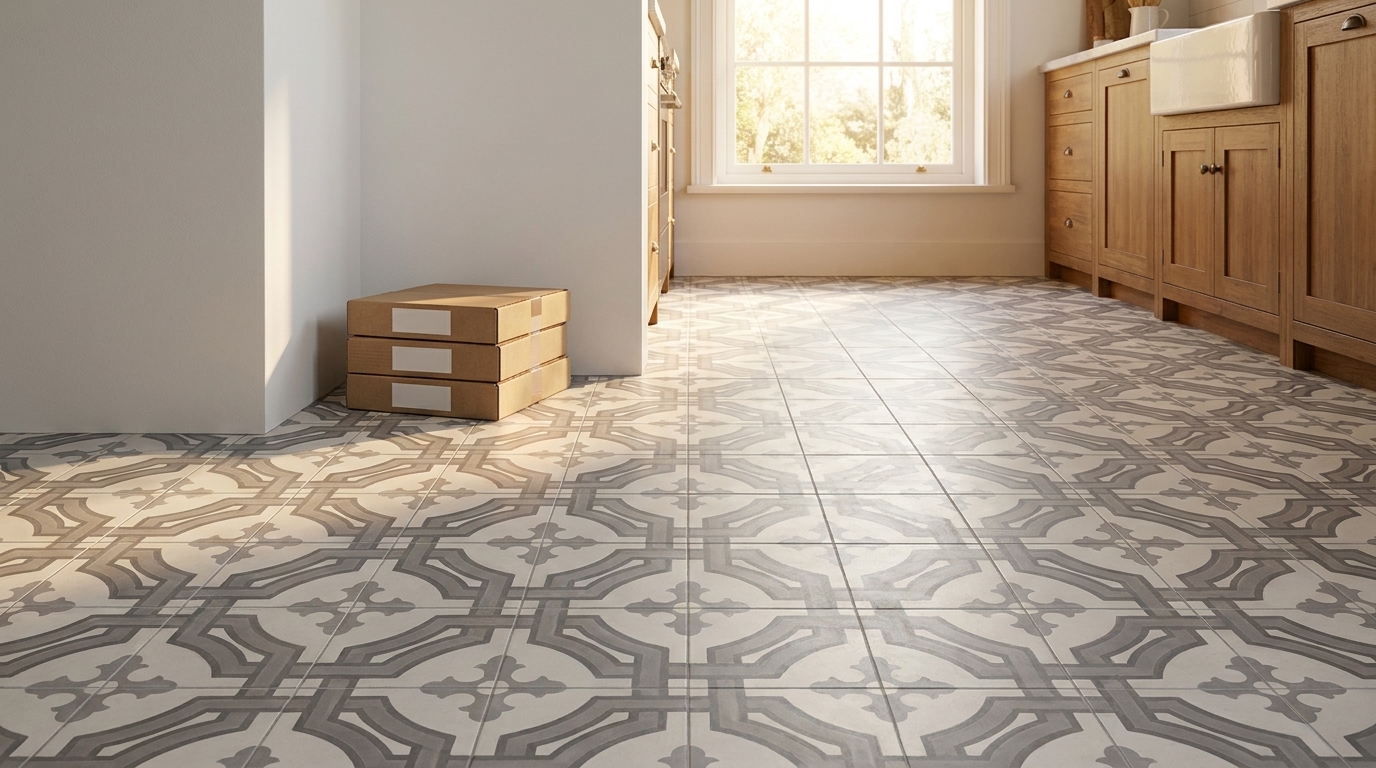
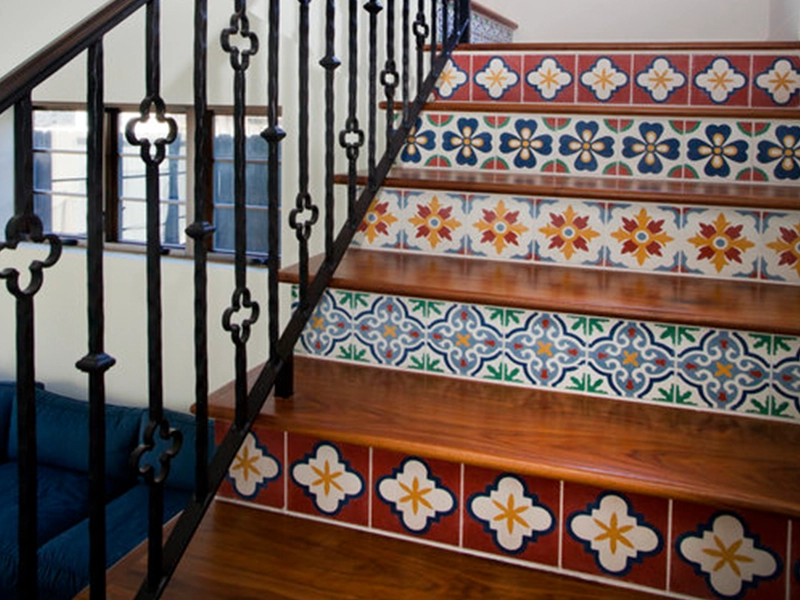
The beauty of large format tiles, like our handmade Original Mission Tile, is the unbroken, expansive look they create with very few grout lines. But achieving that seamless aesthetic demands something non-negotiable: an exceptionally flat surface.
Small tiles can curve and dip with minor floor imperfections. Large tiles can't. They’ll bridge over low spots and teeter on high spots, leading to two huge problems:
- Lippage: That's the industry term for when tile edges are uneven. It’s a trip hazard and looks completely amateur.
- Cracking: A tile floating over a low spot has zero support. The first time someone steps on it or a heavy piece of furniture is moved, it’s going to crack.
The Non-Negotiable Standard for Flatness
"Pretty flat" doesn't cut it. For tiles with any side longer than 15 inches, the industry standard (ANSI A108.02) is strict: your floor can't have more than a 1/8-inch dip or crown over a 10-foot span. Honestly, for the best results, you should aim for an even tighter tolerance of 1/16-inch over 24 inches.
Pro Tip: Never, ever trust your eyes to judge a floor's flatness. A surface that looks fine can easily hide the dips and humps that will sabotage your entire project. Always use a proper straightedge.
So, how do you check? Get a long, dead-straight level or a dedicated straightedge, at least 8 or 10 feet long. Lay it on the floor and sweep it in different directions—like the hands of a clock. Look for gaps where light shines through (low spots) or places where the straightedge pivots (high spots). Mark these problem areas directly on the floor with a marker.
Correcting High and Low Spots
Once you've mapped out the floor's topography, it's time for correction.
On a concrete subfloor, you’ll need to grind down the high spots with a concrete grinder and a diamond cup wheel. Yes, it’s a dusty, noisy job, but it's absolutely essential.
For low spots, the answer is a self-leveling underlayment. This is a pourable, cement-based product that flows into the dips and cures to a perfectly flat, smooth surface ready for tile. Accurately budgeting for these materials is key, which is why many pros use tools like Exayard concrete estimating software to plan for complex floor prep.
On a wooden subfloor, the approach is different. High spots can be sanded, but low spots usually require a quality patching compound. In some cases, a new layer of cement backer board is the best solution. For a full breakdown of how to prep different substrates, check out our guide on choosing the right underlayment for tile floors.
Taking the time to flatten your substrate isn't just a "best practice." It's the one step that guarantees your beautiful Original Mission Tile installation will look incredible and last for generations.
Equipping Yourself for a Professional Installation
Once your floor is perfectly flat and ready, it’s time to gather your gear. Let’s be clear: setting large, heavy cement tiles is a completely different ballgame than working with standard 12×12 ceramics. Using the wrong tools isn’t just slow—it’s a recipe for failure. If you want professional results, you need to use professional-grade equipment, starting with the single most important material: your mortar.
Forget that all-purpose thin-set you might grab for a quick backsplash. Standard mortars simply don’t have the muscle to hold heavy tiles in place, especially on walls. This leads to what we call "tile sag"—where the tile inches its way down the wall as the mortar cures, throwing your grout lines and the entire layout into chaos.
For a successful large format tile installation, you have to use a mortar that’s specifically built for the job.
Choosing the Right Mortar and Trowel
Walk right past the generic stuff and look for bags labeled as large-and-heavy-tile (LHT) mortar or “medium bed mortar.” These formulas are engineered to be non-sag and non-slump, meaning they can support the serious weight of a large cement or porcelain tile without budging. The consistency is richer and stickier, creating a far superior bond.
Just as critical is the tool you use to spread it. The goal here is to get almost complete mortar coverage on the back of the tile. Industry standards demand 95% coverage in wet areas like showers and at least 80-85% in dry areas. Anything less creates hollow spots—these are the weak points that will eventually lead to cracked tiles under foot traffic or furniture weight. You simply can't achieve this with a small V-notch trowel.
For large format tiles, you must select a trowel that leaves a thick, supportive bed of mortar. This ensures you get the necessary coverage and bond strength to prevent future failures.
Think of it like this: your trowel carves "rails" of mortar that need to collapse and spread evenly when you set the tile. If those rails are too small, there isn't enough material to fill the gaps, and your bond will fail.
To get the right mortar bed, you need to match your trowel size to your tile size. A bigger tile demands a bigger trowel notch.
Recommended Trowel Notch Size for Large Format Tiles
| Tile Side Length | Recommended Trowel Type | Notch Size (Width x Depth) |
|---|---|---|
| Up to 24 inches | Square-Notch | 1/2" x 1/2" |
| 24 to 36 inches | Square-Notch or U-Notch | 3/4" x 1/2" |
| Over 36 inches | U-Notch | 3/4" x 3/4" |
Using a U-notch trowel for the largest tiles helps create rounded ridges that collapse more easily, which helps you achieve that critical 95% coverage and avoid trapping air.
Essential Tools for Handling and Setting
Beyond mortar and trowels, a few other tools are non-negotiable when you’re dealing with the unique physics of large tiles. You can muscle an 8×8 tile into place with one hand. Maneuvering a 24×48 tile that weighs over 50 pounds is a two-person job that requires the right equipment.
- Heavy-Duty Suction Cup Lifters: These are your best friends. They give you a secure handle for lifting, carrying, and carefully placing tiles, dramatically reducing the risk of dropping and breaking a costly piece or, worse, causing an injury.
- A High-Quality Wet Saw: A little score-and-snap cutter from the bargain bin won't make a dent. You need a powerful wet saw equipped with a high-quality diamond blade designed for dense materials. This is the only way to get clean, chip-free cuts.
- Tile Leveling System: This is the professional’s secret weapon for a perfectly flat, lippage-free floor. A system of clips and wedges locks adjacent tiles at the exact same height while the mortar cures, completely eliminating those uneven, toe-stubbing edges.
Of course, none of this matters if you run out of tile halfway through the job. Making sure you have the right amount of material before you mix your first bag of mortar is critical. You can learn more about how to accurately plan your quantities in our guide on how to measure for tile. Assembling this toolkit beforehand ensures you’re ready to handle the project with confidence.
All the prep work is done. Your substrate is flat, clean, and ready. Now for the fun part: turning that stack of beautiful Original Mission Tile into a finished surface. This is where precision and technique come together to create a bond that lasts a lifetime.
With large, heavy cement tiles, getting maximum mortar coverage isn't just a goal—it's everything. We’re aiming for 95% coverage on every single tile. This prevents hollow spots, which can lead to cracks down the road. Spreading mortar only on the floor won't get you there. The only way to guarantee that kind of coverage is by back-buttering.
Simply put, back-buttering means you’ll apply mortar to the floor and to the back of the tile. It’s a two-part system that creates a rock-solid, void-free bond. It's the pro's standard for a reason.
The Art of Troweling and Back-Buttering
Start by spreading your LHT mortar on the substrate with the correct-sized trowel. Here’s a common mistake we see: installers who create fancy swirls or arcs with their trowel. While it might look nice for a moment, those swirls trap air, creating voids under your tile. Always comb the mortar in straight, parallel lines.
Next, grab your tile. Using the flat side of the trowel, apply a thin, tight coat of mortar to the entire back of the tile. This isn't about adding thickness; it's about filling the tile's natural pores and creating a perfect surface for bonding with the mortar bed on the floor. Think of it like priming a wall before you paint.
Pro Tip: As you set the tile into the mortar bed, make sure the straight ridges on the back of the tile run perpendicular to the ridges on the floor. When you press the tile down with a slight side-to-side motion, this "cross-hatching" helps the mortar ridges collapse completely, forcing air out and ensuring you hit that critical 95% coverage.
These three elements—the right mortar, the right trowel technique, and a good leveling system—are the keys to success at this stage.

Using a Tile Leveling System Correctly
A leveling system is your best friend for achieving a perfectly flat floor, completely free of lippage (where one tile edge is higher than its neighbor). These systems use clips that sit under the tiles and wedges that lock them into a single, flat plane.
Using them correctly is crucial. Here's the play-by-play:
- Place the Clips: Once a tile is set, slide two clips under each side, about 2-3 inches in from the corners. For tiles longer than 24 inches, you’ll want to add extra clips along the length for even support.
- Set the Next Tile: Set the adjoining tile, pushing it snugly against the clips. The clips double as spacers, giving you consistent grout joints.
- Insert the Wedges: Push a wedge into each clip by hand until it’s snug. Then, use the system’s tensioning tool to tighten it fully. Be careful not to over-tighten—this can cause the tile to bow or even break a clip. Your goal is to make the surfaces flush, not to apply brute force.
- Check Your Work: Run your hand across the joint. It should feel perfectly smooth. If you feel an edge, the tiles aren't flush. Give the wedge a little more tension or a slight adjustment until they are.
Timing and Removal
Once the wedges are in, leave them alone. The leveling system needs to stay in place while the mortar cures, which typically takes about 24 hours. This locks the tiles into that perfectly flat plane as the mortar hardens.
When it’s time for removal, don't try to pull the wedges out. The trick is to strike the side of the clip sharply with a rubber mallet or a swift kick from your work boot. Always hit it in the direction of the grout line. This will cause the clip to snap cleanly at its base, leaving the bottom portion hidden under the tile. The top part and the reusable wedge are now free.
Mastering these setting techniques is what separates an average job from a professional one. Directional troweling, consistent back-buttering, and smart use of a leveling system are the details that ensure your Original Mission Tile floor will be as durable as it is beautiful for decades to come.
Alright, you've done the heavy lifting—the tiles are set, leveled, and looking fantastic. Now comes the part that separates a good job from a great one: grouting and planning for movement.
Don't rush this. After all that careful work, the last thing you want is stained tiles, cracked grout, or worse, tiles that buckle and pop off the floor. These final steps aren't just cosmetic; they're structural. They're what protect your investment for the long haul.
Think of grout as the final piece that locks your entire floor together into one solid surface. It also helps disguise any tiny differences between handmade tiles like ours, giving the floor a cohesive, finished look.
Grout Choices and Joint Sizing
First, let's talk about the space between the tiles. With large format tiles, it's tempting to push them together for a nearly invisible joint. Resist that urge. A hairline joint is a recipe for problems down the road.
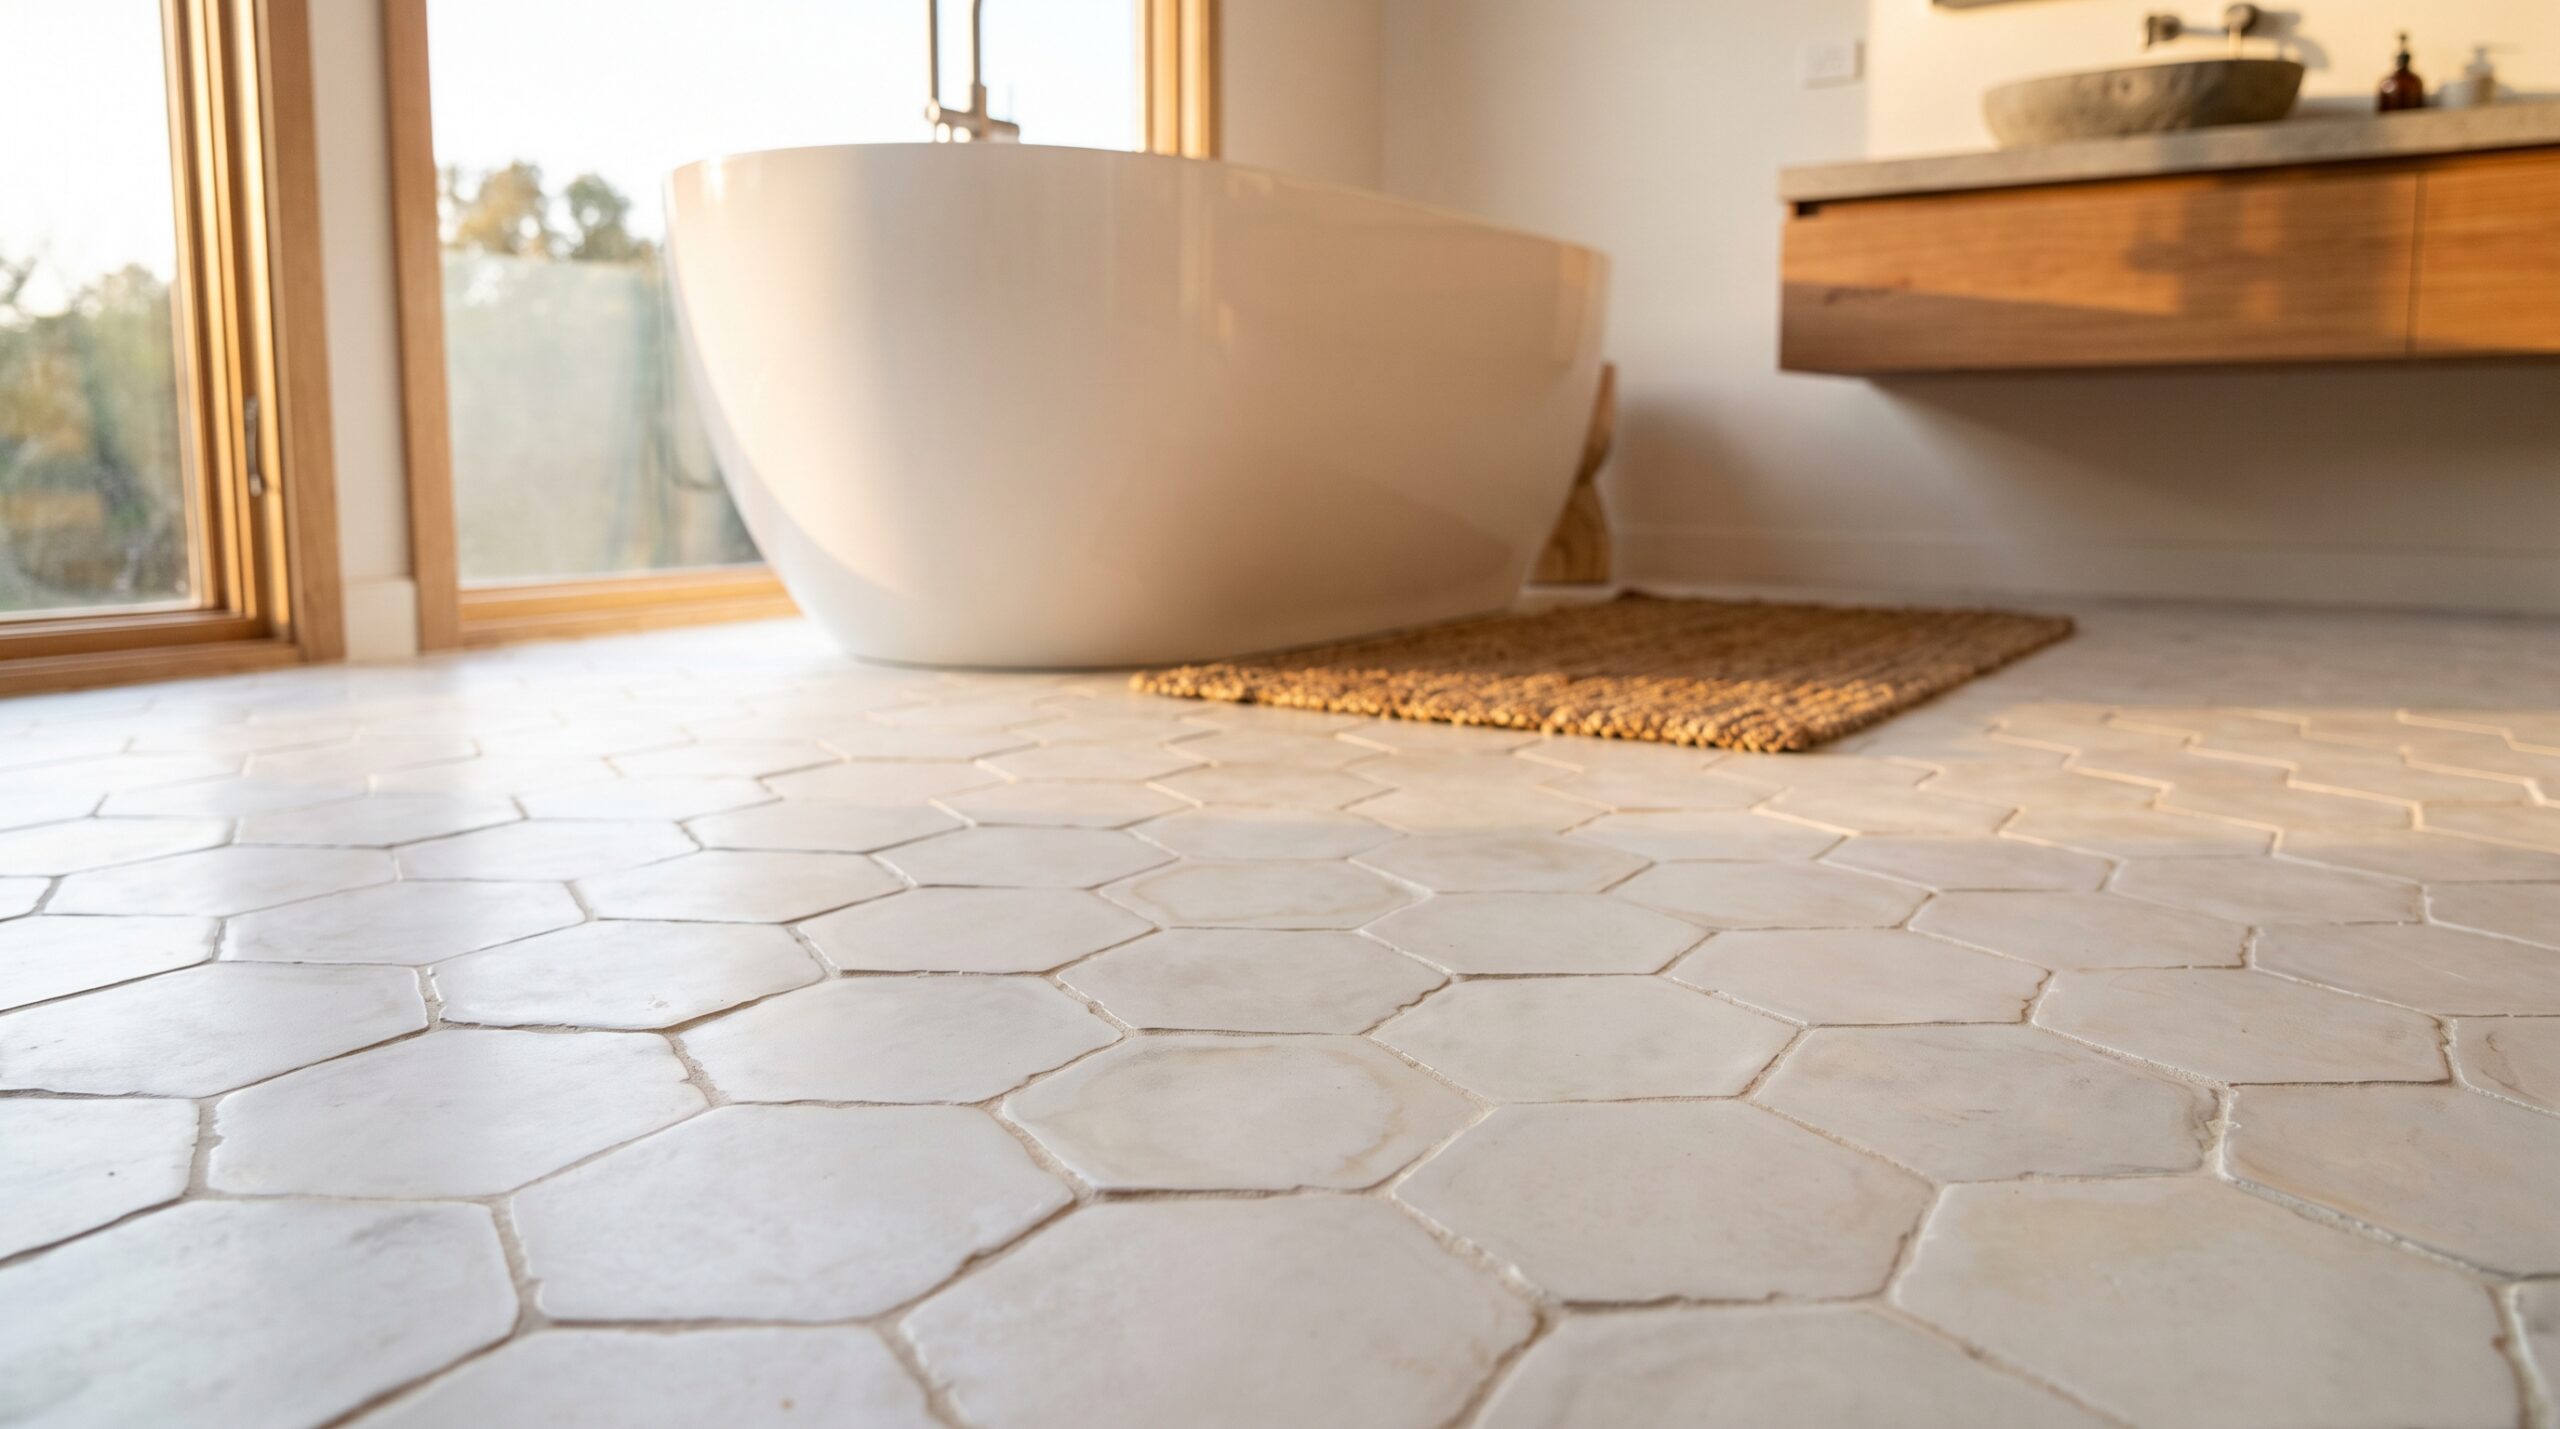
We strongly recommend a grout joint of at least 1/8-inch. For our handmade cement tiles, a 3/16-inch joint is really the sweet spot. This gives the grout enough room to pack in properly and allows for the tiny, invisible shifts that happen in any home.
Once you’ve got your spacers, you need the right grout. The choice comes down to your joint width and the tile itself.
- Sanded Grout: This is your workhorse for joints 1/8-inch or wider. The sand gives it body, preventing the grout from shrinking and cracking as it cures. This is the right choice for almost every large format cement tile floor.
- Unsanded Grout: This is for delicate surfaces or super-thin joints (under 1/8-inch). It’s not the right fit for this kind of job.
- Epoxy Grout: This is the high-performance option. It’s incredibly stain-resistant and doesn't need sealing. The trade-off? It's much tougher to work with and leaves zero room for error during cleanup.
Now, for a crucial tip with our porous Original Mission Tile: you absolutely must pre-seal the tiles before you grout. This is a non-negotiable step. It creates an invisible shield that stops grout pigment from bleeding into the tile face and causing permanent stains. Skipping this can ruin a project.
Don’t Skip the Movement Joints
Here it is: the single most overlooked step in tiling. A house isn't static. It breathes—expanding and contracting with heat, cold, and humidity. These forces put incredible stress on a tile installation.
Without a release valve, that pressure has to go somewhere. The result is ugly: buckled tiles that "tent" up or long, jagged cracks. Movement joints, also called expansion joints, are those release valves.
Movement joints are not optional. They are the difference between an amateur job and a professional installation that lasts. Industry standards (ANSI A108.01A-3.7) require them for a reason.
These aren't your typical grout lines. A movement joint is a gap left in the tile field that you fill with a flexible sealant, like 100% silicone, instead of hard grout. You have to plan for them from day one.
Where to Place Movement Joints
So where do they go? You don't just put them anywhere. They have specific, mandatory locations to manage stress across the entire floor.
Plan for movement joints in these key areas:
- Around the Perimeter: Everywhere the tile meets a wall, a cabinet, an island, or any other fixed object.
- Over Existing Joints: If your concrete slab has a control or expansion joint, you must honor it by carrying it up through the tile. Don't tile over it.
- Through Large Open Areas: For any interior floor, you need to add a movement joint every 20 to 25 feet in both directions.
- In Sun or High-Temp Zones: For exterior patios or indoor spots that get blasted by direct sun, you need them much closer together—every 8 to 12 feet.
Getting the grout and movement joints right ensures your beautiful new floor will stay flat, solid, and stunning for years to come. It’s the final, critical step to safeguarding all your hard work.
Mastering the Final Details: Cuts, Sealing, and Finish

The last 10% of any tile job is what separates good from great. You’ve done the hard work of prepping the floor, setting your tiles, and planning for movement. Now it’s all about the finishing touches—the cuts, sealing, and final clean-up that will protect your investment and make the whole installation shine.
Perfecting Your Cuts
Forget about that old score-and-snap cutter. Cutting heavy, large-format cement tiles demands a powerful wet saw with a high-quality diamond blade. The constant flow of water is essential. It keeps the blade and tile cool to prevent fracturing and also dramatically cuts down on hazardous silica dust.
When you get to those tricky cuts around a toilet flange or an outlet box, precision is everything. Measure twice, mark your lines with a waterproof pencil, and let the saw do the work. Never force the tile through the blade. A slow, steady feed rate is the secret to getting perfectly clean, chip-free edges.
The Non-Negotiable Step: Sealing Your Tile
Once the tiles are set and the mortar is cured—but before you even think about grouting—it’s time to seal. This is an absolutely critical step for porous materials like our handmade Original Mission cement tiles.
Sealing does two crucial things: it stops grout pigment from staining the face of the tile, and it creates a barrier against future moisture, dirt, and spills.
You'll generally choose between two types of sealers:
- Penetrating Sealers: These soak deep into the tile's pores, creating an invisible shield against water and oil. They don’t change the tile’s appearance, preserving its natural matte finish.
- Topical Sealers: These form a protective film on the surface. They often add a bit of sheen (from satin to high-gloss) and can slightly deepen the tile’s color.
For most of our cement tile installations, the pro standard is to apply two or more thin coats of a premium penetrating sealer before grouting. This protects the tile from the grouting process without altering its signature silky-matte feel.
Apply the sealer using a lint-free cloth or a small, low-nap roller. Always work in thin, even coats and let each one dry completely according to the manufacturer’s directions before applying the next. For help choosing the right product, check out our guide to recommended ceramic and cement tile sealers.
The Final Clean and Long-Term Care
After the grout has fully cured (usually 48-72 hours), you can tackle the final cleanup. You’ll almost certainly have a light grout haze on the tile surface. Whatever you do, don't grab abrasive scrubs or harsh chemicals.
The key to preserving the beauty of your Original Mission Tile for years to come is simple: use only pH-neutral cleaners. Acidic cleaners like vinegar or alkaline products like bleach will etch the tile surface and strip away the sealer, leaving your beautiful floor vulnerable to damage.
Just mix a pH-neutral cleaner with clean water as directed on the bottle and use a soft microfiber mop. If you have a stubborn spot, a gentle scrub with a nylon brush is all you should need.
By giving these final steps the same attention to detail you used for the layout and setting, you’re ensuring your large-format tile installation will not only look professional but will stay durable and beautiful for decades.
Your Large Format Tile Questions, Answered
Even with the best plans, a few questions always pop up. When you're tackling a large format tile installation, you need clear answers. We've pulled together the most common questions we get from designers and installers to help you get the job done right.
Can I Install Large Format Tiles Over Existing Tile?
While this sounds like a great shortcut, we’d tell any client to avoid it. Tiling over an old installation is a huge risk.
First, you’re adding a ton of weight and height, which can throw off floor levels and create trip hazards at doorways. More importantly, any flaws in the old tile job—a loose tile you haven’t found yet, or even a tiny bit of lippage—will telegraph right through to your new floor. This completely undermines the new installation and is a recipe for cracked tiles and grout failure down the road.
The only professional way to do it is to take up the old tile and start with a fresh, properly prepped substrate. No exceptions.
Do I Really Need a Tile Leveling System?
With large format tiles, this isn't a question. The answer is always yes. A tile leveling system isn't just a nice-to-have gadget; it's a non-negotiable part of the toolkit for any pro installer.
Large tiles are incredibly unforgiving. Because of their sheer size, even a minor imperfection in the subfloor can create major lippage—that awful, unsafe ridge where one tile edge sits higher than its neighbor.
A leveling system, made up of clips and wedges, is your insurance policy for a flat floor. It physically locks the edges of the tiles together, holding them on a single, even plane while the mortar cures. It’s the only way to guarantee the perfectly flat, professional finish that’s nearly impossible to get by eye alone.
What Is the Minimum Grout Line for Large Tiles?
We get it. One of the main reasons people choose large tiles is for that monolithic, almost-seamless look. But going too thin on the grout is a critical mistake. Grout isn't just filler; it’s a flexible joint that allows for tiny movements and absorbs the natural size variations in tile.
Here’s our rule of thumb:
- For Rectified Tiles: These tiles are machine-cut for near-perfect consistency. You can sometimes get away with a 1/16-inch grout line, but we find a 1/8-inch joint is much safer and more practical for a perfect finish.
- For Non-Rectified/Handmade Tiles: With artisan tiles like our Original Mission Tile, there will always be slight, beautiful variations from piece to piece. A 3/16-inch grout line is your best bet here. It gives you just enough room to work with those differences for a flawless, durable installation.
Bonus: choosing larger tiles doesn't just look modern, it saves a huge amount of time and material on grout. For a 200-square-foot room with 1/8-inch joints, using 6×6-inch tiles would take almost 20 pounds of grout. Swapping to 24×24-inch tiles? You'll need just 5 pounds—that's a 75% reduction in grout and a big cut in labor.
How Do I Handle and Lift These Big Tiles Safely?
Don't underestimate the weight. A single 24×48-inch porcelain tile can easily top 50 pounds, making it incredibly awkward and risky to handle alone. Always, always lift with your legs, not your back.
For any tile with one side longer than 24 inches, we strongly recommend a good set of heavy-duty suction cup lifters. These tools give you and a helper a secure handle to carry, set, and adjust the tiles with far more control. This dramatically reduces the risk of dropping a tile (or hurting your back). Trying to manhandle these by their sharp edges is just asking for broken tiles and cut fingers.
If you’re looking for more tips and a complete walk-through, this guide on large format tile installation is a great resource that covers the entire process.
At Original Mission Tile, we know an empowered project is a successful one. With these answers and the guidance throughout this post, you have the expert insights you need to get a flawless finish with our beautiful, handcrafted tiles. Explore our collections and find the perfect tile for your project at https://originalmissiontile.com.