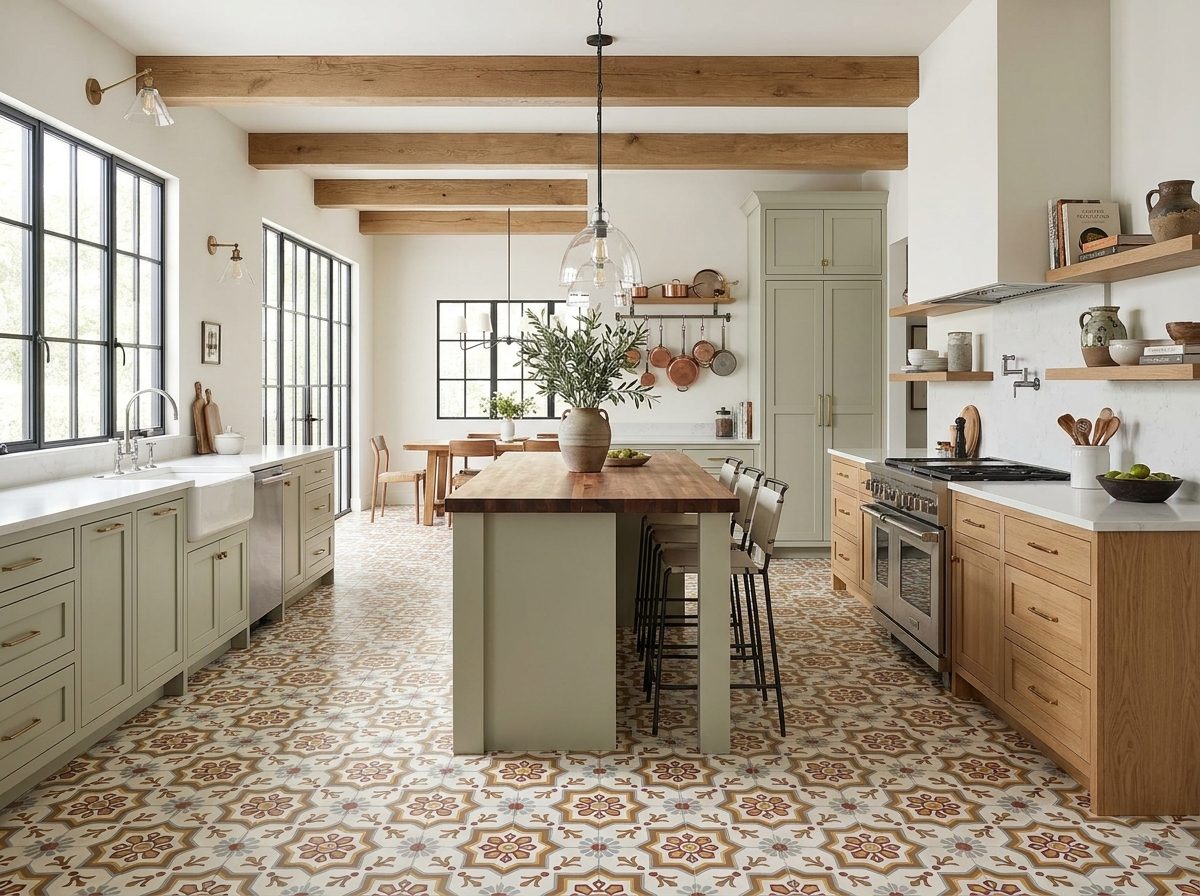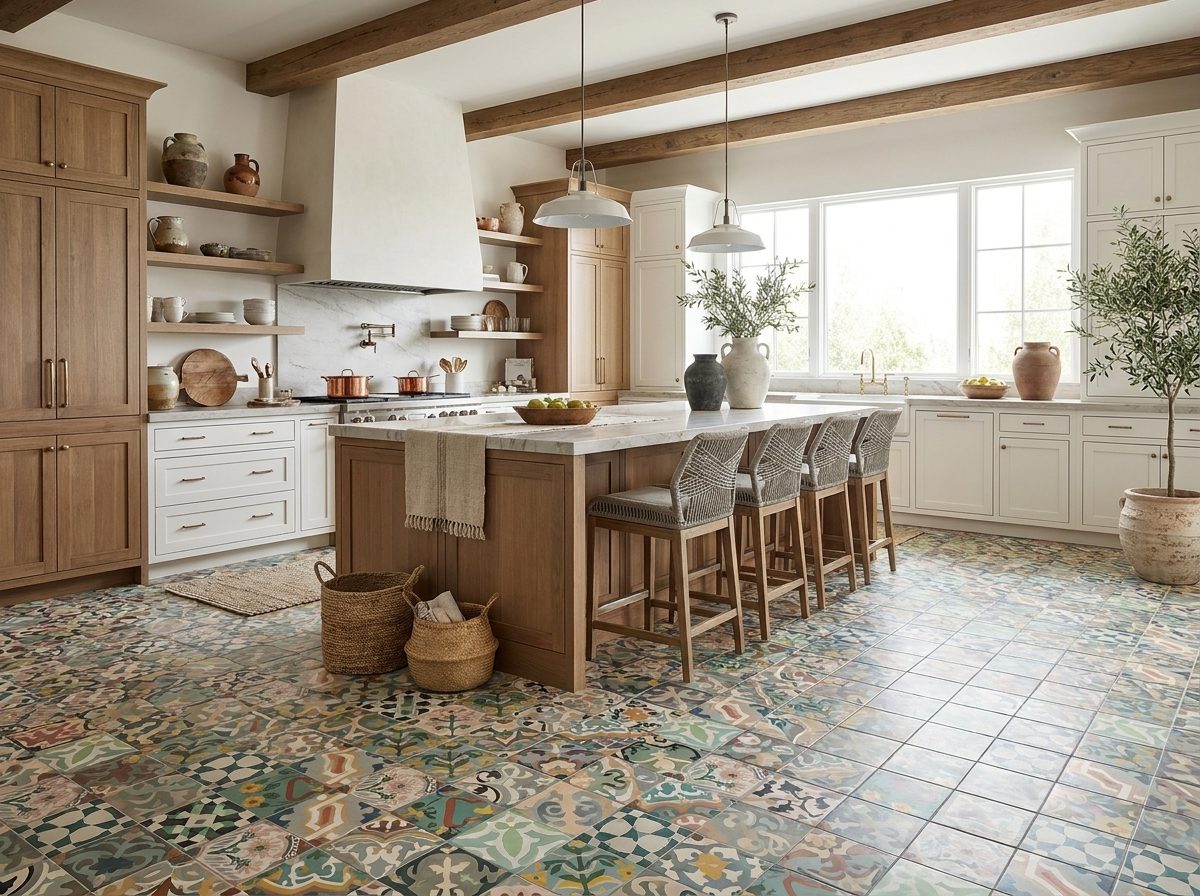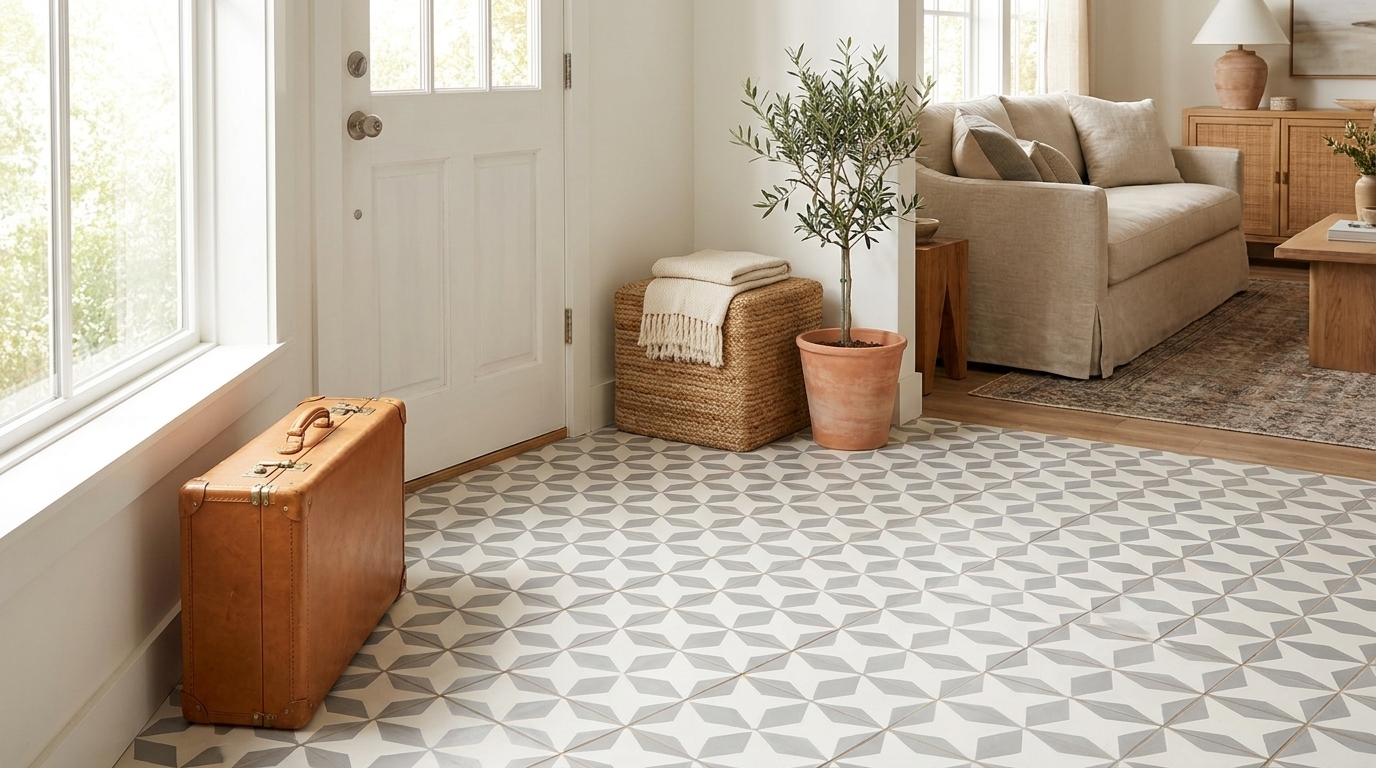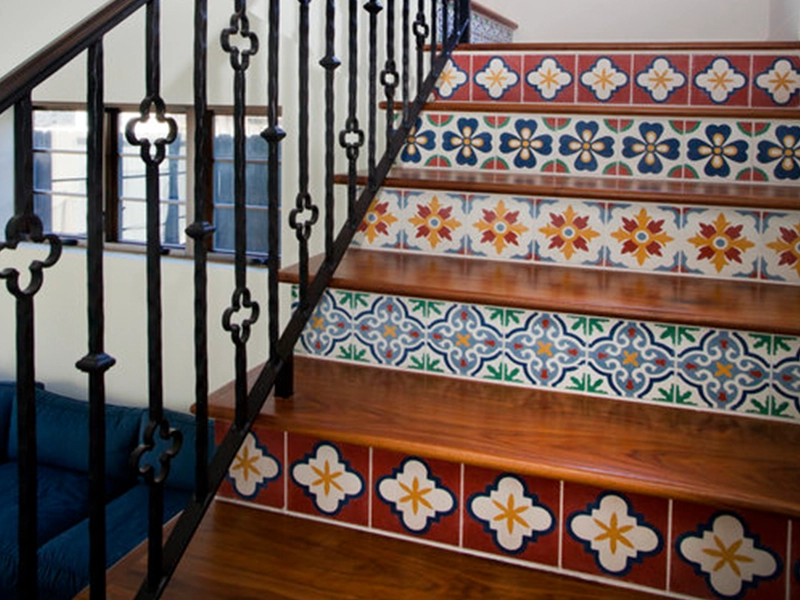
Walk into any hotel lobby, restaurant, or renovated 1920s bungalow with a decorated staircase. Your eye goes straight to the risers before it ever notices the treads. Cement tile stair risers are one of the highest-impact, lowest-square-footage design moves you can make. However, they are also one of the most misunderstood installations. Risers are not flat floors. They are vertical, they vary in size from step to step, and in most places building code governs them. Get the layout or the dimensional rules wrong, and the staircase fails inspection — or worse, becomes a tripping hazard. So this guide walks through pattern strategy, measuring, layout, and installation. It is the same advice we give a contractor who calls our Laredo warehouse before a job.
Why Cement Tile Is a Natural Fit for Stair Risers
People see risers, but they never walk on them. That makes risers the perfect place to spend your “pattern budget.” Unlike a tread or a floor, a riser never has to survive foot traffic, rolling luggage, or a dropped cast-iron pan. It just has to look good and shrug off the occasional bump from a vacuum or a shoe.
That is exactly where handmade cement tile earns its keep. The pattern is pressed into the tile with natural mineral pigments, not printed or glazed on. As a result, the color runs all the way through the face layer. A nicked corner never exposes a white ceramic body the way a printed tile would.
Cement tile also offers far more patterns than most ceramic or porcelain lines. In fact, encaustic-style patterns were originally designed for decorative moments like stair risers, wainscoting, and borders. With 300+ patterns available, you can match a riser scheme to a front door tile, a foyer floor, or a client’s existing palette. There is no need to settle for the three “accent tiles” a big-box store happens to stock.
Building Code Basics You Can’t Design Around
Before you fall in love with a pattern, get the dimensional rules straight. They do not bend for aesthetics. Most U.S. jurisdictions follow the International Residential Code (IRC) or the International Building Code (IBC). Both are specific about stairs:
- Riser height: Residential code generally caps risers at 7¾ inches. Commercial stairs often have a lower maximum, depending on occupancy.
- Uniformity: The tallest and shortest riser in one flight can usually differ by no more than ⅜ inch. Tile and adhesive change the finished height. Therefore, check that tolerance after you account for them, not before.
- Tread depth: Minimum tread depth is commonly 10 inches, measured nose to nose. This matters if a tile or bullnose overlay extends past the riser face.
- Nosing: If tread depth is under about 11 inches, code usually requires a nosing projection of roughly ¾ to 1¼ inches. That projection affects how your riser tile meets the tread above it.
- Slip resistance: Commercial and many residential inspectors reference friction guidance from ANSI A137.1. Cement tile is unglazed and naturally matte, so it performs well here. However, a high-gloss sealer on a tread (not the riser) can undo that advantage.
None of this should scare you off. It simply means the riser is the forgiving surface, while the tread is the one code watches most closely. Confirm your local code with your building department or architect before finalizing dimensions. This matters most on commercial projects, because occupant load changes the requirements.
Choosing a Pattern Strategy
There are three proven ways to lay out a tiled staircase. The right one depends on how much visual attention you want the stairs to command.
One pattern, every riser. This is the safest and most timeless choice. A single geometric pattern like Harlequin Blue or Circulos II Navy repeats on every riser. The result reads as intentional and calm. It works especially well in a hallway or entry where the stairs share space with other patterned surfaces. It is also the easiest option to estimate and order, because every riser needs the same tile count.
Progressive color, one pattern. Keep the same pattern, but shift the colorway as you climb. For example, start with a deep tone like Liverpool Black or Catalonia Black at the bottom. Then move toward something lighter like Sofia Green or La Espanola Sage near the top. Designers love this “ombré staircase” effect because it photographs beautifully and still feels cohesive. Browsing tiles by color makes it easy to line up several colorways of one base pattern before you commit.
A different pattern on every step. This is the boldest option, and it requires the most planning. Each riser gets its own tile — Agadir Navy on one, Estrellas Black on the next, a small-scale Hex Star Navy on another. Done well, it looks like a curated art collection. Done carelessly, it looks chaotic. So if you go this route, lay every candidate pattern on the floor in stair order first. Then step back ten feet and check how the sequence reads from a distance.
For any of these strategies, consider a custom-made pattern or colorway if the sequence you want does not exist in a standard catalog. Custom orders take about 4-6 weeks, versus days for in-stock tile. Build that lead time into your schedule.
Measuring and Templating: The Step Most People Skip
Here is the part that trips up even experienced installers: no two risers in an older staircase are identical. Wood stairs settle. Concrete stairs get patched. And “square” becomes a relative term after 40 years of foot traffic. Therefore, measure and template every single riser individually. Never assume riser #3 matches riser #7 just because they look alike from across the room.
For each riser, record:
- Width at the top and at the bottom — they rarely match if the stringers have shifted
- Height from tread to tread
- Any obstructions, such as skirt boards, newel posts, or a wall that pinches one side
Next, make a cardboard or hardboard template of each riser face. Number it to match your layout drawing. Yes, this is tedious. But it is far cheaper than cutting an expensive patterned tile wrong and waiting weeks for a replacement.
Once you know your riser dimensions, calculate quantity the same way you would for a floor. An 8×8 box covers 5.17 sq. ft. and holds 12 tiles. Add up the total riser face area. Then add at least 15% overage for cuts, breakage, and future repairs. Patterned runs can be discontinued or shift dye lots years later, so keep spares from day one.
Layout, Cutting, and Grout Line Decisions
Once templates are cut, dry-lay each riser’s tiles on a flat surface before anything touches adhesive. A few layout rules matter more on risers than on floors:
- Center the pattern, not the grout line. On a riser, the eye reads the pattern’s symmetry first. So center a motif tile (like a medallion or star point) on the riser face. Then let any cut pieces fall equally at both edges.
- Keep grout lines consistent from riser to riser. Patterns may change step to step. Even so, a uniform grout width (typically 1/16 to 1/8 inch for cement tile) keeps the staircase feeling like one design.
- Plan the top and bottom edges deliberately. Decide whether you want a full tile, a cut tile, or a trim transition where the riser meets the nosing above and the floor below. For example, Brick S-101 Black run as a nosing accent defines that edge cleanly, without an awkward sliver of tile.
Dry-laying first also catches pattern mismatches. A directional motif installed upside down is an easy mistake when you work tile by tile up a staircase. It is far easier to fix with a pencil mark now than with a chisel later.
Installing Cement Tile on Stair Risers
Riser installation follows the same core principles as any cement tile install, with a few stair-specific adjustments:
- Confirm the substrate is sound and flat. Risers on wood stairs need a rigid, deflection-free backing. Use plywood or cement backer board over the framing — never set tile directly on unsupported wood.
- Use full mortar coverage. Thinset can slump on a vertical face if the mix is wrong. So back-butter each tile and trowel the substrate. Full coverage also prevents hollow spots that later crack at the corners.
- Support tiles while they set. Painter’s tape or spacers holding each tile’s bottom edge against the tread below keeps rows from sliding down before the adhesive grabs.
- Seal before grouting, grout, then seal again. Cement tile is porous. Sealing first prevents grout stains. A second coat after the grout cures protects the surface, just like on floors.
- Protect corners during the first weeks. Riser corners take incidental bumps during a renovation. A little painter’s tape or a corner guard goes a long way.
Need more than the stair-specific details? Our full installation guidelines cover surface prep, adhesive selection, and cure times. They apply to risers just as they do to floors and walls.
Pairing Risers with Treads and Trim
A common and very effective approach: keep the tread in a durable, slip-resistant material or a plain matching tile, and reserve the pattern for the riser face. Want tile on the tread too? Then use a bullnose profile on the nosing edge. A piece like Bullnose S-101 Black 4×8 gives you a rounded, code-friendly front edge instead of a sharp cut that chips over time. Keeping the tread simple also reduces pattern competition. That way, the riser reads as the intentional focal point it is meant to be.
Still narrowing down a direction? Our installation gallery shows real stair projects at full scale — pattern, color progression, and trim choices included. It is worth a look before you finalize an order.
Frequently Asked Questions
Can cement tile handle the wear on stair risers?
Yes. Risers are vertical, so they see almost no foot traffic or abrasion — an occasional shoe or vacuum bump at most. The real considerations are proper sealing and a solid substrate, not wear resistance.
Do stair risers need a different sealer than floor tile?
No. The same routine used on cement tile floors applies here: seal before grouting, seal again after, and reseal periodically. Because risers are not walked on, that interval is often longer than for a floor. Our maintenance and cleaning guide covers it in detail.
How many cement tiles do I need for my stair risers?
Measure each riser’s width and height, then total the square footage. Order full boxes (an 8×8 box covers 5.17 sq. ft. with 12 tiles) plus at least 15% extra for cuts and future repairs. On older stairs, template each riser first — sizes vary more than you would expect.
Should every riser have the same pattern?
Not necessarily. A single repeated pattern is the safest, most cohesive choice. However, a color gradient in one pattern, or a different pattern per step, both work well when you plan carefully and dry-lay the sequence first.
A tiled staircase is one of the few places where you can be genuinely bold without sacrificing durability. Handle the layout and code details up front, and the risers do the rest.
See the tile in person before you commit
Photos only tell you half the story. Colors, texture and the handmade character of cement tile are best judged in your own light. Order a sample of any in-stock pattern for $20 (additional samples $10, free shipping) — or tell us about your project and we’ll help you narrow it down.
Browse in-stock cement tiles →
Talk to us about your project →