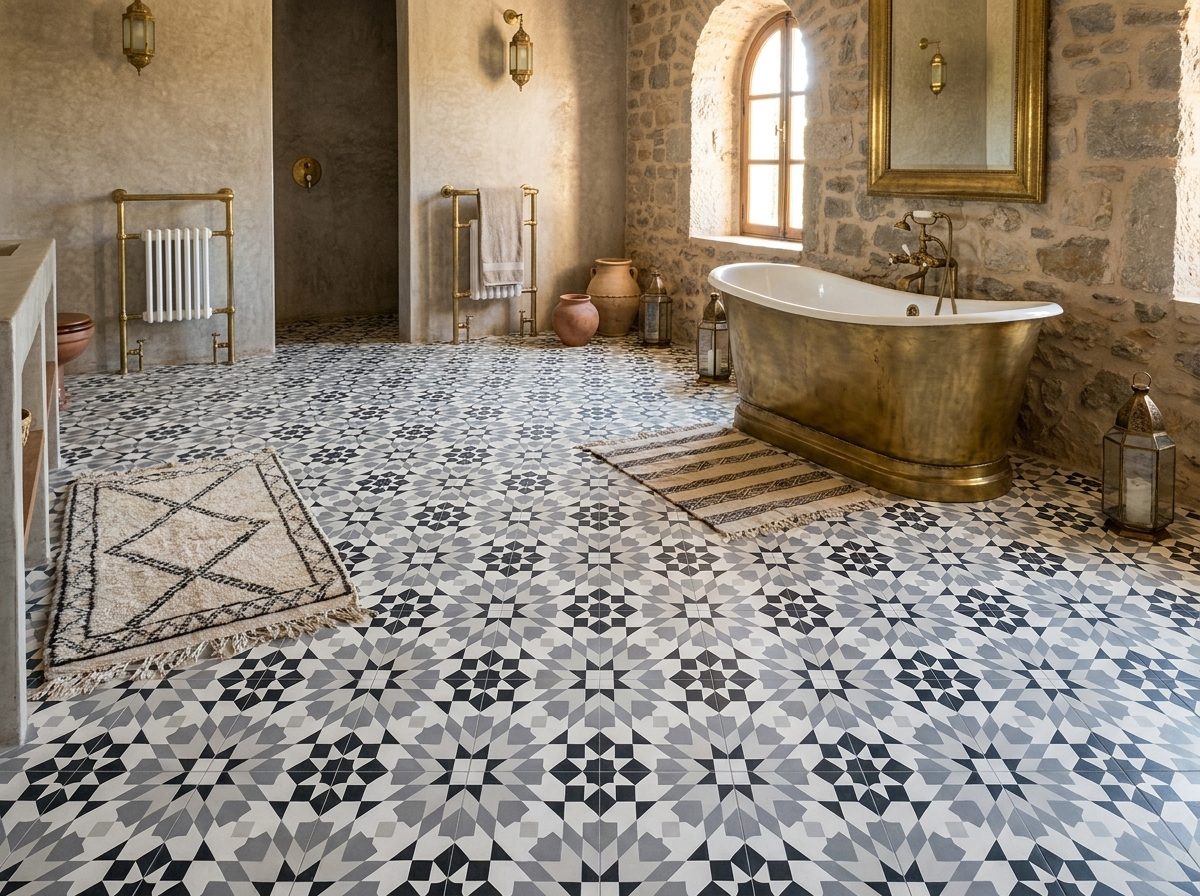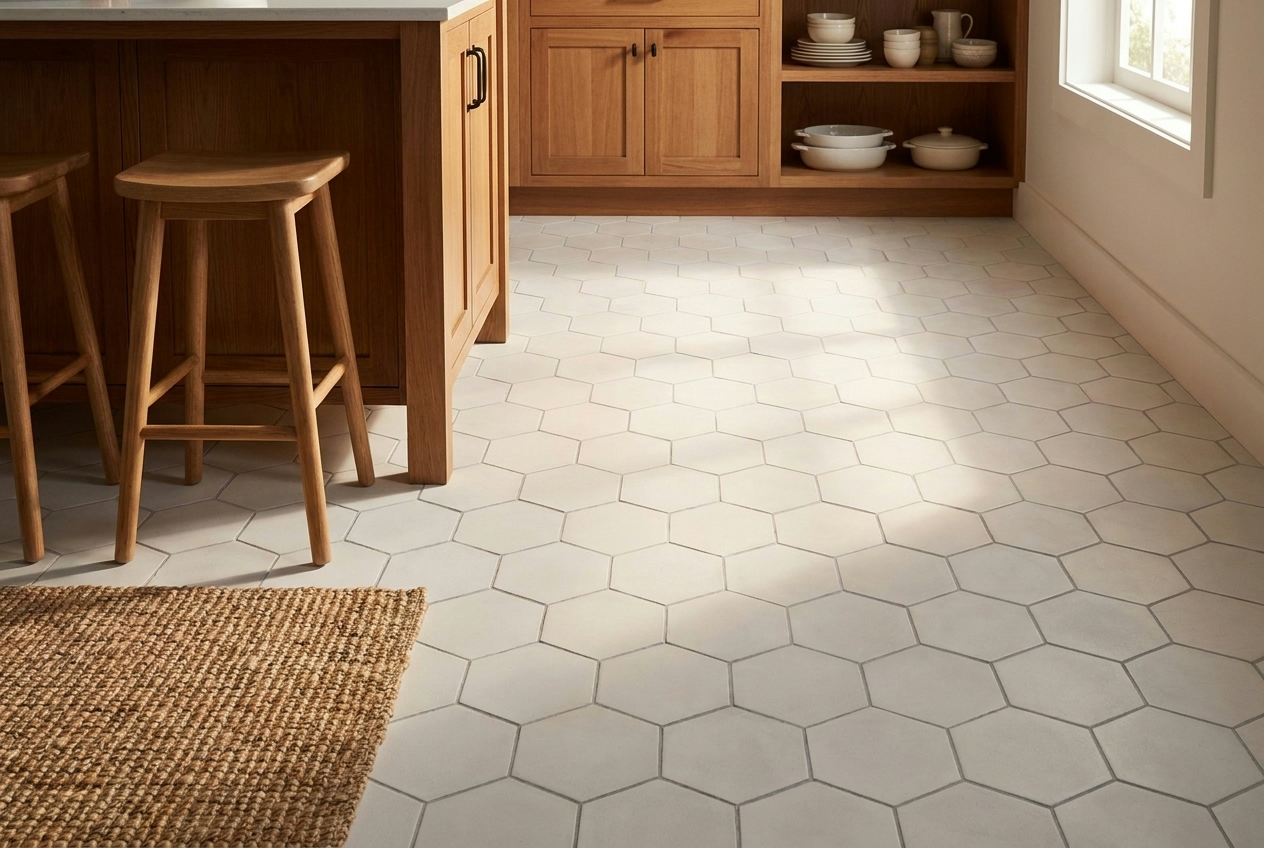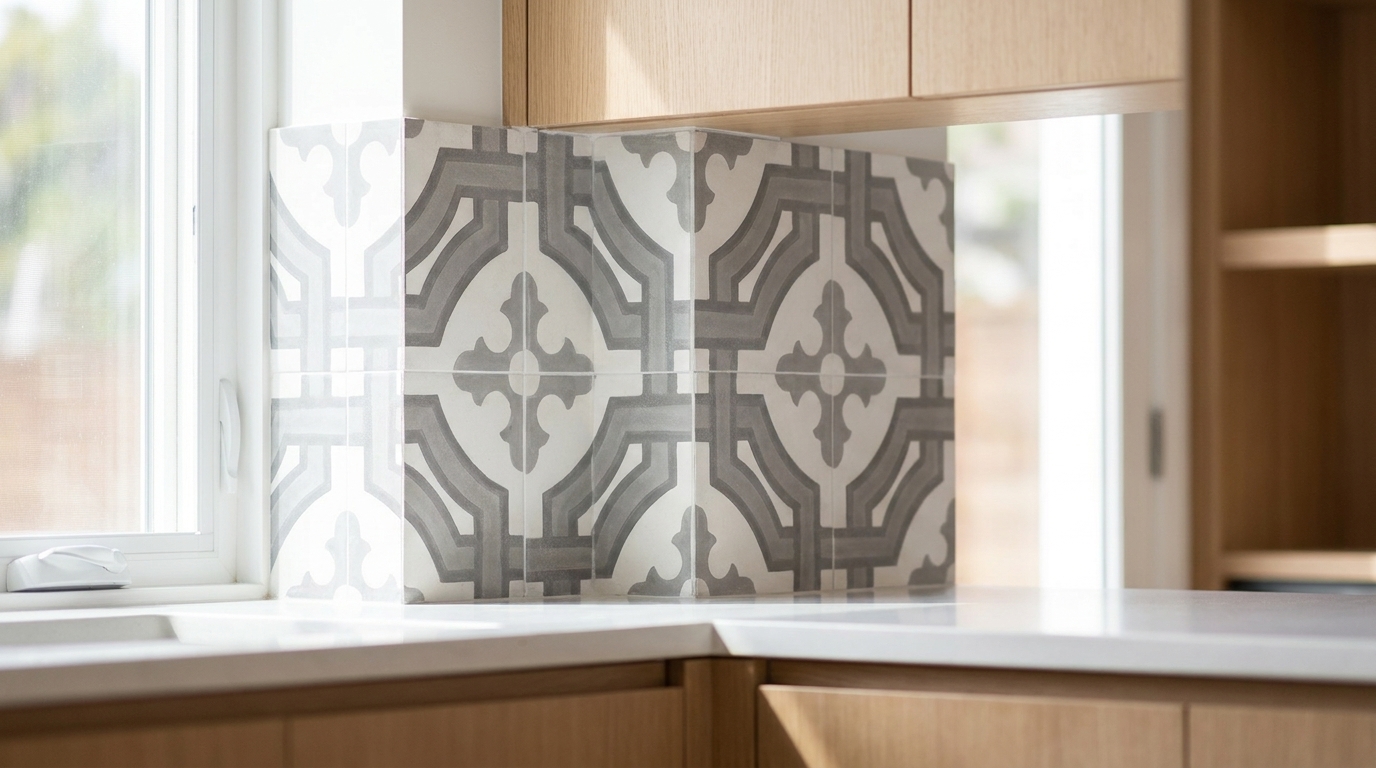
Every tile installation runs out of tile before it runs out of wall. That’s where the trouble starts. A backsplash meets an open corner. A shower niche ends without a return wall. A stair tread needs a rounded lip. In every one of these spots, a raw, cut tile edge faces the room. Finishing exposed cement tile edges well is what separates a finished job from an unfinished one, no matter how good the field pattern looks.
Cement tile raises the stakes further than ceramic or porcelain does. It’s a handmade, unglazed product, and its edge behaves differently once you cut it. This guide covers the three real options for finishing that edge: bullnose, metal trim, and mitered corners. We’ll look at what actually works, what each option costs in time or budget, and which one fits which spot in your project.
Why Cement Tile Edges Need Different Handling
Ceramic and porcelain tile are fired at high heat. Many are also glazed on the surface. That glaze can wrap around a rounded bullnose edge, so factories mass-produce bullnose pieces for dozens of collections. Cement tile is made differently. Each tile is hand-pressed and cured, not fired. The color sits in a thin pigment layer on top of a denser cement backing.
That construction gives the tile its rich color and handmade texture. However, it also means a cut edge shows the plain gray cement body underneath, not a glazed finish. An unfinished edge on cement tile looks more obviously “cut” than one on glazed ceramic. It also absorbs sealer and moisture differently than the tile’s face. That’s why edge treatment deserves real planning on a cement tile job, instead of an afterthought once the field tile is already set.
Bullnose Cement Tile: What’s Actually Available
Bullnose is the term for a tile piece with one rounded, finished edge. It’s made so no raw edge shows at a wall end, step, or counter lip. Factory bullnose is common in plain ceramic subway tile. It’s much rarer in cement tile, because most cement tile patterns are cast and cured as flat squares, not shaped and rounded pieces.
That doesn’t mean bullnose is off the table. It means it’s a special order, not a stock item. Our custom made cement tile program can produce a rounded-edge piece to match a plain field color. It’s made to order in roughly 4 to 6 weeks. This works best with solid-color tiles. A bullnose piece on a busy pattern, like an arabesque or geometric design, cuts the motif off awkwardly at the curve.
Bullnose cement tile makes sense for a small, specific run. Think of a shower curb cap, a bench top, a pool step edge, or a short backsplash return. These are spots where you want one continuous material with no visible seam. If you need it, plan for it early. Order it with the field tile, because matching dye lots later is much harder than ordering everything together. Reach out through our quote request page to confirm lead time and minimums for your pattern.
Metal Edge Trim: The Practical Standard for Cement Tile

For most jobs, metal trim is the answer. It’s the option we recommend first for cement tile edges. A metal trim profile is a thin strip of stainless steel, brass, or anodized aluminum. It sits at the raw edge of the tile and caps it cleanly instead of leaving it exposed. Because it’s manufactured rather than cast, it comes in a consistent shape every time.
Trim profiles come in a few basic shapes. An L-shaped profile caps a single outside corner, like where backsplash tile meets open wall. A U-shaped channel, sometimes called a schiene profile, wraps a tile edge from both sides. That works well at a floor-to-wall transition or an open tile edge on a shelf. A rounded, bullnose-style metal profile mimics a ceramic bullnose look without needing a custom cement piece.
Match the trim’s depth to your tile’s thickness before you order. Cement tile generally runs thicker than typical ceramic wall tile. Double check the exact thickness of your chosen pattern against the trim manufacturer’s size chart. A profile that’s too shallow leaves a lip. One that’s too deep leaves a gap under the tile edge, and grout has to fill that gap awkwardly.
Installation order matters here, too. The trim gets embedded in the thinset mortar bed during tile setting, not stuck on afterward. The installer sets the trim’s flange into the mortar first. Then the tile butts into the trim’s channel. Grout finishes the joint up to the trim edge. Confirm that sequence with your installer before day one. Trim installed after the fact rarely sits flush. Our installation guidelines cover the setting-bed prep this depends on.
Mitered Edges: The Custom Corner Look

A mitered edge is where two tile pieces are each cut at a 45-degree angle. They meet at an outside corner like a picture frame, with no trim strip visible. It’s the look you see on a waterfall-edge kitchen island. There, the countertop tile appears to wrap continuously down the side with no seam line breaking the surface.
Mitering gives the most seamless look, but it’s also the least forgiving. Cement tile is a cast, unglazed material, so cutting a clean 45-degree edge takes real skill. It needs a wet saw with a diamond blade and steady, practiced pressure. Cement tile can chip along a mitered edge more easily than dense porcelain does. This isn’t the spot for a first-time cut.
Once the miter is cut, the raw cement edge needs sealing before installation. It needs sealing again after grouting. Skip that step, and the edge absorbs stain and moisture unevenly compared to the sealed face. Over time, that shows up as a slightly different sheen along the seam. For more on that sealing schedule, see our maintenance and cleaning guide.
Mitering suits plain or subtly-textured tiles better than busy geometric patterns. A pattern like Harlequin or a star-and-cross design gets visually interrupted at a mitered seam. The motif simply doesn’t continue logically around a 45-degree corner. A solid or near-solid color reads as one continuous surface once the miter is cut and installed. That continuity is exactly the effect you’re after.
Matching Trim to Your Pattern and Grout Color
Once you’ve picked a method, the next decision is how visible the edge should be. A metal trim in a bright, polished finish reads as an intentional design line. It looks almost like a picture frame around the tile. A trim in a brushed or matte finish, close to your grout color, recedes instead. That way, the eye reads the tile field as uninterrupted.
For plain, solid-color tiles, either approach works well, since there’s no pattern to protect. That’s part of why solid colors are the easier starting point for anyone new to edge detailing on cement tile. For patterned tile, we lean toward a trim or miter that keeps attention on the pattern itself, not on the edge treatment.
If you’re still choosing a tile and know you’ll need to finish an edge, factor that in now. Don’t wait until after ordering. A plain field works with almost any edge method. A bold geometric pattern instead works best with a discreet metal trim that doesn’t compete with the design.
Where Each Edge Finish Works Best
Here’s a practical breakdown of which method fits which situation. It’s based on what we see hold up well in real installations.
- Kitchen backsplash outside corner: metal L-trim is the fastest, most reliable choice. A miter works too, if the field color is solid and the installer knows cement tile well.
- Shower niche returns: metal trim is safer here. The tight radius and constant water exposure make a sealed cut edge riskier long-term.
- Waterfall-edge counters or islands: a mitered edge is the right call. A visible trim strip would break the continuous-wrap look that’s the whole point of this detail.
- Stair treads and step noses: use a dedicated stair-nosing metal profile rated for foot traffic. Skip a mitered or bullnose tile edge, since it can chip under repeated impact.
- Floor-to-wall reveals or open shelf edges: a U-channel (schiene) metal profile caps both faces of the exposed edge cleanly.
- Pool steps, benches, and curb caps: custom bullnose cement tile works well here, when you want one uninterrupted material with no metal visible.
Metal trim covers most everyday situations. Reserve mitering and custom bullnose for the specific spots where a seamless material look is worth the extra cost and lead time.
Getting the Installation Sequence Right
Whichever method you choose, sequence matters more than most homeowners expect. First, cut or shape the tile before it goes anywhere near the wall or floor. Then seal the newly exposed cement edge. Raw cement is more porous than the sealed face, and it will soak up thinset or grout haze unevenly otherwise.
Next, set the trim, if you’re using one, into the mortar bed at the same time as the tile, not after. That way, the trim’s flange bonds into the same mortar layer as the tile back, instead of sitting loose against a cured edge. Once the tile and trim are set and the mortar cures, grout the joint up to the trim or miter line. Then let that cure fully.
Finally, apply a topical seal across the whole installation, edge included, once everything is grouted and clean. This final seal unifies the look of the cut edge with the rest of the field. That way, the corner doesn’t stand out as a weak point. This sequence has several steps, and each one needs to cure before the next starts. Build an extra day or two into your project timeline instead of rushing the corner detail at the end.
If your job includes any of these edge conditions, order a little extra material. We recommend 15% overage on top of your measured square footage for cuts and breakage on any cement tile project. Edge-heavy layouts, like waterfall counters or stair noses, tend to use more of that overage than a plain floor does. Browse our full range of in-stock cement tile patterns to find a field color that pairs well with whichever edge method fits your project.
Frequently Asked Questions
Can any cement tile pattern be made into bullnose?
Technically yes, through our custom program. It works best on solid or simply patterned tiles, though. A busy geometric design gets visually cut off at the curve. For patterned fields, we usually recommend metal trim instead.
What thickness of metal trim fits cement tile?
Cement tile typically runs thicker than standard ceramic wall tile. Always confirm the exact thickness of your chosen pattern before ordering trim. Then match it to the manufacturer’s profile size chart. Getting this measurement wrong is the most common trim-fit mistake we see.
Do I need to seal a cut or mitered cement tile edge?
Yes. A freshly cut edge exposes the porous cement body underneath. It needs sealing before installation, and again after grouting. Skip this step, and the edge is more likely to stain or discolor differently than the rest of the tile over time.
Is a mitered edge more expensive than metal trim?
Generally, yes. Mitering takes more skilled labor time, and it carries a higher risk of chipped tile during the cut. Metal trim installs faster and more predictably. That’s why we recommend it as the default, unless you specifically want the seamless, wrapped look a miter provides.
See the tile in person before you commit
Photos only tell you half the story. Colors, texture and the handmade character of cement tile are best judged in your own light. Order a sample of any in-stock pattern for $20 (additional samples $10, free shipping) — or tell us about your project and we’ll help you narrow it down.
Browse in-stock cement tiles →
Talk to us about your project →