You've chosen the tile. It looked perfect on the sample board. Then the install starts, and suddenly the floor feels off. The pattern looks crowded, the grout lines wander, or the surface catches light in a way that makes every uneven edge stand out.
That's usually not a tile problem. It's a spacing problem.
On a floor, the gap between tiles does much more than hold grout. It controls rhythm, alignment, comfort underfoot, and how forgiving the finished surface will be once real life begins. Foot traffic, seasonal movement, cleaning, moisture, chair legs, dropped pans, all of it lands on the decisions made before the first tile is set. If the spacing is wrong, even expensive tile can look careless. If the spacing is right, the whole floor settles into place.
That matters even more with handmade materials. Cement tile, zellige-inspired surfaces, and other artisan products don't behave like perfectly uniform, mass-produced porcelain. They have character. That character is the reason people love them, but it also means floor tile spacing needs a steadier hand and a sharper eye. Tight joints that look sleek on a rectified showroom tile can make a handmade installation fight itself from the first row.
Why Floor Tile Spacing Is More Than an Afterthought
A lot of disappointing floors start with a simple assumption. Someone falls in love with a beautiful tile and treats the grout joint like a minor finishing detail. The installer grabs a spacer size out of habit, pushes forward, and the room never quite comes together.
You can see it fast on patterned floors. If the joints are too tight, motifs feel cramped and any size variation gets exposed. If the joints are too wide without intention, the floor loses definition and the pattern starts to feel diluted. On plain tile, bad spacing shows up differently. Lines drift. Corners don't land cleanly. The surface feels busy when it should feel calm.
Beauty lives in the gaps
Good floor tile spacing gives a layout its cadence. It frames each tile, controls how the eye moves across the room, and decides whether the installation reads as crisp, relaxed, traditional, or contemporary.
With handmade cement tile, spacing also protects the design itself. A narrow joint can make one tile press visually into the next. A slightly wider, consistent joint lets each piece breathe. That's often the difference between a floor that looks rich and intentional and one that looks forced.
A grout line is part of the design, not the leftover space between design elements.
Performance follows design
Spacing isn't only about looks. It helps the floor absorb variation in tile size, edge irregularity, and normal movement in the assembly below. When installers pretend every tile is identical, they usually pay for it with crooked joints, chipped edges, or visible lippage.
The most successful floors balance both goals at once. They look composed, and they hold up. That's why seasoned installers don't ask only, “What spacer size do you want?” They ask what tile you chose, how flat it is, what kind of edges it has, what pattern you're running, and what the substrate is likely to do over time.
The Unseen Science of Grout Joints
Non-professionals tend to notice grout joints only when they look bad. Professionals think about them earlier, because grout joints are doing quiet technical work the entire life of the floor.
They separate tiles so edges don't collide. They help absorb dimensional inconsistency. They give the installer room to maintain alignment. They also influence whether the finished surface can stay within accepted tolerances for lippage.
What lippage really means
Lippage is the difference in height between adjacent tiles. It's what your foot feels when one edge sits higher than the one beside it, and it's what side lighting exposes mercilessly on a finished floor.
A key benchmark from the TCNA Handbook is that for grout joints from 1/16 inch to less than 1/4 inch, acceptable lippage is 1/32 inch plus the tile's inherent warpage, as summarized by CTaSC's explanation of acceptable tile lippage. That's a tight tolerance. It tells you why precision in spacing isn't fussy craftsmanship. It's necessary craftsmanship.
Why tile size variation changes the joint
Even tiles that look identical in a carton rarely are. Some are slightly larger, some slightly smaller, some have a touch of warpage, and handmade products can vary more obviously from piece to piece.
ANSI A108.02 says grout joints must never be less than 1/16 in (1.6 mm), and the actual joint width must be at least three times the tile's facial-size variation, according to the Ceramic Tile Foundation's discussion of ANSI standards. In plain language, if the tile varies in size, the grout joint has to be wide enough to absorb that variation without forcing the installer into a crooked layout.
That's why “the thinnest possible grout line” is often the wrong goal.
What pros check before they set
- Tile consistency: The installer compares tiles from multiple boxes, not just one stack.
- Edge type: Clean machine-cut edges behave differently from hand-molded or pillowed edges.
- Surface flatness: A floor can fail visually even when the joint size looks right on paper.
- Lighting: Raking light from windows makes lippage and wavering joints much more visible.
If you're trying to evaluate an older floor, a local service that specializes in East Hartford tile and grout cleaning can also reveal how much of the floor's appearance comes from maintenance issues versus spacing and installation defects. Cleaning won't fix bad layout, but it often makes the underlying workmanship easier to judge.
Trade reality: Tight joints demand flatter tile, flatter substrate, and tighter control at every step. If one of those is missing, the floor tells on you.
Recommended Grout Widths by Tile Type and Size
There isn't one correct spacing for every floor. The right choice comes from tile size, edge quality, and how much variation the material brings to the installation.
For most floor tile installations, spacing typically falls in the 1/16 to 3/8 inch range overall. One industry guide notes that the most common floor range is 1/8 to 1/4 inch for medium-format tiles and 1/16 to 1/8 inch for ceramic, porcelain, terrazzo, and cement tiles. The same guide also notes that floor tiles with irregular edges are commonly set at 1/4 inch, while smoother-edged tiles can be placed at 1/8 inch or 1/16 inch, based on clé's tile spacing guide.
Quick reference by tile style

| Tile type | Typical spacing approach | Why it works |
|---|---|---|
| Small floor mosaics | Keep joints narrow and consistent | Small modules already create many lines, so proportion matters |
| Standard ceramic or porcelain | Usually moderate joints | Enough room for clean alignment without overemphasizing grout |
| Medium-format floor tile | Often the practical middle ground | Balances appearance, tolerance, and ease of installation |
| Large-format floor tile | Usually wider than people expect | Helps with movement, subfloor irregularity, and lippage control |
| Handmade or irregular-edge tile | Give the tile more room | Lets the material's character read as intentional, not sloppy |
For many floor projects, 1/8 inch to 1/4 inch is the safest visual and technical starting point, especially once you move beyond perfectly uniform tile.
Material and edge matter as much as size
A smooth, rectified porcelain tile can support a much tighter look than a handmade cement tile with softened edges. The mistake is assuming the same spacer should serve both.
Independent guidance on installation trade-offs notes that floor tiles often need wider grout lines, typically 3-5 mm, to accommodate natural movement and minor subfloor irregularities, while large-format tiles may require 1/8" or 3/16" minimum joints for successful installation, according to Stone Superstore's guide to tile spacing. That's especially useful when clients are asking for the tightest possible joint on a floor that isn't perfectly flat.
For outdoor projects, grout choice and joint design matter together, especially around weather exposure. Installers working through those considerations may find this guide on selecting durable grout for Australian outdoor areas useful alongside spacing decisions.
If you're comparing spacer options before layout, this guide to tile spacer sizes is a helpful practical reference.
Key Factors That Influence Tile Spacing
Open three boxes of handmade floor tile and line up a few pieces on the slab. The difference shows up fast. Corners drift a touch, edges soften, and one tile may run slightly proud of the next even before mortar enters the picture. Spacing has to account for that reality, or the finished floor will fight itself all the way across the room.
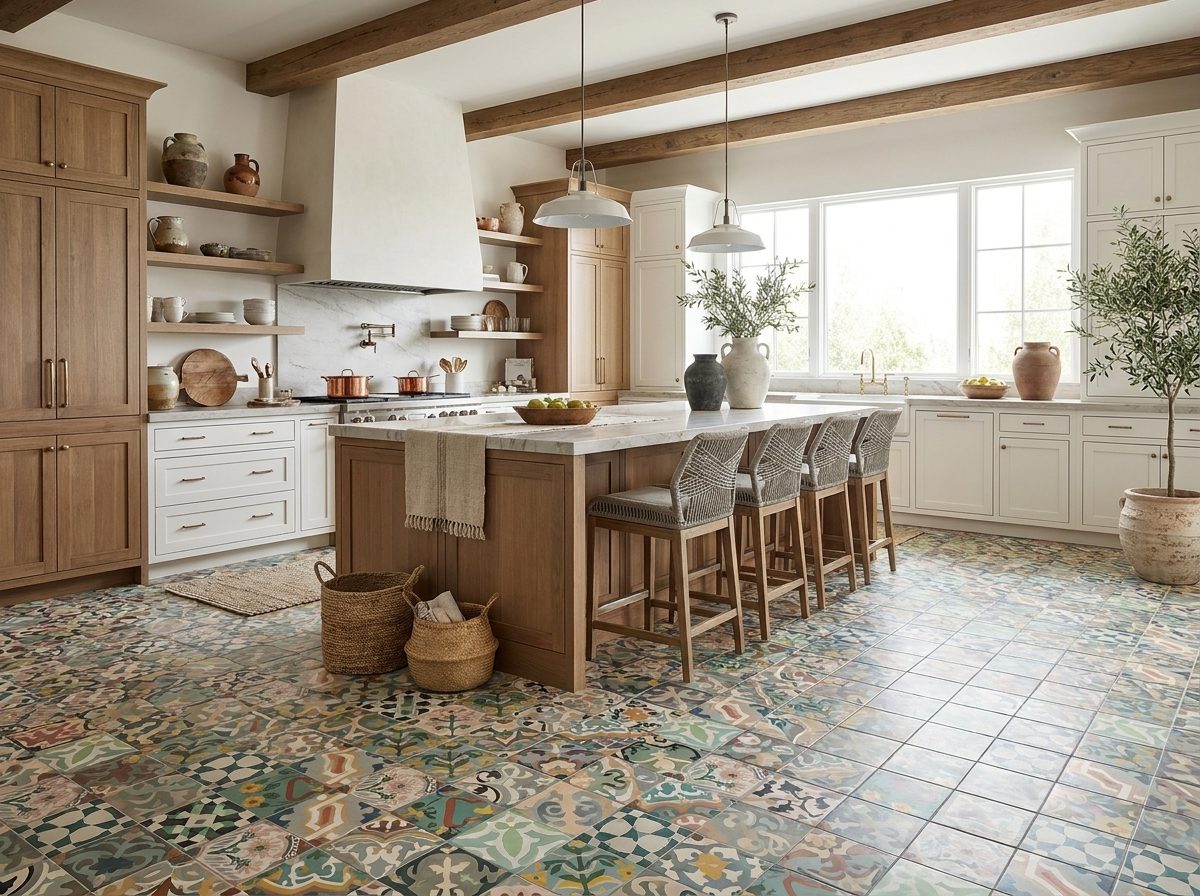
A tight joint works on tile that was made for tight tolerance. Handmade cement tile, zellige, and other artisan material ask for a different hand. The grout joint is what lets the installer absorb minor variation, keep the pattern readable, and make the floor look intentional instead of fussy.

Rectified tile versus handmade tile
Rectified tile is cut for consistency. If the substrate is flat and the installer controls lippage well, the joint can stay narrow without looking strained.
Handmade or non-rectified tile needs more room. Small differences in size and edge shape show up immediately when joints get too tight. In practice, installers follow the long-standing rule in ANSI installation standards: the grout joint should be wide enough to accommodate the actual variation in the tile. That is why artisan material often lands at a wider joint than the same nominal size in a rectified porcelain.
This matters even more on patterned cement tile. If the joint is undersized, the installer ends up forcing alignment tile by tile, and the floor loses the relaxed precision that makes handmade work beautiful in the first place.
Other variables that control the joint
Tile type sets the starting point, but the assembly decides whether that joint will hold its shape over time.
Substrate condition
A floor with dips, crowns, or deflection limits how tight the installation can be. I will always check the base before I commit to a narrow joint, because spacing problems often begin under the tile, not at the tile edge. If you are assessing the base layer, this guide to floor underlayment for tile helps clarify what supports a stable installation.
Pattern geometry
Some layouts hide minor variation. Others put it on display. Straight-set tile gives the installer more freedom to balance the field, while hexagons, checkerboards, star-and-cross patterns, and border work expose spacing errors within a few courses. On those floors, the grout joint is doing visual work as well as technical work.
Room scale and sightlines
Large open floors read differently than small vestibules or powder rooms. In a broad room, inconsistent joints can telegraph across the whole field. In a compact space, a slightly wider joint may calm busy handmade tile and give the pattern room to breathe. Good installers judge spacing from standing height, not just from six inches off the floor.
Grout color and finish goals
Clients often ask for the smallest possible joint because they want less grout to see. That can be the wrong move with handmade material. A better result usually comes from choosing a joint width that fits the tile, then pairing it with a grout color that supports the surface instead of calling attention to every shift in size or edge.
Handmade tile rewards discipline. The installer's job is to control variation, not erase it.
Installer Best Practices for Flawless Layouts
A clean floor starts before the first bucket of mortar is mixed. The installers who get the best results don't rely on spacer size alone. They control the layout, check the tile constantly, and make room for movement where it belongs.

Start with a dry layout
A dry layout catches problems early. It shows whether the selected joint width still works once real boxes are opened, whether the pattern holds, and whether cuts at the perimeter will feel balanced.
On handmade floors, spacing decisions often get adjusted. A joint that looked right in theory can feel too tight once you see several rows together. Dry-laying also reveals whether you need to blend tiles from different boxes to keep the visual field even.
Use the right tools for the right problem
Traditional cross spacers are useful for maintaining joint width. They are not a cure for poor substrate prep or inconsistent tile. Leveling clip systems can help control edge height during installation, but they also need judgment. If an installer uses them to muscle naturally variable tile into artificial uniformity, the floor can look strained instead of graceful.
A solid setup usually includes:
- Spacers for width control: Choose them based on the tile you measured, not the joint you wish you had.
- A straightedge and layout lines: These keep long runs from drifting.
- A leveling system where appropriate: Helpful on certain formats, but not a substitute for flat prep.
- Frequent box blending: Especially important with handmade products and visible pattern work.
Leave room for movement
One of the most overlooked parts of floor tile spacing isn't between the tiles at all. It's at the edges and transitions.
Perimeter gaps and movement joints act as relief points. Without them, pressure from normal expansion and contraction can transfer into the field of tile. That's when you see cracking, tenting, or grout distress that people mistakenly blame on the tile itself.
A careful installer plans those breaks early, then protects them during the rest of the installation.
For a visual walk-through of spacing and alignment techniques, this video is useful:
A field checklist that works
- Measure actual tile variation before locking in spacer size.
- Mock up several rows in both directions.
- Check lippage as you go, not after the mortar starts to firm up.
- Reset drifting lines early. They never improve by themselves.
- Protect movement areas so they don't get accidentally filled or bridged.
Spacing Cement Tiles for Maximum Impact
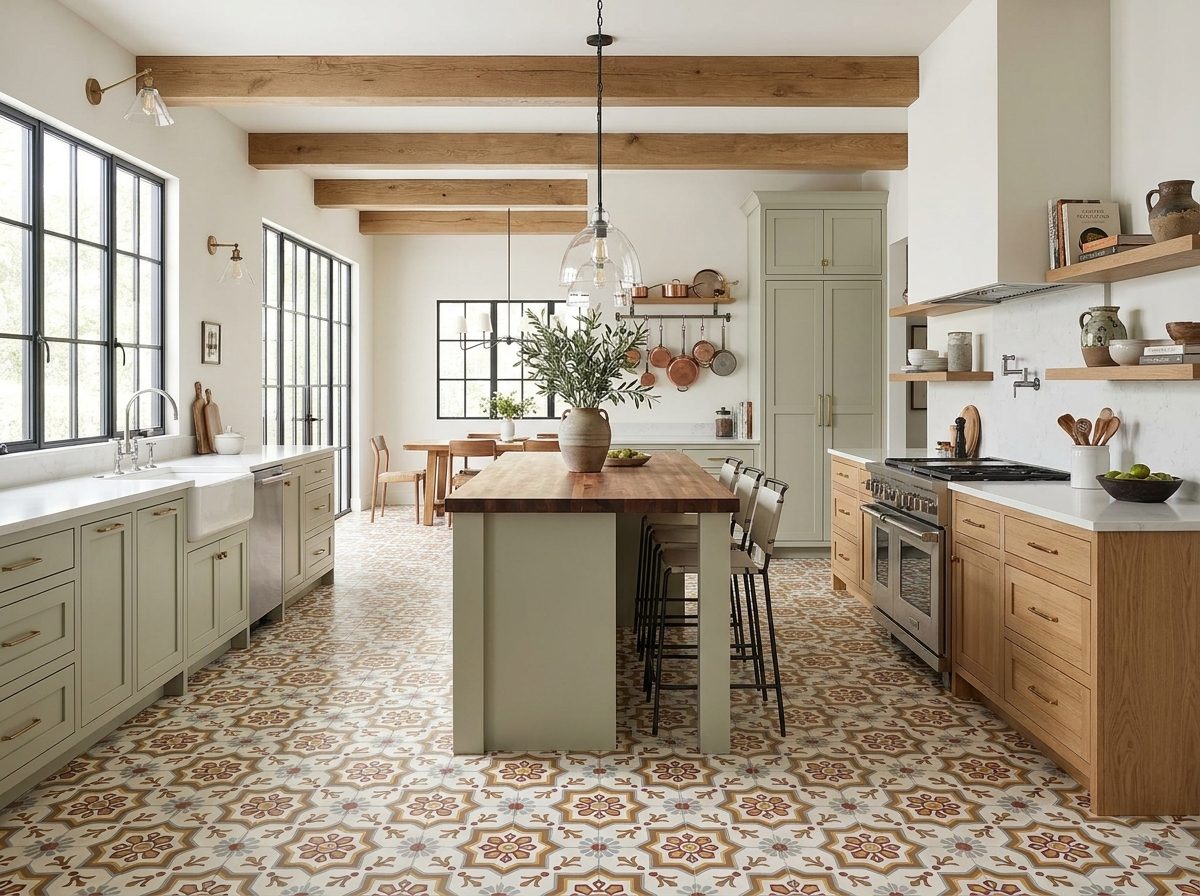
Cement tile rewards restraint. It doesn't need a razor-thin joint to look refined. In fact, many cement floors look better when the spacing gives the pattern a little air and lets the handmade surface speak in its own voice.
That's especially true on floors with strong geometry, soft matte finishes, and slight edge variation. If you choke the joint down too tightly, the floor can start to feel nervous. The pattern competes with itself. Every minor difference between tiles becomes more noticeable than the design.

Patterned squares need breathing room
On a classic patterned square floor, a modest joint often helps frame the artwork inside each tile. The pattern reads tile by tile, then as a larger field. That layered effect is one of the pleasures of cement tile.
When the joint is too narrow for the material, the eye stops reading rhythm and starts noticing mismatch. Corners that would have felt charming with proper spacing now look accidental. A slightly more generous, consistent joint usually brings the whole composition back into balance.
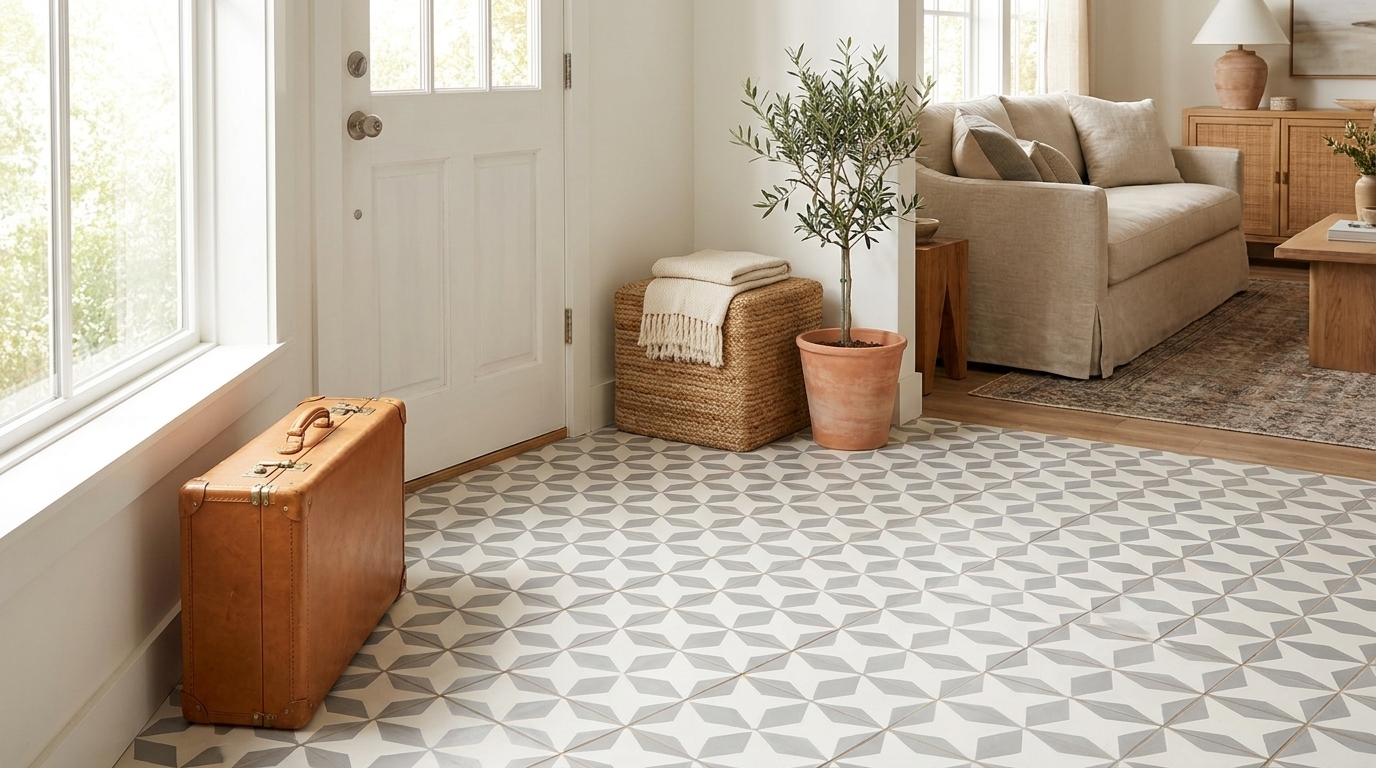
Star and cross layouts demand discipline
Interlocking patterns are less forgiving than standard squares. If the spacing shifts even slightly, the geometry announces it immediately. What should look crisp and repeating starts to wander.
On those floors, the installer has to think in modules, not isolated pieces. Dry-lay enough material to understand how the shape repeats. Check the reveal at every joint. Keep the spacing stable, even if that means resisting the temptation to tighten the layout beyond what the tile wants.
Handmade character should look intentional
Cement tile has depth because it isn't sterile. Surface nuance, edge softness, and slight variation are part of the appeal. Good floor tile spacing organizes that character. Bad spacing exaggerates it in the wrong way.
Three habits make a handmade floor look settled:
- Blend from multiple boxes: This distributes natural variation across the room.
- Judge the layout from standing height: Don't make decisions only from inches away.
- Let the tile dictate the joint: The floor looks better when the spacing suits the material instead of copying a porcelain standard.
If you're working with artisan cement tile, this guide to installing cement tile gives useful application-specific context before finalizing the layout.
The best cement tile floors don't hide their handmade nature. They edit it with consistency.
Troubleshooting Common Tile Spacing Issues
Most spacing problems announce themselves visually before anyone knows the technical name for them. Once you know what to look for, the cause gets easier to spot.
The floor feels uneven underfoot
That's usually lippage. Common causes include choosing a joint that's too tight for the tile, setting over a substrate that wasn't flat enough, or failing to monitor edge height during installation. On handmade or slightly warped tile, forcing a narrow joint often makes this problem worse.
Grout lines wander
Wandering joints often come from small layout errors repeated across the floor. Sometimes the installer trusted the spacer and stopped checking the line. Sometimes the tile itself varied more than expected and the layout never adjusted. Dry layout and frequent line checks prevent most of this.
Joint widths look inconsistent
This is the classic sign of a mismatch between tile variation and chosen spacer size. The installer may have selected a joint based on appearance instead of measured tile reality. On artisan tile, inconsistency can also appear when boxes aren't blended and one run contains more size variation than the next.
The pattern doesn't lock together cleanly
Interlocking layouts fail visually when the installer treats them like ordinary square tile. Repeating shapes need constant reference checks. If the layout wasn't tested in advance, minor spacing errors multiply quickly and show up as misaligned points, uneven reveals, or compressed sections of pattern.
A good tile floor rarely comes from a single trick. It comes from honest spacing, sound prep, and the discipline to let the material tell you what kind of joint it needs.
Original Mission Tile creates handmade cement tiles with the kind of detail that rewards thoughtful installation. If you're planning a floor and want artisan materials that deserve careful spacing and expert layout, explore the collection and design resources at Original Mission Tile.