You're standing in a gutted kitchen, holding a tile sample against bare drywall, and the wall looks bigger than you remembered. The slab behind the range is still rough, the outlets are exposed, and the pretty pattern you liked on your phone suddenly feels less certain in daylight. That's the moment when custom tile backsplash designs stop being a mood board exercise and start becoming a set of real decisions about scale, seams, and how the room will be used.
Homeowners keep asking the wrong question first. They ask which pattern is prettiest, when the better question is which pattern will still look deliberate once it's cut around outlets, turns a corner, and stops at a cabinet run. The kitchens that feel finished have a clear plan before the installer starts, not after. For sample approval and design signoff, Original Mission Tile's sample approval workflow is the kind of practical checkpoint that keeps a pretty idea from turning into an expensive mistake.
Standing in a Demoed Kitchen, Deciding What Comes Next
The blank wall changes everything. In a showroom, a backsplash reads as color and texture. On site, it becomes a field with electrical breaks, termination points, and sightlines that either frame the room or chop it up.
Start with the room, not the pattern
A backsplash should answer the kitchen's layout before it shows off the tile. If the cooktop wall is the visual anchor, that wall deserves the strongest composition. If the sink wall gets the daylight, that's where a matte surface or a quiet pattern will read best. The tile is there to organize the room, not compete with every appliance and cabinet door.
That's why custom tile backsplash designs are worth the extra thought. The strongest installs are usually not the wildest ones. They're the ones where the repeat, the grout, and the cut lines all support the architecture instead of fighting it.
Practical rule: choose the wall composition before you choose the decorative motif. A great pattern in the wrong place still looks wrong.
This article follows the same logic I use on site. It starts with what “custom” really means, then moves through material choices, awkward geometry, ordering, cost, and upkeep. If you're trying to decide between a fast decorative strip and a fully customized wall treatment, the right answer usually shows up once you look at the whole system, not just the sample board.
What Makes a Backsplash Truly Custom
Custom means more than picking a tile color off a shelf. In backsplash work, it can mean a fully made-to-order tile, a standard pattern adjusted for a specific wall, or a signature format arranged in a way that feels personal to the house. The difference matters because each tier changes the look, the lead time, and the amount of coordination needed before install.
The spectrum from in-stock to fully bespoke
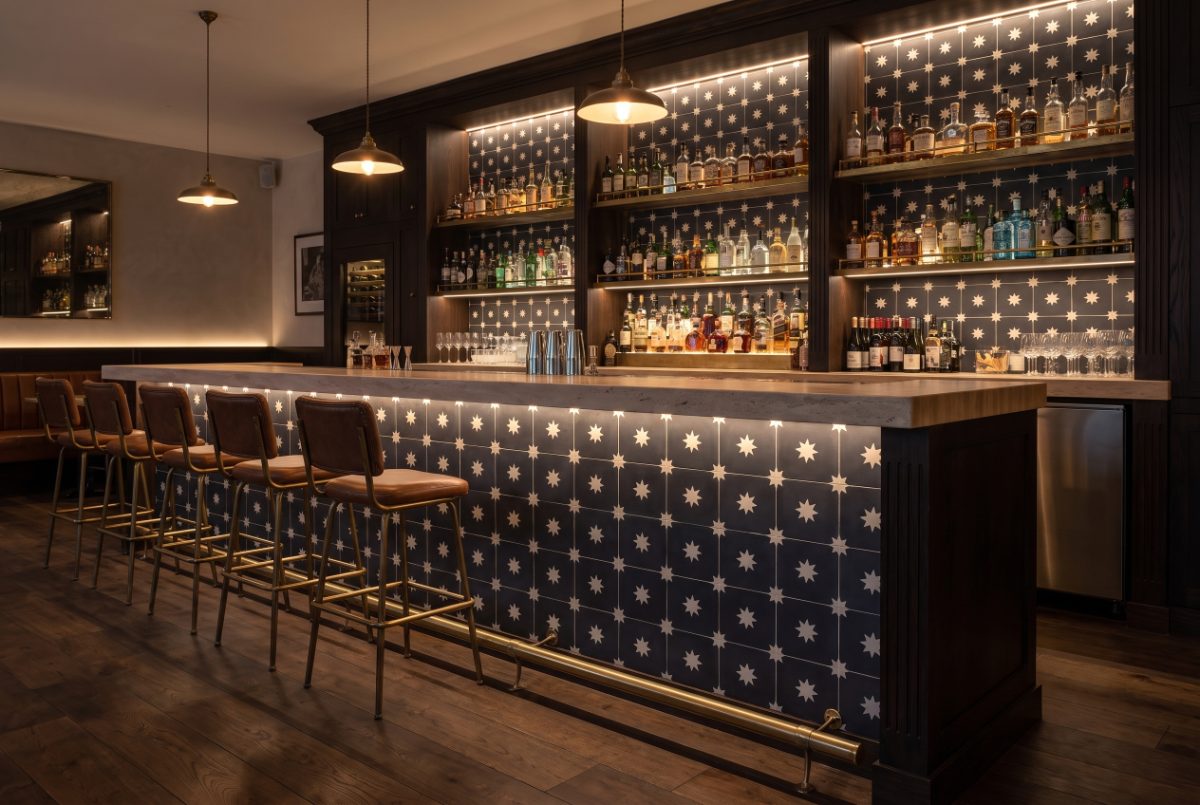
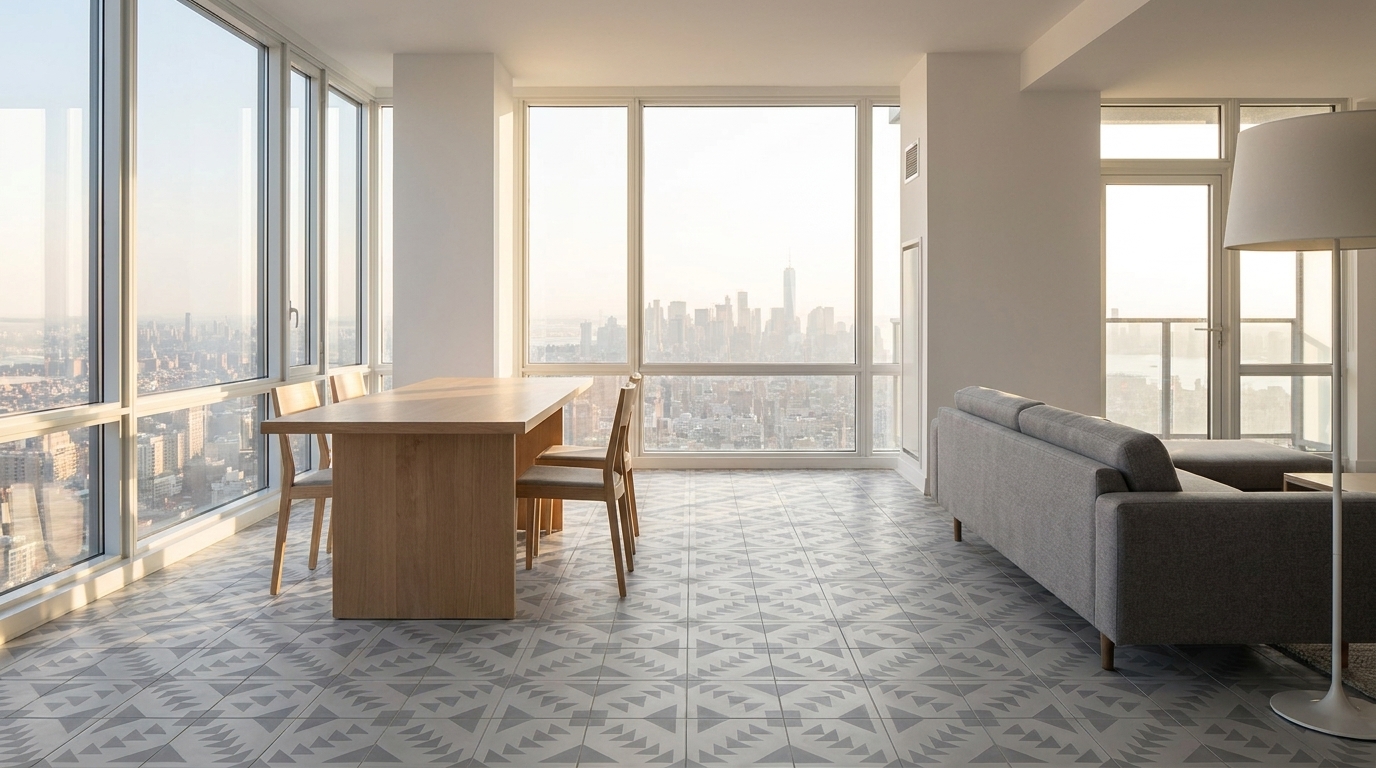
A catalog tile can still look custom if the layout is thoughtful. A plain 8×8 field, a hexagon run, an arabesque, a fish scale, or a star-and-cross pattern all become more personalized when the grout color, border, and termination points are chosen for the room. That's why a design studio matters. It lets the homeowner or designer move from a product page into an actual wall composition.

At the fully custom end, the material itself is part of the design story. Original Mission Tile's handmade cement process layers cement, sand, marble dust, and natural mineral pigments under hydraulic press, so the color sits in the body of the tile instead of on a glazed surface. That gives the backsplash a silky matte finish and a more artisanal read than a printed or surface-coated tile. For design teams, that distinction matters because a backsplash should still feel intentional when the kitchen is lit at night and seen up close.
Original Mission Tile's custom design studio fits into that middle-to-bespoke range. It's the right tool when a project needs a specific pattern, but not necessarily a one-off art object. If the timeline is tighter, a signature shape from an in-stock line can still deliver a custom-feeling result when the layout is tuned to the room. For a quick refresher on format choices and where they work, the brand's backsplash material guide is a practical starting point.
Choosing Materials That Match the Way You Cook
Material choice should follow how the kitchen gets used, not just how the sample board looks. A cook who wipes splatter right away has different needs from someone who wants a strong visual wall and is willing to live with more upkeep. Pick the wrong material for the way the kitchen works, and the regret shows up fast.
What each material does well
Cement tile is the right move when the goal is character, inlaid color, and a softer matte surface. It has real depth, but it asks for sealing and more care than a non-porous surface. Porcelain is the cleanest answer when you want a tight, continuous field and low absorption, with technical specs commonly listed at water absorption of ≤0.5% under ASTM C373 and wet interior slip targets like DCOF ≥0.42 under ANSI A326.3 for wall applications where relevant custom tile technical specifications.
Glass is the easy-clean choice for people who cook hard and clean often. It is non-porous, stain-resistant, and often specified in 4 mm tempered form with heat resistance up to 250°C for stove-adjacent use. Handmade or zellige-inspired tile brings movement and irregular edges, which can look excellent in the right setting, but it works best when the rest of the room stays quiet.
The substrate matters too. Large-format porcelain panels can run as large as 1200×2700×6 mm or 1600×3200×6 mm, which reduces grout joints but demands a very flat wall to avoid lippage and bond problems large-format porcelain slab reference. That is not a minor detail. It decides whether the wall reads crisp or looks forced.
| Material | Best Look | Water Absorption | Heat Use | Maintenance |
|---|---|---|---|---|
| Cement | Matte, artisanal, inlaid color | Qualitatively low only after sealing | Good for normal backsplash use | Needs sealing and gentle cleaning |
| Porcelain | Clean, modern, continuous field | ≤0.5% under ASTM C373 | Good for wall use near heat | Easiest of the handmade-looking options |
| Glass | Smooth, bright, reflective | Non-porous | Often specified up to 250°C in tempered form | Very easy to wipe down |
| Zellige-inspired | Textured, light-catching, irregular | Varies by product | Best away from the harshest splash zones | More visual variation, more upkeep at the joints |
If you want a straight recommendation, here it is. Pick cement when texture and pattern are the point, porcelain when you want a calm modern field, glass for cooktop runs, and zellige-inspired tile for accent areas that can handle irregularity without reading as messy.
A material that looks good but is annoying to clean loses value fast in a real kitchen.
For a broader consumer-facing view on backsplash selection, The Cabinet Coach's backsplash tips are useful because they focus on how tile choice interacts with daily use, not just finish photography.
A useful place to start is Original Mission Tile's backsplash material guide, especially if you are comparing surface character against cleanup demands and want a clearer read on where each format belongs.
Designing Around Outlets, Corners, and Curves
Most backsplash inspiration fails the second it meets a switch plate. That's not a tile problem, it's a layout problem. The smartest custom work starts with a scaled sketch, not a color decision.

Where the plan usually fails
Outlets are the first trap. If the pattern has a strong center, the center can land behind a cover plate and disappear. That's fine when the geometry is planned around it, and ugly when it wasn't. Cabinet ends cause the second problem, because the tile field needs a clean place to stop instead of a random sliver that looks accidental.
Curved walls are their own category of headache. A rigid square grid can fight the bend and create awkward cuts. Smaller modular forms, or shapes that visually taper more naturally, usually handle those transitions better. The old forum discussions about adding backsplash to curved walls exist for a reason, because the easy-looking project turns technical discussion of curved backsplash walls.
The layout moves that save the install
- Mark electrical locations early. Outlet boxes and switches should be drawn on the layout before the pattern is approved.
- Dry-fit around windows and cabinets. A tile that looks centered on paper can look off once the sill or upper cabinet interrupts the field.
- Choose the termination on purpose. Quarter-round trim, grout-only ends, or a clean die-off at the cabinet line all work, but only when they're part of the composition.
- Match the repeat to the interruption. Big floral motifs can hide an outlet more gracefully, while smaller geometrics make the cut feel intentional.
The mistake I see most often is simple. Someone falls in love with a pattern first, then discovers the focal point lands behind a switch plate. That's not a bad tile. That's a bad layout.
From Design Studio Concept to Ordered Tiles
A custom backsplash should move through a controlled chain of decisions. If the process is loose, the final wall becomes a compromise. If the process is tight, the job feels calm from mockup to install.
The sequence that keeps people out of trouble
Start with a reference image or sketch, then refine it in the design studio. Choose the tile format, whether that's 8×8, hex, arabesque, or a star-and-cross arrangement, and only then lock the color palette. That order matters because the same pattern behaves differently across different formats, especially once grout and edge terminations enter the picture.
Sample approval is not optional. Cement pigments often look one way on a screen and another under the actual kitchen lighting, so a strike-off or physical sample is the only honest test before production. That is where many projects save themselves from a color mismatch that would have annoyed everyone for years.
Get the jobsite ready before delivery
- Confirm the substrate condition. The wall should already be prepared for the chosen tile format.
- Have trim profiles and extenders on hand. Outlets and edges need their accessories ready before setting starts.
- Match the grout early. Grout changes the read of the whole wall, especially on patterned work.
- Check the delivery window against the install sequence. Handmade cement tile and ready-to-ship inventory don't belong on the same timeline.
A factory can make a beautiful custom run and still have the job fail if the wall isn't ready to receive it. That part is on the builder, the installer, and the designer in equal measure. A backsplash doesn't forgive sloppy sequencing.
Budget Realities of a Custom Backsplash
The budget conversation gets messy when people talk about tile as if the material were the whole cost. It isn't. On most backsplash jobs, labor and layout complexity matter just as much as the tile itself, especially when the wall has lots of cuts, outlets, and transitions.
What actually pushes the number up
Pattern complexity is the obvious driver. A straight stacked field is easier than a herringbone or chevron layout, and the more cuts the installer has to make, the more the project costs in time and waste. Handmade or textured finishes also add perceived value, but they can increase handling care and planning.
The choice isn't luxury versus budget. It's where you want to spend the complexity. A premium custom cement field in a straightforward layout can be a smarter use of money than a cheaper tile with a fussy pattern that eats labor. That's a trade-off I'd make in a residential kitchen without hesitation.
If the wall is busy, don't add a busy pattern on top of it. Pay for clarity, not confusion.
Custom backsplashes are also where scope creep hides. Removing old tile, correcting the substrate, or adding edge treatments can change the job quickly. If the installer has to solve geometry on site instead of on paper, the labor bill will reflect that. For that reason, budget should be finalized after the pattern and layout are locked, not before.
The cleanest pricing conversations happen when the homeowner, designer, and installer agree on the field, the grout, the edges, and the termination points in advance. That's the difference between a project that feels curated and one that feels like a series of change orders.
Three Layouts That Make a Room Feel Custom
The most convincing custom backsplash isn't always the most decorative one. Often it's the one that treats the room with discipline. Three common scenarios show how layout does the heavy lifting.
Small galley kitchen
A small galley kitchen benefits from one continuous, full-height field in a single cement pattern or a quiet tonal repeat. The key is consistency. A simple grout line and a clean die-off at the upper cabinets make the room feel taller and less chopped up. One strong wall treatment reads as intentional, while multiple competing gestures can shrink the space.
Open-plan kitchen with an island
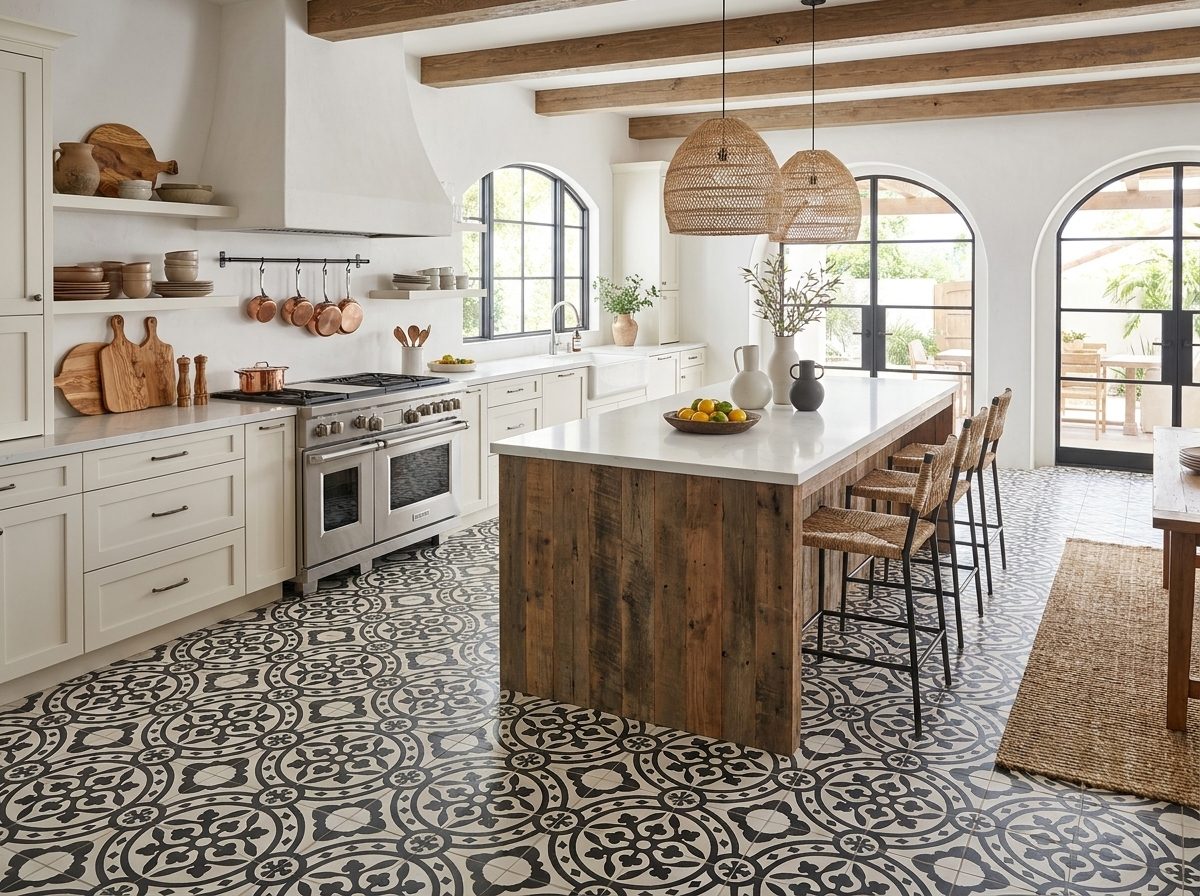
In an open plan, the backsplash should connect the perimeter to the cooktop wall instead of making each zone feel separate. A repeated pattern in the same format across the visible walls, with matched grout and crisp cabinet termination, helps the kitchen feel tied to the architecture. That's where a star-and-cross, arabesque, or hex format can work beautifully, because the pattern becomes part of the room rhythm rather than a decoration pasted onto it.
Powder room or wet bar
Small spaces can carry bolder decisions. A brass-accented or terrazzo-look splash gives a wet bar or powder room a jewel-box quality without needing a large square footage commitment. Use a tighter grout read, a clean edge, and let the material do the work. In a tiny room, one disciplined gesture can look more expensive than a room full of busy details.
The same rule applies to all three spaces. The layout, grout, and stop points do more to create a custom feeling than the tile catalog itself. A common tile can look bespoke when the wall composition is right.
Maintaining a Custom Backsplash for the Long Run
A backsplash should still look good after the first year of cooking, cleaning, and steam. If it needs babying every weekend, it's the wrong choice for the room. The smartest maintenance plan is simple and consistent.

Care that preserves both color and finish
Seal cement tile on the schedule recommended for the specific product, and keep the cleaner gentle. pH-neutral cleaners are the safe choice for pigment-rich handmade surfaces, while acidic descalers and abrasive pads are the wrong tools near a custom finish. Wipe spills promptly, especially near the range where cooking residue builds fastest.
Grout needs attention too. Sanded, unsanded, and epoxy grout each behave differently, but all of them clean better when grime doesn't get a chance to harden. If you cook often, inspect the joints regularly and plan for occasional refresh work rather than pretending grout is permanent.
A well-made cement backsplash can last for decades in a residential kitchen if it's cared for properly. The wall won't be the weak link. Neglect usually is.
Before you order, lock in these decisions: pattern, color palette, format, grout color, edge profile, lead time, and maintenance plan. If those seven items are clear, the install usually goes smoothly. If they're fuzzy, the job will show it.
If you want a backsplash that looks deliberate in real light and holds up to real cooking, start with the material, the layout, and the sample, in that order. Original Mission Tile makes handmade cement tiles, in-stock patterns, and custom design tools for backsplash work, so you can turn a wall concept into a buildable specification. Visit Original Mission Tile and bring the room, the measurements, and the style direction with you.