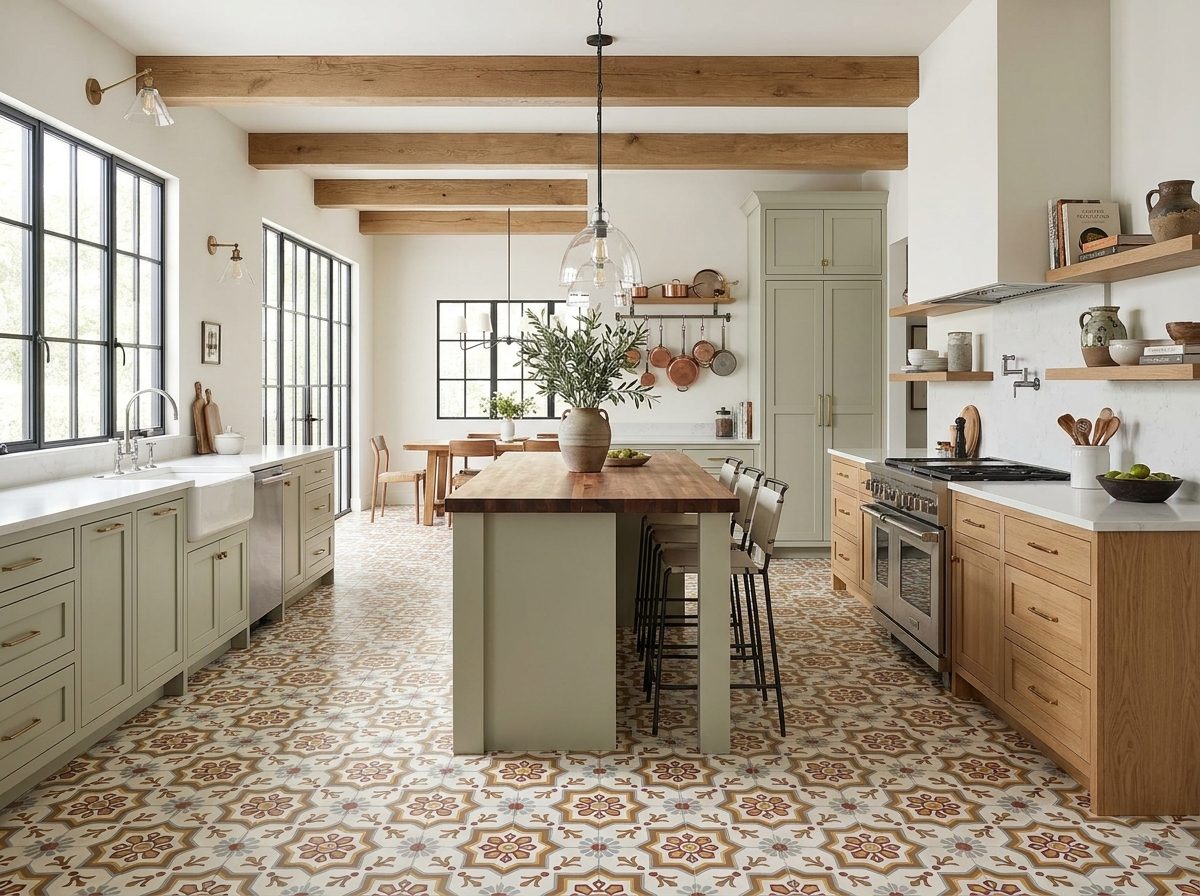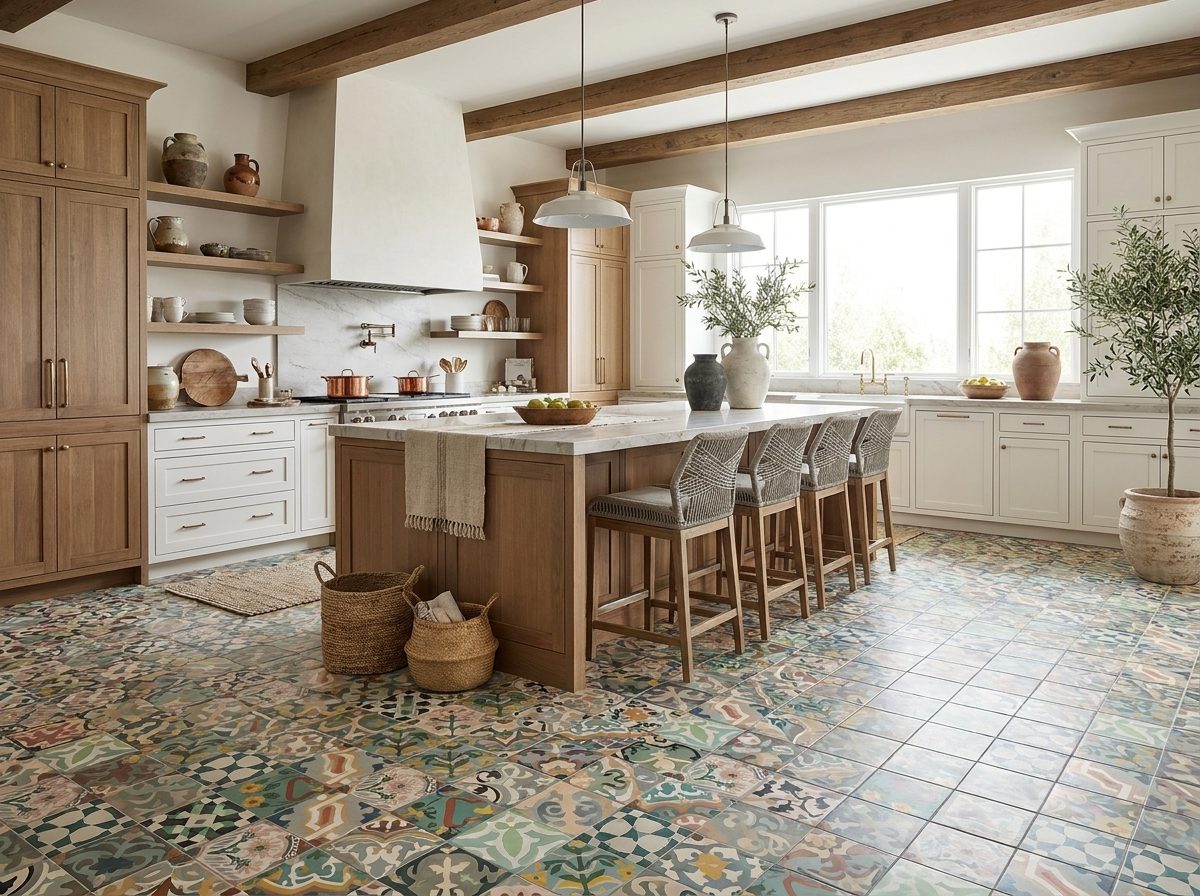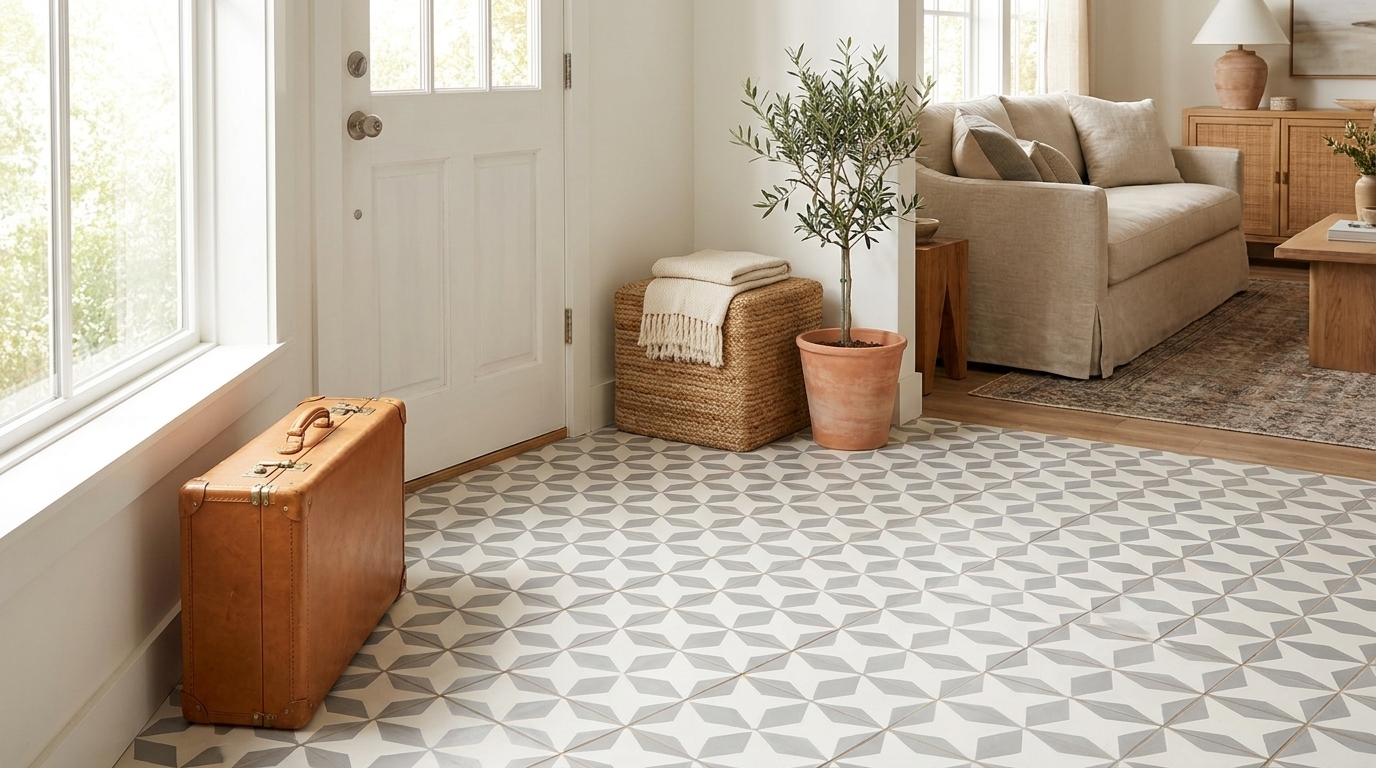
Figuring out exactly how much grout you need feels like a tiny detail, but it’s one of those things that can make or break your project. Get it wrong, and you’re either making a frantic trip back to the store with wet grout on your float or you’re stuck with expensive, leftover bags cluttering your garage.
A good calculation saves you time, money, and a major headache.
This is especially true for the beautiful, handmade cement tiles we specialize in. The industry has surprisingly precise standards—for instance, grouting one square meter of standard 450mm x 450mm tiles with 3mm joints requires just 0.212 kg of grout. This level of detail is vital for designers specifying custom motifs from Original Mission Tile’s Design Studio, where the grout choice can define the entire aesthetic. You can find more industry insights on the global grout market.

A Quick Reference For Your Project
Before we dive into the nitty-gritty formula, let’s start with a simple reference point. The table below gives you a reliable estimate for some of our most popular tile formats, helping you get a ballpark figure right away for budgeting and planning.
For a more detailed look at your total project expenses, our tile cost calculator and budget guide can help you map everything out from tile to trim.
Pro Tip: These estimates already include a 15% waste factor. This buffer is essential to account for mixing inconsistencies, accidental spills, and the beautiful, subtle variations found in handmade cement tiles.
Quick Grout Estimator For Common Tile Formats
This table shows the estimated pounds (lbs) of grout needed per 100 square feet, assuming a standard 1/8″ (3mm) grout joint and 1/4″ (6mm) tile depth. We’ve already factored in a 15% waste allowance to be safe.
| Tile Format | Tile Size (inches) | Estimated Grout Needed (lbs per 100 sq ft) |
|---|---|---|
| Square | 8″ x 8″ | 14 lbs |
| Hexagon | 8″ x 9″ | 12 lbs |
| Arabesque | 8.5″ x 7.5″ | 16 lbs |
This simple chart is a great starting point. As you can see, the shape of the tile plays a big role—curvier tiles like our Arabesque format have more perimeter, which means you’ll need more grout to fill those joints compared to a straightforward square. Now, let’s get into the specific formula to calculate this for your unique project.
The Key Variables in Your Grout Calculation
Figuring out how much grout you’ll need is less about the square footage of your floor and more about the volume of the gaps between the tiles. It’s a bit like filling a swimming pool—you can’t just know the length and width; you absolutely need to know the depth to figure out how much water to order. The same exact logic applies to your tile joints.
There are four crucial factors that will make or break your calculation. Get these right, and you’ll go from a rough guess to a precise measurement, buying the right amount of grout the first time.
Tile Size: The Inverse Relationship
This one feels a little backward at first, but it’s true: smaller tiles demand significantly more grout than large-format tiles, even in the very same size room. Why? Because a room full of small tiles has way more linear feet of joints to fill.
Let’s put that into perspective for a 100 sq ft project:
- Large Format (24″x24″ tiles): You’ll have roughly 100 linear feet of grout lines.
- Classic Cement (8″x8″ tiles): That number jumps to about 300 feet of grout lines.
- Intricate Mosaic (2″x2″ tiles): Now you’re looking at a staggering 1,200+ linear feet of joints.
This is exactly why our intricate fish scale or star & cross patterns need more grout than a simple 8×8 square tile install. More tile edges always mean more gaps to fill.
Grout Joint Width: The Multiplier Effect
The width of your grout joint has a massive impact on how much grout you use. A seemingly tiny adjustment can easily double your grout consumption, a detail many online calculators just don’t account for properly.
For instance, widening a joint from 1/16″ to 1/8″ doesn’t just add a little bit—it literally doubles the volume of the gap. Bumping it up again from 1/8″ to 1/4″ will double your requirement once more. You have to be precise here. Use a ruler or your tile spacers to measure the actual width before you run any numbers.
Handmade cement tiles have charming, slight variations in their edges. A slightly wider joint, like 1/8″, is often more forgiving and looks better than a hairline 1/16″ joint, which can accentuate any minor irregularities.
Tile Thickness: The Forgotten Dimension
The thickness of your tile—its depth—is the final, and often forgotten, piece of the volume puzzle. This is a huge deal when you’re working with high-quality handmade cement tiles like ours, which are often a robust 5/8″ (16mm) thick, much beefier than standard ceramic or porcelain.
A thicker tile means a deeper channel for the grout. If you use a generic calculator that assumes a thin 1/4″ ceramic tile but you’re installing a 5/8″ cement tile, your estimate will be off by more than 50%. Always, always measure the actual thickness of your tile. Don’t rely on a generic standard.
Project Area: The Foundation
Finally, you need the total square footage of your space. This is the most straightforward measurement of the four, but getting it right is still the foundation of a good estimate.
Here’s how to nail it down:
- Measure the length and width of the room in feet.
- Multiply them together (Length x Width) to get your total square footage.
- If your room has an odd shape, just break it down into smaller, simple rectangles. Calculate the area of each one and then add them all together.
Once you have these four variables—tile size, joint width, tile thickness, and project area—you have everything you need to calculate your grout quantity with confidence.
Putting the Grout Formula Into Practice
Alright, you’ve got the theory down. Now, let’s get our hands dirty and turn those variables into a real, practical number. This is where you take your project’s unique measurements and figure out exactly how much grout you’ll need to buy.
The industry-standard formula can look a little intense at first glance, but I promise it’s just simple multiplication and division. We’ll walk through it together, step-by-step.
The Grout Calculation Formula Explained
First up, the formula itself. To get your total grout requirement in pounds (lbs), this is the equation you’ll use:
( (Tile Length + Tile Width) / (Tile Length x Tile Width) ) x Grout Joint Width x Grout Joint Depth x Total Square Feet x 1.7 x (1 + Waste Factor)
Let’s quickly translate what each of those pieces means:
- Tile Length & Width: Simply the dimensions of one tile, measured in inches.
- Grout Joint Width & Depth: The width of the gap between your tiles and the thickness of the grout line, also in inches. Pro tip: the joint depth is the same as your tile’s thickness.
- Total Square Feet: The total area you’re tiling.
- The Magic Number (1.7): This is a density factor. It’s a handy constant that converts the cubic inches of your grout joints into the approximate weight of dry grout powder in pounds.
- Waste Factor: This is your safety net, written as a decimal (for example, 15% waste becomes 1.15). For handmade tiles, I always recommend a waste factor of 15% to 20% to account for their beautiful, charming irregularities.
This diagram shows the three key measurements—tile size, joint width, and tile thickness—that drive the entire calculation.

You can see how each dimension contributes to the total volume you need to fill—getting this right is the secret to an accurate estimate.
Example 1: The Kitchen Backsplash
Let’s put this to the test. Imagine you’re tiling a kitchen backsplash behind the stove. It’s a 30 square foot area, and you’ve picked our classic 8×8 inch cement tiles. These tiles are 5/8 inches (or 0.625″) thick, and you’re aiming for a standard 1/8 inch (0.125″) grout joint.
Here are your numbers:
- Tile Length & Width: 8″
- Grout Joint Width: 0.125″
- Grout Joint Depth (Tile Thickness): 0.625″
- Total Area: 30 sq ft
- Waste Factor: 15% (or 1.15)
Now, let’s plug those into the formula:
( (8 + 8) / (8 x 8) ) x 0.125 x 0.625 x 30 x 1.7 x 1.15(16 / 64) x 0.125 x 0.625 x 30 x 1.7 x 1.150.25 x 0.125 x 0.625 x 30 x 1.7 x 1.15 = 11.45 lbs
For this backsplash, you’ll need about 11.5 pounds of grout. Since grout usually comes in 10 lb or 25 lb bags, grabbing one 25 lb bag is the smart move. You’ll have plenty to finish the job without worrying about running out.
Example 2: The Commercial Floor
Okay, let’s scale up. Picture a 500 square foot commercial entryway using our 8″ Hexagon cement tiles. Like the 8x8s, they are 5/8″ (0.625″) thick, but the spec calls for a slightly wider 3/16″ (0.1875″) joint to accommodate the larger space.
A quick note on hexagons: Since they aren’t perfect squares, we just average the length and width for the formula. An 8″ hexagon is about 8″ tall by 9.25″ wide at its points. We’ll use an average dimension of 8.6 inches to keep the math clean.
Here are your variables for this job:
- Tile Length & Width (Average): 8.6″
- Grout Joint Width: 0.1875″
- Grout Joint Depth: 0.625″
- Total Area: 500 sq ft
- Waste Factor: 20% (1.20), a bit higher to be safe on a big commercial project.
Let’s run the numbers:
( (8.6 + 8.6) / (8.6 x 8.6) ) x 0.1875 x 0.625 x 500 x 1.7 x 1.20(17.2 / 73.96) x 0.1875 x 0.625 x 500 x 1.7 x 1.200.233 x 0.1875 x 0.625 x 500 x 1.7 x 1.20 = 27.8 lbs
The math tells us you need roughly 28 pounds of grout. For a project of this size, buying two 25 lb bags is a no-brainer. The last thing you want is to stop work midway through to run to the store.
This kind of precision is exactly how professionals bid on large jobs. The entire cementitious grout market, valued at USD 645.75 million in 2025, is projected to hit USD 863.34 million by 2030, and it runs on these standards. Industry benchmarks, like knowing it takes exactly 0.212 kg to grout 1 m² of 450x450mm tiles at 3mm joints, are what allow contractors to bid accurately. You can read more in this tile grout market research report. By using this formula, you’re using the same professional approach to estimate your materials.
Choosing the Right Grout for Your Tiles

Figuring out how much grout you need is one half of the puzzle. Nailing down the right type of grout is the other—and it’s what protects your investment and makes the final look pop. This is especially true with handmade tiles, whose unique character and porous surfaces can be ruined by the wrong choice. The grout you pick will either amplify their beauty or cause a frustrating, permanent headache.
The tile itself always leads the decision. That’s why thinking about the entire project, including choosing the best tiles for bathroom walls or floors, helps you pair the right materials from the start.
Cementitious Grout: The Industry Standard
For artisanal products like our handmade cement tiles, your go-to is almost always an unsanded cementitious grout. Think of it as the trusted workhorse of the tile world, and for good reason.
It’s no surprise that cementitious grout holds a dominant 58% of the global market share. From boutique hotels to residential backsplashes, it’s the most common and reliable choice. Its popularity also means you’ll have a wide range of colors and consistent quality to work with.
You’ll run into two main types:
- Unsanded Grout: This is the one you want for delicate, scratch-prone surfaces. Its fine, smooth texture is perfect for unglazed cement, zellige, or polished marble because it won’t mar the tile’s silky, matte finish during application.
- Sanded Grout: Just as the name implies, this grout has fine sand mixed in for strength, which helps reduce shrinkage in wider grout joints (1/8 inch or larger). But be warned: that sand is abrasive and can easily scratch the face of unsealed cement tiles.
Critical Takeaway: For any Original Mission Tile product, your default should be unsanded grout. Only consider sanded grout for joints wider than 1/8″, and even then, you must proceed with caution and test it on a spare tile first.
When to Consider Specialty Grouts
While cementitious grout covers most bases, specialty formulas exist for specific situations. Epoxy grout, for instance, is a resin-based system famous for its bomb-proof durability and near-total resistance to stains and moisture.
This makes it a rockstar in high-stress areas like commercial kitchens or shower floors. The trade-off? It’s notoriously difficult to work with. Epoxy has a plastic-like consistency and sets up fast, which can be a disaster on porous cement tiles. Any residue left on the tile surface is nearly impossible to remove once it cures.
For almost all residential projects, the benefits of epoxy simply don’t outweigh the huge risks and application challenges when pairing it with handmade tiles.
Grout Color and Its Impact
Beyond what it’s made of, the color of your grout will dramatically change the entire feel of your installation. It’s a design decision just as important as the tile itself.
You really have two main paths to choose from:
- Matching Grout: Picking a color close to your tile creates a seamless, monolithic look. It makes the surface feel bigger and more uniform.
- Contrasting Grout: Using a dark grout with light tiles (or vice-versa) makes each tile’s shape pop. This creates a bold, graphic statement that highlights the pattern.
The color itself doesn’t change your quantity math—a 25 lb bag of white grout covers the same area as a 25 lb bag of charcoal. But the visual impact is night and day. To see some real-world examples, check out our guide on how to choose the right grout color for your tile to make sure the final look is exactly what you’re picturing.
Insider Tips for Grout Mixing and Application
You’ve got your grout, your calculations are locked in, and now it’s time for the part where true craftsmanship shines. Knowing how much grout you need is one thing, but a flawless installation all comes down to the mix and application.
The secret to a perfect finish starts with the right consistency. Every seasoned installer I know describes it the same way: like smooth peanut butter. It should be thick enough to hold its shape on your trowel but still pliable enough to spread easily into the joints. If it’s runny or watery, you’ve gone too far.
The Art of the Perfect Mix
One of the most common DIY mistakes is adding too much water right off the bat. A soupy mix leads to weak, shrink-prone grout that will crack and discolor down the road. Stick to the manufacturer’s ratio and always add the powder to the water—not the other way around. This little trick prevents those stubborn dry pockets from forming at the bottom of your bucket.
Mix slowly with a paddle mixer until it’s lump-free, then stop. Now for the step that amateurs almost always skip: slaking. You need to let the grout sit undisturbed for 5-10 minutes. This pause is non-negotiable; it allows the chemicals in the mix to fully hydrate, which is critical for achieving maximum strength and consistent color.
After the grout has slaked, give it one final, quick remix without adding any more water. This will bring it back to that perfect peanut butter consistency, and now it’s ready to go.
Professional Application Techniques
Once your grout is mixed, the clock starts ticking on its “pot life”—the window you have before it begins to set up. To work like a pro and ensure your joints are packed perfectly, focus on your technique.
- Hold Your Float Correctly: Grip your grout float at a 45-degree angle to the tile surface. This is the magic angle for pressing grout firmly into the joints instead of just smearing it across the top.
- Work Diagonally: Always, always spread the grout diagonally across the tile joints. If you move parallel to the joints, you risk scooping the grout right back out, leaving low spots and air pockets behind.
- Pack the Joints Full: Make several passes from different directions. The goal is to ensure every single joint is completely filled from bottom to top. This eliminates voids that can lead to weak spots and future cracking.
Of course, proper application is just one piece of the puzzle. For a complete A-to-Z overview of the entire tiling process, our comprehensive guide on how to tile covers everything you need to know.
The Critical Cleanup Window
The final, and perhaps most critical, phase is knowing exactly when to start cleaning the excess grout off the tile. If you wait too long, you’ll be stuck battling a stubborn grout haze that is incredibly difficult to remove, especially from the porous surface of handmade cement tiles.
But if you start too soon, you’ll pull the fresh grout right out of the joints. The sweet spot is usually 15 to 30 minutes after application. The easiest way to check is with the “thumbprint test”—lightly press your thumb on a grout line. If it feels firm and doesn’t transfer to your thumb, it’s time for the initial cleaning with a damp (not soaking wet!) grout sponge.
Common Questions About Grout Quantity
Even after you’ve run the numbers and double-checked the math, a few nagging questions can pop up. That’s completely normal. Getting these little details right is what separates a good tile installation from a great one. Let’s tackle some of the most common questions we hear right before the mixing begins.
Answering these now ensures you’re prepared not just with the right amount of material, but with the right know-how to handle the small variables that make a big difference. This level of planning is the key to a smooth, efficient project.
Beyond just getting the mix right, understanding precise grout quantities is vital for efficient project execution. It’s a key part of broader strategies to reduce overall construction costs because it minimizes waste and helps you avoid those costly, last-minute trips to the store.
Does Grout Color Affect the Quantity I Need to Buy?
Nope. The color of your grout has absolutely no impact on the volume or weight you’ll need. A 25 lb bag of charcoal grout and a 25 lb bag of pure white grout from the same brand will cover the exact same square footage. The physics of the material doesn’t change with the pigment.
The choice is purely aesthetic, but it’s a powerful one. A contrasting grout color will make each tile’s shape pop, creating a bold, graphic look. On the other hand, a matching grout color blends the tiles together for a more seamless, monolithic appearance.
Our Pro Tip: Always, always test your chosen grout color on a spare tile or in a very inconspicuous area first. The final dried color can sometimes look a little different from the sample stick or the photo on the bag, and you don’t want any surprises after the fact.
What Happens If I Mix Too Little or Too Much Grout at Once?
This is one of the most critical parts of the application process, and it all comes down to timing and consistency. Getting this right is a skill that separates experienced installers from first-timers.
- Mixing Too Little: The main risk here is color inconsistency. Even with modern manufacturing, slight variations can happen between bags. If you have to stop mid-wall to mix a new batch, you might see a subtle shift in color where the two applications meet. It also forces you to rush, and rushing leads to mistakes.
- Mixing Too Much: This is a battle against the clock. Grout has a limited pot life—the amount of time you have to work with it before it starts to harden in the bucket. For most cementitious grouts, this is around 20-30 minutes. Trying to use it all up before it cures leads to sloppy application and poorly packed joints.
The best practice is simple: mix only what you can comfortably apply and clean up within that 20-30 minute window. For larger jobs, it’s far better to mix multiple smaller, consistent batches than one giant, unmanageable one.
Can I Use an Old Bag of Grout I Have in My Garage?
We strongly recommend against it. Think of grout powder like any other cement-based product—its biggest enemy is moisture. Even in what seems like a perfectly sealed bag, ambient humidity in a garage or basement can slowly start the hydration process over months and years.
How can you tell if it’s gone bad? The most obvious sign is hard, uncrushable lumps. If you open the bag and the powder isn’t fine and consistent, or if it has chunks you can’t easily break apart with your fingers, the grout is compromised.
Using old, partially cured grout will result in a weak, crumbly, and inconsistent finish. It won’t bond properly, will be prone to cracking, and will ultimately fail—potentially ruining your entire tile installation. Always purchase fresh grout for your project to guarantee a professional-grade, durable result.
Why Do I Need More Grout for Handmade Tiles?
This is an excellent question that gets to the heart of what makes artisanal products so special. Unlike machine-made tiles that are perfectly uniform down to the millimeter, handmade tiles like ours have slight, beautiful variations in their size, thickness, and the straightness of their edges.
These subtle irregularities are a huge part of their charm and character, but they mean your grout joints won’t be perfectly uniform either.
- Inconsistent Joint Width: Some joints might be slightly wider than others, requiring more grout to fill.
- Variable Depth: The surface of a handmade tile can have a gentle undulation, meaning some areas of the joint will be deeper.
This is precisely why we recommend adding a slightly larger waste factor—around 15-20%—when you’re calculating grout for handmade tiles. That extra buffer isn’t for “waste” in the traditional sense; it’s to accommodate the beautiful, inherent imperfections that make each tile one-of-a-kind.
At Original Mission Tile, we believe that understanding these small details empowers you to achieve a truly stunning, long-lasting installation. Our handmade cement tiles are crafted with care, and with the right preparation, your project can be a masterpiece.
Explore our collection of authentic, artisan-made cement tiles at https://originalmissiontile.com.