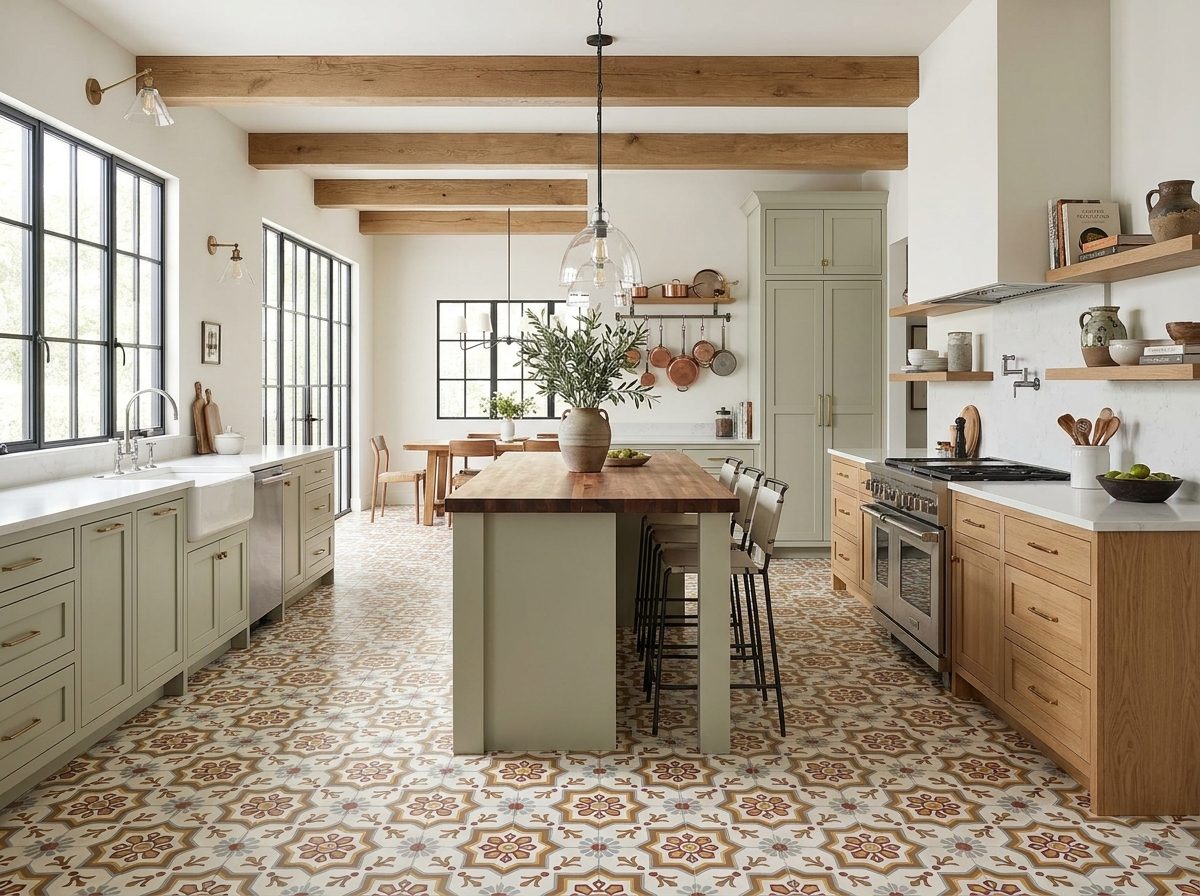
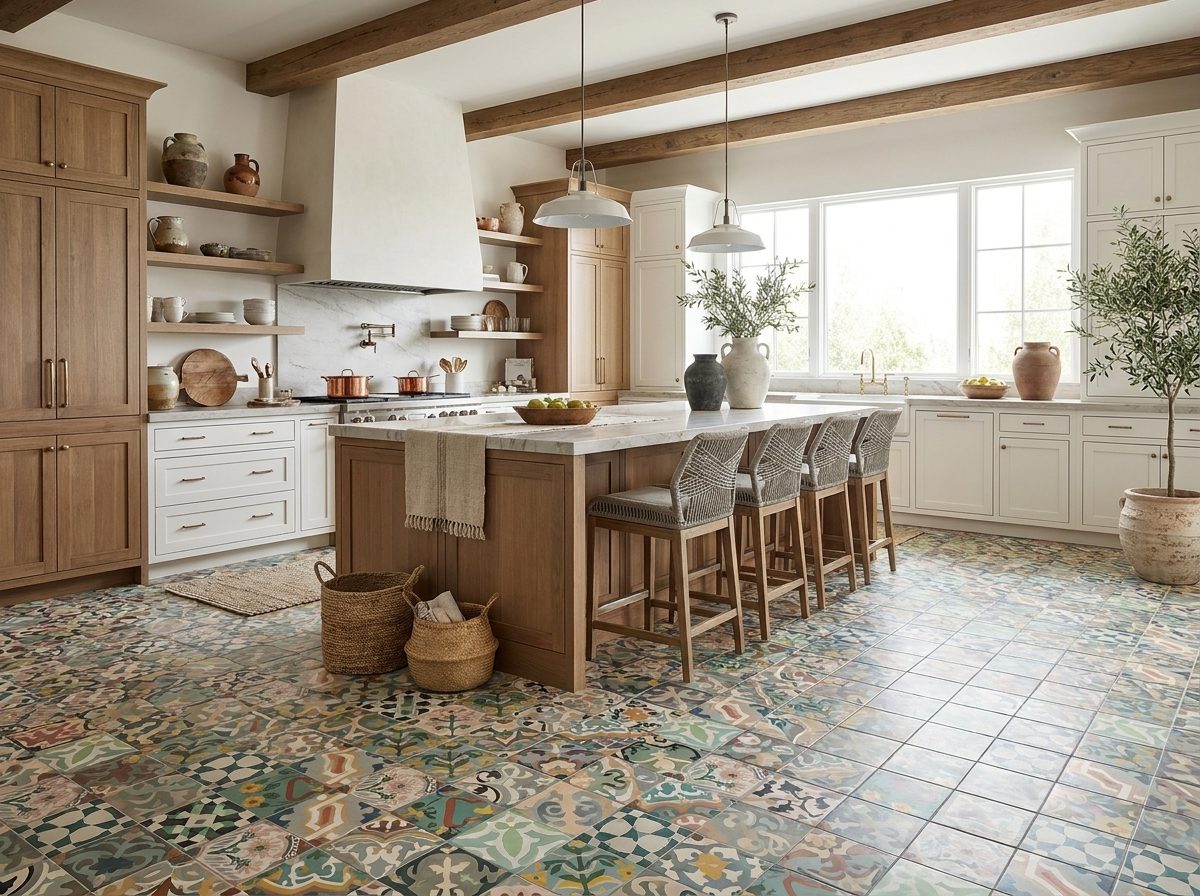
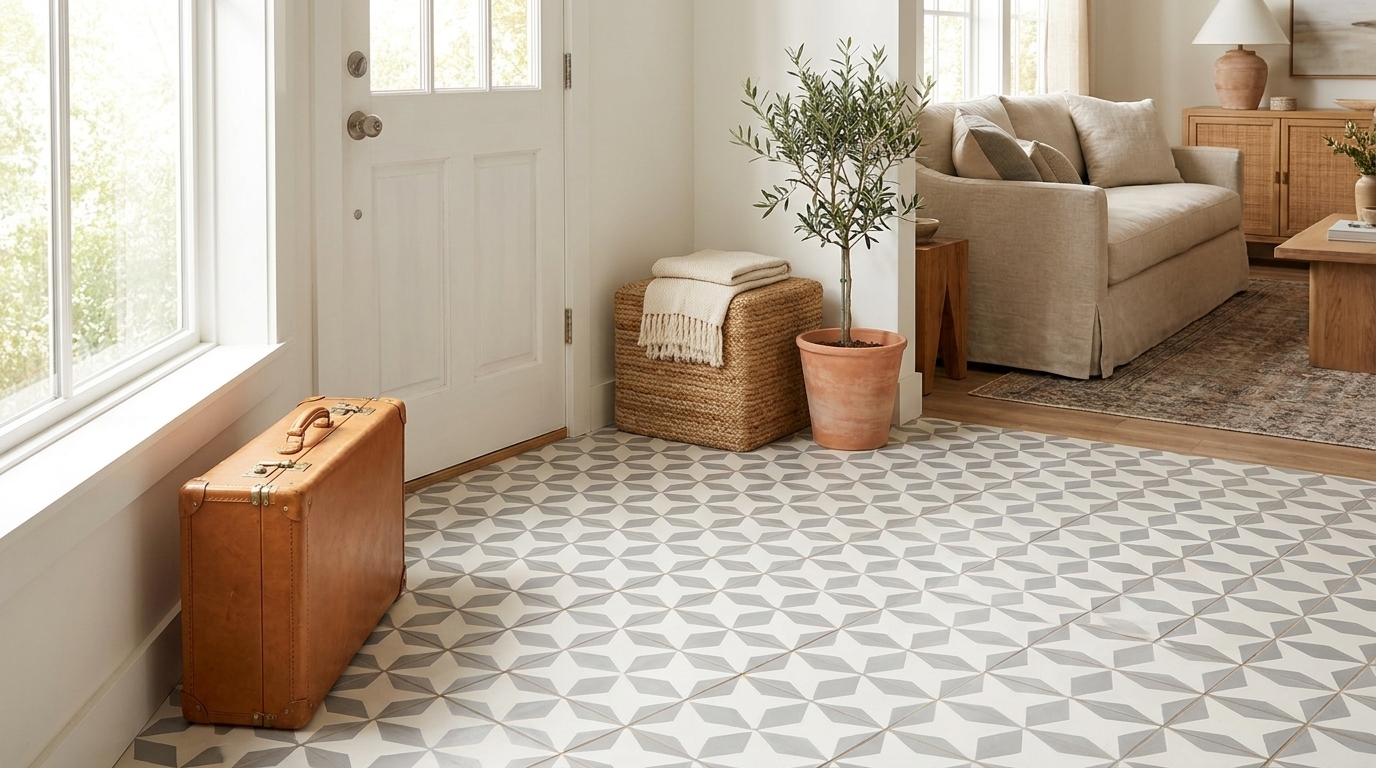
You're probably standing at the edge of the project right now, looking at a patio, entry, terrace, porch, or garden walk and seeing the finished surface in your head. Handcrafted cement tile outdoors can be extraordinary. It gives a space weight, pattern, and permanence that stamped concrete and generic pavers rarely match.
It can also fail fast when it's installed like an indoor floor.
The failed jobs nearly always look the same. White mineral haze at the surface. Dark moisture marks that don't seem to dry. Cracked grout. Hollow spots. Tiles loosening after a cold season or after repeated wetting. With porous handmade cement tile, those failures aren't cosmetic quirks. They're signs that water got where it should never have been allowed to sit.
That's why exterior tile installation has to be treated like envelope work, not decoration. The demand for exterior surfacing keeps growing. The global outdoor tile market is projected to reach about USD 15,000 million by 2025, with an estimated 6.5% CAGR from 2025 to 2033, according to Archive Market Research's outdoor tile report. That growth makes sense. People want outdoor rooms that feel designed, not leftover.
If you're still shaping the layout, a tool like a best free patio design app can help you test furniture zones, planting edges, and pattern scale before tile is ordered. And if you're weighing whether cement tile is even appropriate outside, review the application guidance for cement tiles for outdoor use before committing to a material schedule.
Planning Your Outdoor Cement Tile Project
Porous cement tile asks more of the assembly than porcelain does. That's the first planning decision to get right.
Porcelain is dense and forgiving by comparison. Handmade cement tile has a matte, open surface and a body that interacts with moisture differently. It rewards careful detailing and punishes casual shortcuts. Outdoors, that means you have to think about sun, rain, standing water, runoff, freeze-thaw exposure, and the path water takes below the tile as seriously as you think about pattern and color.
Start with climate, not color
A beautiful tile won't survive a bad site plan. Before anyone picks grout color or border geometry, answer these practical questions:
- Sun exposure: Does the surface bake in afternoon heat, stay shaded and damp, or swing between both?
- Water path: Where does rain go now, and where will it go after tile raises the finished surface?
- Use conditions: Is this an entry landing, an uncovered patio, a pool surround, or a covered porch?
- Winter behavior: Will the assembly see freeze-thaw cycling, snow, or repeated saturation?
- Adjacent materials: Are you tying into stucco, wood framing, metal thresholds, planter walls, or drains?
Those answers affect every downstream choice, from movement joints to sealers to whether the project should proceed as tile at all.
Cement tile outdoors succeeds when the installer designs for moisture exit, not just moisture resistance.
Design the field with installation in mind
Handmade tile gives you more design options, but it also demands a disciplined layout. Strong exterior work starts with control lines, dry layout, and a realistic plan for cuts at edges, drains, steps, and door thresholds.
A few planning habits save real trouble later:
- Mock up the pattern: Lay out representative tiles dry and confirm repeat, orientation, and border logic.
- Resolve edges early: Don't leave terminations for the end. Exposed edges, stair returns, and planter transitions need a finish strategy.
- Check module against the site: A pattern that fits beautifully in a showroom may die at a narrow landing or around a column.
- Order with variation in mind: Handmade cement tile carries tonal and surface variation. Blend from multiple boxes during layout.
Respect the material
Cement tile isn't difficult. It's exacting. If the build-up below it is sound, waterproofed, drained, and allowed to move, it can age with tremendous character. If the assembly traps water, the tile becomes the visible victim of a hidden problem.
That's the difference between a patio that looks better with time and one that starts asking for repairs.
Substrate Prep and Total Waterproofing
Most exterior tile failures start below the tile. Not in the grout. Not in the sealer. Below the setting bed.
If the substrate is unstable, out of plane, cracked without treatment, or unable to move water out of the system, the tile surface only hides the problem for a while. Cement tile makes that especially obvious because moisture telegraphs through it faster than through denser products.
Read the site before you touch the slab
Look past the immediate surface. Exterior work sits inside a larger drainage picture that includes downspouts, grade, planter overflow, irrigation, splashback, and the direction the structure sheds water.
When a house and pool are being planned together, site coordination becomes even more critical. That's why broader project sequencing advice, like these Flascon custom home building insights, is useful even for tile decisions. Exterior finishes fail when teams treat water management as someone else's scope.
Before installation, inspect for:
- Structural soundness: The base has to be solid, not crumbling, flaking, or moving.
- Cracks and cold joints: Some cracks are dormant. Some are active. They aren't all treated the same.
- Plane and drainage: Flat isn't enough outdoors. The surface must direct water where you want it to go.
- Contamination: Sealers, paint, curing compounds, oils, and dirt can ruin bond.

Build the slope and drainage assembly
Simple slope by itself often isn't enough for handmade or large-format exterior tile. Current best practice has shifted toward drainage mats and passive capillary drainage with a minimum 1 to 2% fall to manage seepage water, as explained in DIYTileGuy's exterior tile installation guidance.
That matters because water doesn't only travel on top of the tile. It also gets below the surface through joints, perimeter conditions, and microscopic pathways. Once there, it needs a deliberate route out.
A reliable exterior build-up often includes these layers, adjusted to the substrate and climate:
Sound base
Concrete is common because it gives the assembly mass and stability. If the slab is compromised, fix that first. Tile won't bridge a bad slab into a good one.Surface correction
Patch defects and bring the plane into tolerance. Exterior tile can't compensate for birdbaths, ridges, or low pockets that hold water.Crack isolation or uncoupling where needed
Through these methods, movement in the substrate gets managed before it telegraphs to the tile layer.Primary waterproofing membrane
This isn't optional with porous cement tile. It is the barrier that keeps bulk water from entering vulnerable parts of the assembly.Drainage layer or mat where the design calls for it
This gives seepage water a path to exit rather than sit trapped beneath the tile.Compatible setting bed
Only after all of that should the tile setting system begin.
Waterproof the whole field, not just the obvious spots
A common mistake is treating waterproofing like a patch kit. Corners get attention. The broad field gets optimism. Then moisture enters at the least dramatic place on the job.
For porous cement tile, waterproofing has to be total and continuous. Pay close attention to:
- Perimeters
- Changes in plane
- Door thresholds
- Drains
- Planter interfaces
- Step riser and tread transitions
- Any area over occupied space
If you need a refresher on the role of the barrier itself, this overview of a tile moisture barrier is a useful baseline.
Practical rule: If water can enter the assembly but has no planned way to leave, the installation is already on borrowed time.
Don't rush cure and prep windows
Exterior work punishes impatience. Membranes need full cure. Patches need to set properly. Cleanliness matters more than people think. Dust, laitance, and residue can break bond before the first tile is ever set.
The foundation work doesn't get photographed much, but it's where long-life installations are won.
Selecting Weatherproof Adhesives and Grout
The mortar and grout aren't accessories. They are the working mechanics of the system.
Outdoors, the tile layer expands, contracts, gets wet, dries, heats up, and cools down. Cement tile adds another variable because its porous body and matte face don't forgive smear, staining, or weak bond conditions. That's why standard interior products belong nowhere near a serious exterior tile installation.

Mortar needs bond and flexibility
For exterior cement tile, use a high-performance polymer-modified mortar rated for demanding conditions. In practice, installers often look for products that meet ANSI A118.15 because that class is associated with stronger bond performance and better flexibility than basic interior thinsets.
That flexibility matters. The assembly moves. Sun across one portion of a terrace can heat tile unevenly. A cool rain can change surface temperature quickly. A rigid or bargain mortar may hold at first, then slowly lose the argument.
What works best:
- Exterior-rated polymer-modified mortar that's approved for the substrate and tile type
- A mortar with good non-sag and non-slump behavior if you're working on walls, risers, or complex transitions
- Products with enough open time for careful placement, but not so much that crews get lazy about skinning
What doesn't work:
- Interior-only thinset
- Mastic
- Whatever was left over from a backsplash job
- Mortar selected only because it's easy to spread
If you're comparing products, start with guidance on flexible tile adhesive and then confirm the exact manufacturer instructions for your substrate, membrane, and climate.
Grout should match the environment and the tile
Grout choice outdoors is a trade-off, not a fashion preference. Cementitious grout, epoxy, and urethane all have their place, but porous handmade tile changes the conversation because cleanup and stain control matter as much as weather resistance.
A quick comparison helps:
| Grout type | Best use outdoors | Watch for with cement tile |
|---|---|---|
| Cementitious, exterior-rated | Traditional look, easier blending | Requires disciplined sealing and cleanup |
| Epoxy | Strong stain resistance | Can be unforgiving on porous matte surfaces |
| Urethane | Flexibility and weather resilience | Verify compatibility and test cleanup first |
Choose for the whole assembly
The right question isn't “What grout do I like?” It's “What system will move, drain, clean, and age correctly on this project?”
For handmade cement tile, that usually means:
- Pre-sealing test boards before grouting
- Running compatibility checks across mortar, membrane, grout, and sealer
- Using installers who understand that cleanup residue on porous tile isn't a small issue
A beautiful cement tile job can be damaged in a single afternoon by careless grout wash water and the wrong sponge technique.
Exterior tile installation rewards disciplined product selection. It also exposes wishful thinking quickly.
Setting Patterns and Achieving Full Coverage
Layout is where the project becomes architecture instead of a stack of boxes. Before any mortar is spread, establish control lines, dry-lay key areas, and decide where the eye should land when someone first approaches the space.
Handmade cement tile shines when the pattern is intentional. A centered field, a framed border, a rug layout under dining furniture, or a directional path to an entry can all work. What doesn't work is letting pattern decisions happen at the perimeter while cuts get smaller and uglier with every row.

Lay out for balance before you lay tile
Start from the most important visual axis, not necessarily from the longest wall. On an entry, that may be the door centerline. On a terrace, it may be the view from inside the house. On a courtyard, it may be the fountain, fire feature, or opening between walls.
Dry layout should answer a few blunt questions:
- Where do cut tiles land?
- Are border widths consistent?
- Do patterned tiles rotate correctly?
- Will movement joints interrupt the pattern cleanly?
- Do threshold and step details look deliberate?
This is also the stage to blend from multiple boxes. Handmade cement tile has natural variation. If installers pull straight from one carton at a time, the floor can develop visual patches that read as installation error.
The coverage standard is not negotiable
For exterior tile installations, industry standards from the NTCA and ANSI require 95% mortar coverage with back-buttering to prevent water voids that lead to efflorescence, latex leaching, and tiles popping off, a point emphasized in this NTCA and ANSI exterior tile discussion.
That single requirement separates durable outdoor work from a surprising number of failures.
Why it matters is simple. Voids under exterior tile become tiny reservoirs. Water enters, sits, expands in cold weather, and starts breaking bond. On porous cement tile, that moisture can also show up as staining, mineral deposits, or chronic damp appearance before bond failure becomes obvious.
Use double-spreading, every time
Full coverage outdoors is achieved with technique, not hope. The proper approach is double-spreading.
- Key mortar into the substrate.
- Comb it in one direction with the proper trowel.
- Back-butter each tile so the mortar supports the entire back.
- Set the tile while the mortar is fresh.
- Beat in and move the tile enough to collapse ridges.
- Lift tiles periodically and inspect the back.
The mistake I see most often is installers back-buttering casually, like they're buttering toast. That isn't the goal. The goal is a continuous supported bed with no meaningful voids at edges or corners.
A visual demonstration can help when explaining this to clients or crews:
What good setting looks like on the ground
A well-set exterior cement tile field has a few visible qualities:
- Consistent joint width
- No rocking corners
- No hollow sound trends across repeated areas
- Clean face protection during installation
- Straight lines that still respect the handmade character
And a few invisible ones:
- Fresh mortar contact
- Collapsed ridges
- Supported edges
- No rushed placement over skinned mortar
Lift tiles and look. Exterior failures often begin where no one bothered to verify what was happening underneath.
This is the step where craftsmanship becomes durability.
Expansion Joints Sealing and Finishing
A lot of failed exterior tile work looks solid until the first serious movement cycle. Then you see cracks tracking through the field, stress at perimeters, and corners pushing against each other. The usual cause is simple. The installer treated movement joints like an aesthetic nuisance instead of a structural requirement.
Tile doesn't stop moving because the pattern looks tidy. Sun, shade, substrate change, and seasonal swing still act on the assembly.
Put joints where movement will happen
For exterior work, movement accommodation joints should be installed at maximum intervals of 12 feet (3.6 meters), with a minimum width of 10 millimeters, roughly 0.4 inches, filled with flexible sealant, according to this movement joint guidance for exterior tile.
That means joints belong in the field, not just at the perimeter. They also belong at changes in plane, transitions, and where tile meets restraining elements.

A practical checklist looks like this:
- Field spacing: Don't let large uninterrupted runs tempt you into skipping movement relief.
- Perimeter joints: Leave room where tile meets walls, steps, columns, drains, and fixed curbs.
- Changes in plane: Wall-to-floor and tread-to-riser transitions should move independently.
- Sealant selection: Use exterior-grade flexible sealant, not rigid grout.
- Joint prep: Clean the joint, use backer rod where needed, and tool the sealant properly.
Grout is not movement sealant
This is one of the costliest DIY assumptions in exterior tile installation. People see an open joint and reach for grout because it blends visually. Outdoors, that shortcut often creates a crack line on a schedule.
Use a proper flexible urethane or silicone sealant where movement joints are required. Those joints are part of the engineering of the field. They absorb stress that would otherwise transfer into tile edges and corners.
A neat job doesn't mean hiding every soft joint. A neat job means placing them intelligently so the eye reads the pattern and the assembly still has room to move.
Field note: If a movement joint feels visually inconvenient, that's usually a sign the layout should have accounted for it earlier.
Seal the cement tile in stages
Porous handmade cement tile also needs a disciplined finishing sequence. Sealing isn't decoration. It's surface protection and stain control.
A sound approach usually includes:
- Clean and dry the tile face fully
- Apply a suitable penetrating sealer before grouting, especially when the tile is highly porous or intensely pigmented
- Grout carefully with controlled wash water
- Let the surface cure and dry as required
- Apply the final sealing coats appropriate to the product and exposure
Pre-sealing helps prevent grout haze and pigment staining from lodging in the tile face. Final sealing helps the surface resist water and soil while preserving the matte character that makes cement tile worth using in the first place.
Finish edges and details like they matter
The assembly is only as good as its weakest interruption. Pay attention to:
- Stair noses and exposed edges
- Drain terminations
- Door thresholds
- Planter returns
- Transitions to adjacent paving
- Vertical surfaces that shed onto horizontal tile
The main field may be perfectly installed, but one weak threshold or one badly sealed perimeter can still feed water into the system.
Maintenance and Troubleshooting Common Issues
A well-built outdoor cement tile installation doesn't ask for constant fussing, but it does need attentive ownership. The main job is simple. Keep the surface clean, protect the sealer, and catch small issues before they become assembly problems.
Seasonal care that actually helps
Maintenance works best when it stays routine.
In spring, inspect after the wet season. Look for cracked sealant joints, stained areas that stay dark longer than surrounding tile, and any spots where water seems to linger. In fall, clean the surface thoroughly and remove organic debris before cooler, wetter weather sets in.
For regular cleaning:
- Use pH-neutral cleaners: Harsh acids and aggressive alkaline cleaners can damage both the tile surface and the sealer.
- Use soft tools first: A soft brush, clean water, and patience usually outperform abrasive pads.
- Rinse residue fully: Dirty wash water left to dry on the surface can create its own haze.
Know when resealing is due
Sealers wear gradually, not all at once. The tile will usually tell you. If water darkens the face quickly and lingers, or if routine grime starts sticking more stubbornly than before, the protective layer may be fading.
Always test a sealer in an inconspicuous area first. Cement tile can change appearance slightly depending on the product. Some sealers leave the surface looking nearly unchanged. Others deepen color. That should be a conscious choice, not a surprise.
Troubleshoot by symptom, then trace the cause
A few common problems show up repeatedly outdoors.
- Efflorescence: This white, powdery residue usually points to moisture moving soluble salts through the assembly. Clean the surface correctly, but also ask why water is traveling there.
- Persistent dark spots: These often indicate trapped moisture, not just surface staining.
- Loose or hollow tiles: The surface may look intact while bond is failing underneath.
- Minor chips: Handmade cement tile can often be repaired cosmetically if the field itself is stable.
- Cracked joints at edges or transitions: Often a clue that movement joint detailing was skipped or misused.
The most serious symptom is tile release. Exterior installations require 95% mortar coverage, and failure to meet that threshold is a primary cause of failure because trapped moisture can freeze and dislodge tile, as stated in Custom Building Products' exterior installation guidance.
If tiles are debonding, don't assume the fix is “more grout” or “better sealer.” At that point, the problem is usually below the visible surface.
Exterior cement tile should age with patina, not with chronic dampness, loose corners, or recurring white deposits.
When in doubt, remove one affected tile in a discreet area and inspect the underside and substrate condition before deciding on repair scope. Surface symptoms are often the last chapter of a deeper moisture story.
If you want handmade cement tile that's worth the installation effort, explore Original Mission Tile. Their long history with artisan cement tile makes them a strong resource for selecting patterns, understanding application requirements, and planning an outdoor installation that's built to last.