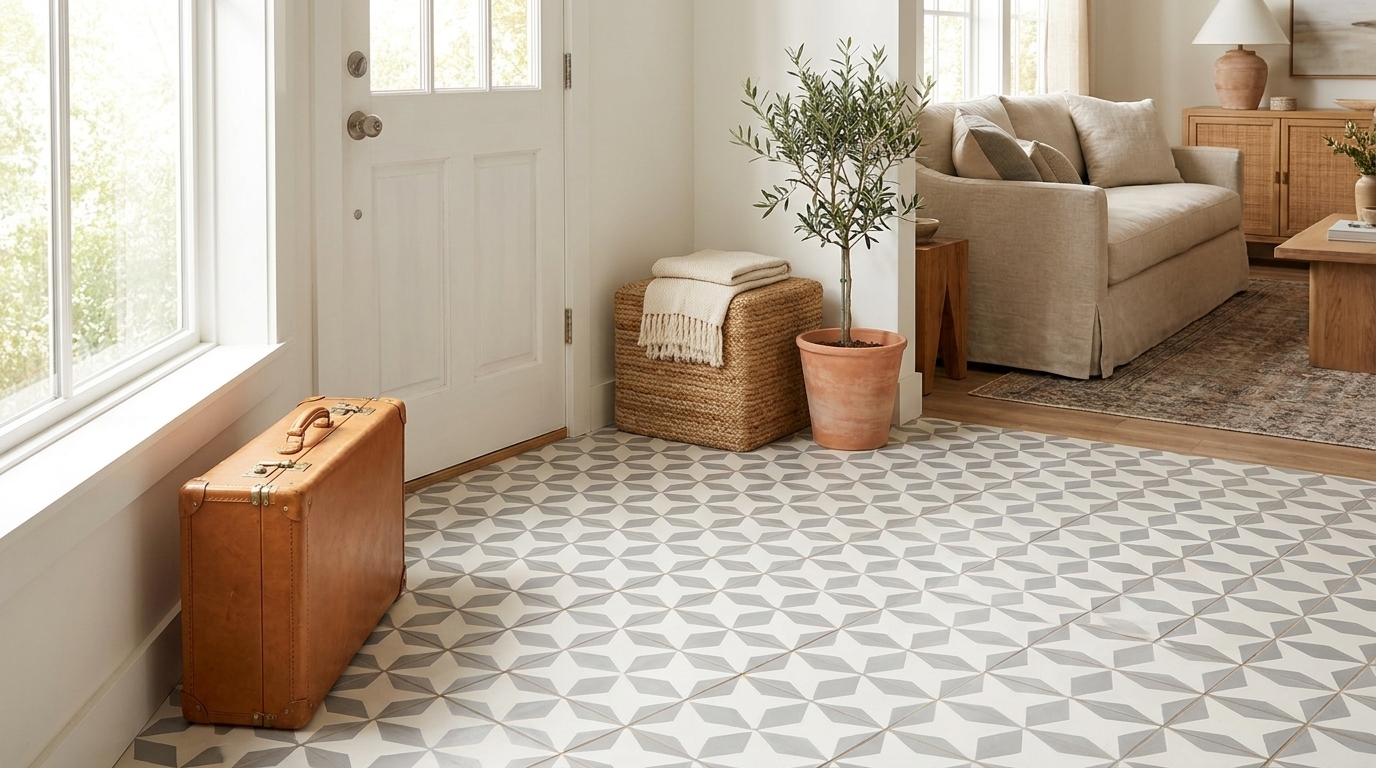
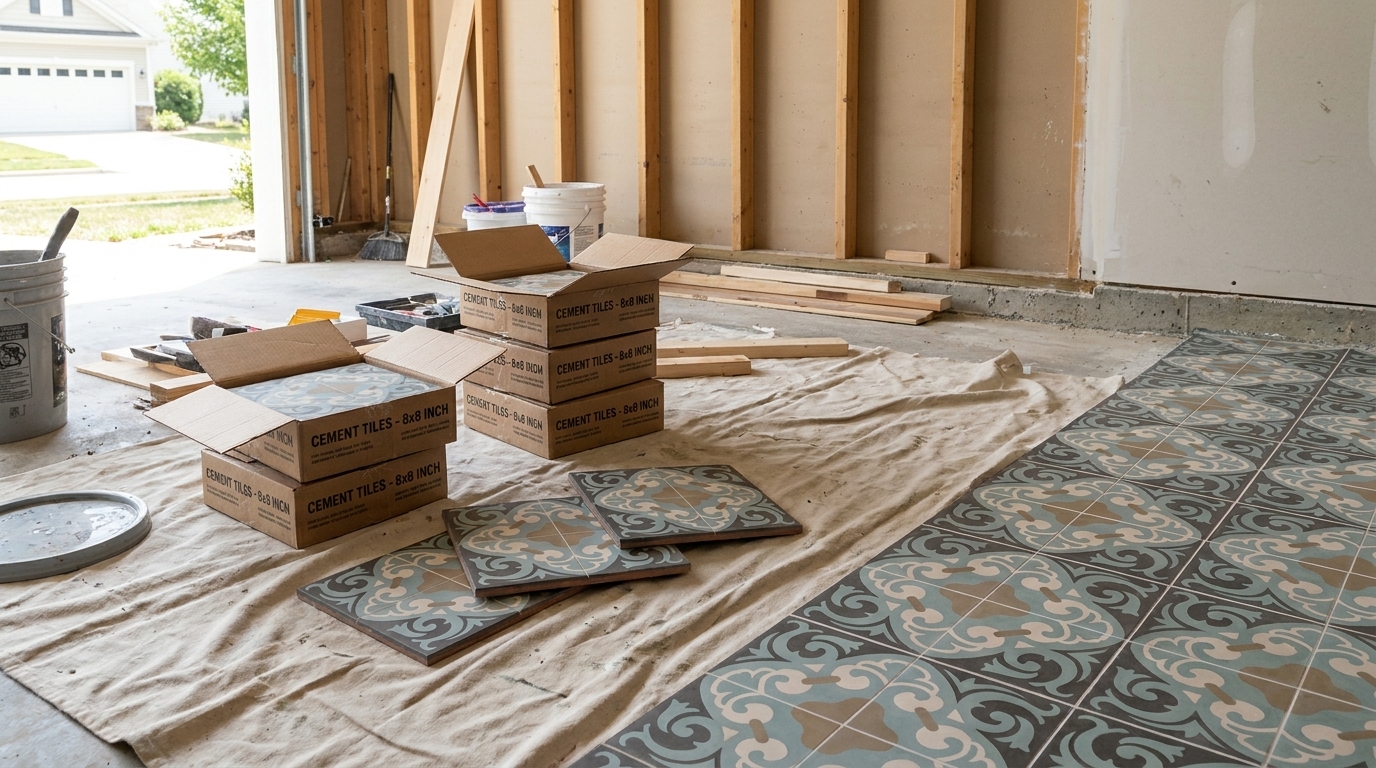
Those chalky white or brown marks that appear on your beautiful cement tiles are hard water stains—mineral deposits left behind when water evaporates. It’s a common headache, especially on porous, handmade surfaces.
But don't worry. The key to getting rid of them isn't aggressive scrubbing; it’s about using the right approach to dissolve the minerals without harming your tile's delicate, unglazed finish. With a little know-how, you can bring that rich color right back.
What Causes Hard Water Stains on Cement Tile?
Those stubborn, cloudy marks are mostly made of calcium and magnesium, two minerals that are all too common in hard water. When water from a shower, a sink, or even a simple cleaning spill dries up, the minerals get left behind. On a porous material like authentic cement tile, these deposits cling tightly, dulling the vibrant pigments and silky matte finish you fell in love with.
This isn't just a cosmetic issue. Hard water can have a real financial impact. In fact, the average American family can spend an extra $800 to $1,200 annually because of hard water, from higher energy bills to needing 30-50% more soap and detergent just to get things clean.
Understanding the Mineral Buildup
At its core, the problem is a simple chemical one. To really solve it, it helps to understand why the minerals stick around in the first place. If you want to go deeper, learning about calcium buildup in water solutions provides great insight into why these stains form so stubbornly on floors and around faucets.
This quick visual explains how the stains form and the basic principle behind removing them safely.

As you can see, the solution lies in using a mild acid to gently dissolve the mineral bonds. The goal is to break down the deposits chemically, not try to muscle them off with harsh scrubbing, which can permanently damage your tile.
Stain Severity and Recommended Action
Before you start cleaning, it helps to figure out how severe your stains are. This quick table will help you identify the problem and choose the right starting point, so you can use the gentlest effective method first.
| Stain Severity | Appearance | Recommended First Action |
|---|---|---|
| Light | Faint, chalky film; looks like a light dusting | pH-neutral cleaner and a soft brush |
| Moderate | Noticeable white or cloudy spots, slightly rough to the touch | 50/50 mix of white vinegar and water |
| Severe | Thick, crusty, or discolored (brown/rust) buildup | Commercial hard water remover (tested first) |
Always start with the mildest approach and only move to a stronger solution if the first one doesn't work. This preserves the integrity and finish of your handmade cement tiles.
Gentle DIY Solutions for Everyday Hard Water Spots
For those everyday cloudy spots and light mineral films that haven't had a chance to set in, you don’t need aggressive chemicals. In fact, some of the most effective hard water stain removal methods are probably already in your pantry.
These gentle, DIY solutions are your perfect first-line defense, especially for delicate, pigmented surfaces like handmade cement tiles where harsh cleaners are a definite no-go.
The Go-To Vinegar Solution
The most trusted method is a simple 50/50 mixture of white vinegar and water. This isn’t just a folk remedy; it’s a standard in professional cleaning for a reason.
The mild acetic acid in white vinegar, typically around 4% to 5%, is just strong enough to dissolve the calcium and magnesium deposits that cause hard water stains. Crucially, it does this without the harshness of industrial acids that can strip pigments right out of your tiles.
Here’s how to put it to work:
- Mix equal parts white vinegar and water in a spray bottle.
- Lightly spray the solution onto the stained area. Make sure the tile surface is cool and dry before you start.
- Let the solution sit for about 15-20 minutes. This dwell time is what allows the acid to break down those stubborn mineral bonds.
- Gently scrub the area with a soft-bristle brush or a non-abrasive sponge. Never use anything that could scratch the tile's finish.
- Rinse the area thoroughly with clean water to neutralize the acid and wash away all the loosened minerals.
Crucial Tip: Always spot-test any cleaning solution, including this simple vinegar mix, on a hidden or inconspicuous area first. This is non-negotiable. You need to be sure it won’t affect the color or finish of your specific tile before treating a larger, more visible section.
For Slightly Tougher Spots
What if a stain lingers after the first attempt? A mild abrasive can give you the extra scrubbing power you need without resorting to harsh chemicals. A baking soda paste is the perfect next step.
Simply mix baking soda with a small amount of water to form a thick paste—think the consistency of toothpaste. Apply it directly to the stubborn spot, let it sit for about 10 minutes, and then gently scrub with your soft brush before rinsing completely.
For more guidance on protecting your tiles during any cleaning job, check out our complete guide on cleaning cement tiles safely.
The principles of using mild acidity and gentle abrasion apply to many surfaces. You can even find similar initial approaches in DIY window hard water stain removal, which often tackle the same kind of mineral buildup.
Advanced Tactics for Stubborn Mineral Buildup
So, your standard vinegar sprays and baking soda pastes aren't making a dent. You’re dealing with the tough stuff—thick, layered mineral deposits that have built up over time and now laugh at your DIY solutions. When you get to this point, it’s time to escalate your hard water stain removal strategy.
The key is to shift from a purely chemical approach to one that adds a little mechanical muscle. We’re not talking about brute force, but a gentle and controlled method that professionals use on delicate surfaces.
This is where specialized, pH-neutral hard water removal creams come in. These are formulated specifically for materials like handmade cement tile, designed to break down minerals without the risk of acid etching. The real magic happens when you pair this cream with a soft polishing pad attached to a low-speed orbital buffer.

Confident DIYers can definitely tackle this, but it requires patience. The technique is all about slow, rhythmic movements and light, even pressure. You want to let the cream and the pad do the work for you. Forcing the issue is how you end up with scratches on that beautiful matte finish.
Upgrading Your Technique
Data from cleaning professionals shows that while basic chemical cleaners handle about 90% of surface stains, the toughest 10% require this kind of mechanical intervention. For the most deeply entrenched hard water stains, they often turn to a drill with a soft polishing pad and a specialized cream to cut through years of buildup. You can see more about how the pros tackle the worst-case scenarios in their hard water stain removal guide.
This method should be your last resort before calling a professional. Always perform a spot test in an unseen corner to ensure the pad and cream combination is safe for your specific tile.
If you want to understand the science behind dissolving tough mineral scale, it's interesting to look at how appliances are cared for. The principles are surprisingly similar, as detailed in guides on choosing the best coffee machine descaler.
The Do's and Don'ts of Cleaning Cement Tile
Handmade cement tiles have a unique character all their own. Their rich, inlaid color and porous, matte finish are what make them so beautiful, but it's also why they need a gentle touch. Unlike glossy ceramic or porcelain, their beauty is literally skin-deep, so protecting that surface is your top priority—especially when tackling something as stubborn as hard water stain removal.
Knowing what to do, and more importantly, what not to do, can be the difference between a successful cleanup and causing permanent damage.
Essential Rules for Safe Cleaning
Before you grab a sponge, let's go over the non-negotiables for cleaning cement tile. Think of this as your go-to checklist for keeping your tiles pristine, whether you're dealing with a small spot or a larger stain.
What You Should Always Do: The Do's
- Always spot-test first. Find a discreet area—inside a closet, under a rug, or behind a piece of furniture—and apply a small amount of your cleaning solution. Let it sit, then rinse and dry to make sure it doesn't alter the tile's color or finish.
- Use non-abrasive tools. Your allies here are soft sponges, microfiber cloths, and soft-bristle brushes. These are more than enough to clean effectively without scratching or dulling the delicate surface.
- Rinse thoroughly with clean water. This is a crucial final step. You have to remove every trace of the cleaning solution to neutralize its effects and prevent it from leaving its own residue or buildup.
What You Must Never Do: The Don'ts
- Never use harsh acids. Stay far away from products containing muriatic acid, heavy-duty descalers, or other strong acids. They will chemically burn—or "etch"—the surface, leaving permanent discoloration and texture damage.
- Avoid abrasive powders and tools. Scouring powders (like Comet or Ajax), steel wool, and stiff-bristle brushes are the enemy of cement tile. They will literally sand away the pigmented layer, causing scratches and irreversible fading.
- Never let a cleaner dry on the surface. This concentrates the chemicals and can lead to a whole new set of stains or discoloration that might be even harder to remove than the original spot.
By following these simple rules, you’re not just cleaning a stain; you’re preserving the integrity and story of your investment. Handmade tile is designed to last a lifetime, but only with the right care.
For a deeper dive into cleaning agents that are both safe and effective, you can explore our recommended tile cleaning products, which are formulated specifically for materials like cement. Sticking to these do's and don'ts is the surest way to make your hard water stain removal efforts a success, keeping your tiles as beautiful as the day they were installed.
Preventing Future Stains with Sealing and Maintenance
Now that you’ve put in the work to get your tiles clean, the goal is to keep them that way. Prevention is always easier than a deep clean. The best defense against future hard water stains is a two-part strategy: smart sealing and simple daily habits.
An unsealed cement tile is naturally porous—think of it like a dense sponge. It will soak up water, and when that water evaporates, it leaves behind the chalky mineral deposits we’re trying to avoid. This is where a good sealer becomes your most valuable tool.

Apply a Quality Penetrating Sealer
A penetrating sealer works by absorbing into the tile itself, filling the microscopic pores to create an invisible, water-repellent barrier. It doesn't sit on top like a film; it becomes part of the tile’s defense system, stopping minerals from seeping in.
- Creates a Protective Shield: The sealer makes the surface far less absorbent, so water beads up instead of soaking in.
- Maintains the Original Look: High-quality sealers won’t change the tile’s color or its signature matte finish.
- Requires Reapplication: This isn't a one-and-done job. For high-moisture areas like showers or kitchen backsplashes, plan to re-seal every 2–3 years to maintain peak protection.
Choosing and applying the right sealer is the single most important step you can take after installation or a deep cleaning. It transforms your tile from a high-maintenance surface to one that’s resilient against everyday spills and splashes.
Establish a Daily Maintenance Routine
Sealing does the heavy lifting, but it works best when paired with a little daily attention. The idea is simple: manage water before it has time to evaporate and leave minerals behind.
Keep a squeegee in the shower and give the walls a quick wipe after you use it—this small habit makes a huge difference. Around sinks, use a microfiber cloth to dry up splashes on backsplashes or countertops. It takes seconds but stops spots from ever forming.
For a deeper dive, our full guide on hard water stain prevention is packed with more actionable strategies to protect your investment for years to come.
Common Questions About Hard Water Stains
Even with a solid plan, a few questions always pop up when you’re tackling a hard water stain removal project. Let’s get them answered so you can move forward with confidence and keep your beautiful cement tiles safe.
Clarifying Common Cleaning Concerns
One of the first questions I usually hear is, "Are these stains permanent?" The good news is, almost never. Hard water stains are just mineral deposits sitting on top of your tile. With the right approach, they can be dissolved and wiped away. The only real risk of permanent damage comes from using harsh, abrasive tools that physically scratch or etch the tile surface itself.
People also get confused about the difference between a "hard water stain" and "limescale." They're essentially the same thing, both caused by calcium and magnesium. We tend to use "limescale" for the thick, crusty buildup on a faucet and "stain" for the cloudy film you see on a shower wall, but the chemistry is identical.
- Can I use a magic eraser? Please don’t. Magic erasers are a form of micro-abrasive, and they will slowly sand down and dull the gorgeous matte finish of handmade cement tiles. Stick with soft cloths or non-abrasive brushes.
- Is bottled lemon juice okay instead of vinegar? I strongly advise against this. While both are acidic, lemon juice is far more potent and its acidity is less consistent than plain white vinegar. It can easily etch sensitive surfaces like cement tile, leaving permanent marks.
The only way to stop hard water stains from returning for good is to treat the water itself. Cleaning removes the spots you have now, but installing a water softener system is the only true long-term solution to prevent minerals from depositing in the first place.

So, how often should you be cleaning to prevent all this buildup? In high-traffic wet areas like a shower, a quick daily squeegee or wipe-down makes a huge difference. For other tiled surfaces, cleaning every 1 to 2 weeks with your pH-neutral cleaner is usually enough to keep mineral spots from getting a foothold.
Ready to create a timeless look with surfaces designed to last? Explore the full collection of handmade cement tiles from Original Mission Tile and start designing your dream space today at https://originalmissiontile.com.