You installed a cement tile floor five, ten, maybe fifteen years ago. Now you’re adding a mudroom, replacing three cracked tiles by the sink, or trying to extend the pattern into a new addition. You order what looks like the same tile. It arrives, and it doesn’t quite match. If you’re staring at that gap right now, matching cement tile years later is one of the most common headaches we hear about, and it’s rarely a mistake on your part.
Cement tile is handmade, one at a time, from natural pigments and cement. That means small shifts happen from batch to batch, and your floor has spent years absorbing sunlight, foot traffic, and cleaning products. This guide walks through why the mismatch happens, what your real options are, and how to make an addition or repair look intentional instead of patched.
Why Handmade Cement Tile Never Matches Perfectly After Years
Cement tile isn’t fired in a kiln like ceramic. Instead, a craftsman fills a mold with layers of pigmented cement, then presses it under hydraulic pressure. Because the color layer is mixed by hand in small batches, one production run can read a shade lighter or darker than the next, even with the same recipe.
Add years of foot traffic, sunlight, and cleaning routines, and the difference grows. Cement tile develops a patina over time. That’s part of what makes handmade tile beautiful, but it also means a brand-new tile from the same pattern will look “raw” next to a floor that has aged in place for a decade.
Sun exposure fades pigment unevenly, so a floor near a bay window may look different from one in a hallway, even if both came from the same order. Sealer wear, mop chemicals, and grease from a kitchen also change the surface over time. Because of this, an exact match to old cement tile is rarely possible. A close, harmonious match usually is.
Three Situations Where You’ll Need to Match Old Cement Tile
Before you order anything, it helps to name your exact situation. Each one calls for a slightly different strategy.
- Room additions or extensions. You’re carrying an existing pattern into a new kitchen bump-out, extended entry, or expanded bathroom, and the two areas will be visible together.
- Spot repairs. A handful of tiles cracked, chipped, or stained beyond cleaning, and you need replacements for a small, contained area.
- Discontinued patterns. The exact tile you originally used is no longer sold, and you need to reproduce it or find something close.
Additions usually have the most flexibility, because you can plan a transition detail from day one. Spot repairs are the trickiest, since a mismatched patch stands out fast in a small, contained area. Discontinued patterns require the most patience because they may need to be custom made from scratch.
Start Here: What to Check Before You Order Anything
Before you buy new tile, do a little detective work. It saves money and disappointment later.
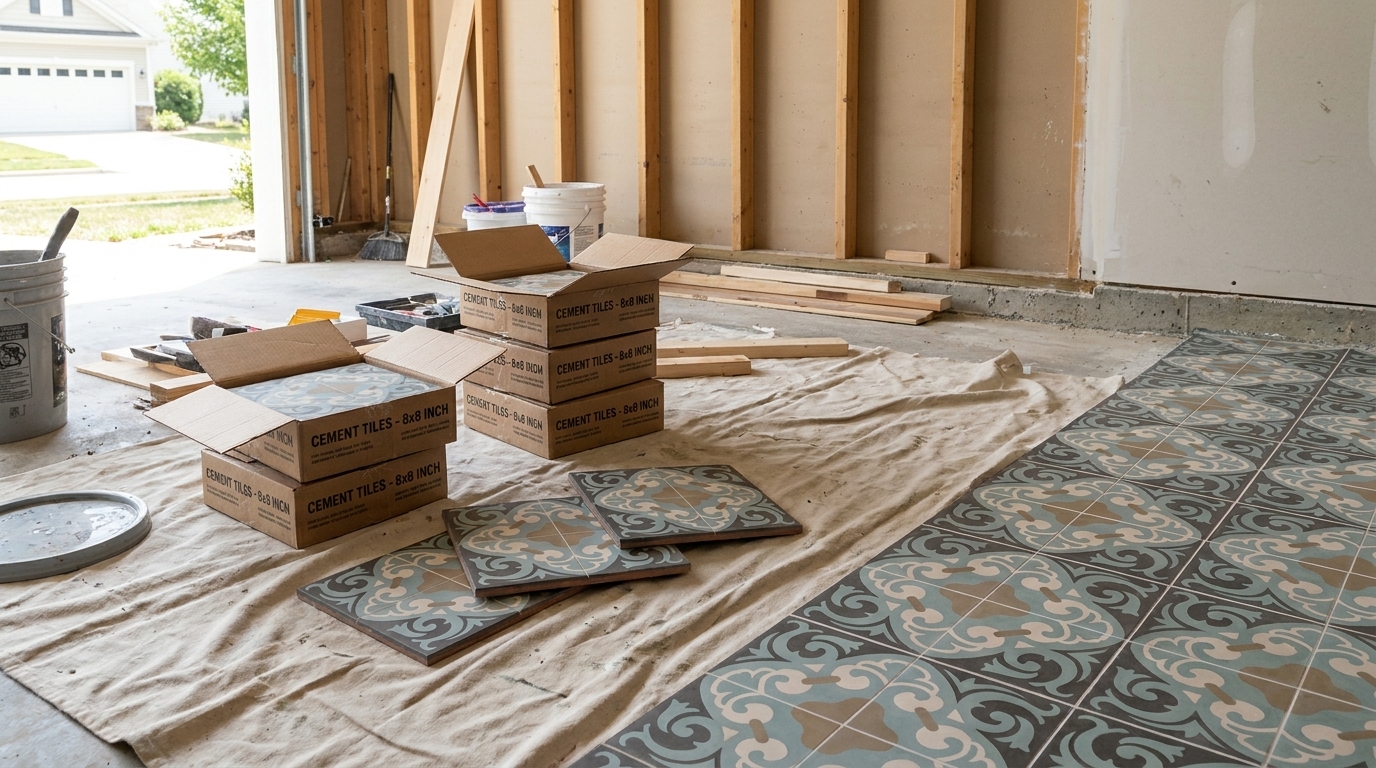
- Look for spare tiles. If the original installer left extras in the garage or attic, use those first. They came from the same run and will match perfectly.
- Find the pattern name and SKU. Check old invoices, box labels, or photos of the packaging. A pattern name gets you to the right product page fast.
- Send a physical sample, not just a photo. Photos shift color depending on lighting and camera settings. A real chip of tile, or even a clear photo taken in daylight next to a ruler for scale, gives our team something accurate to compare.
- Reach out before you buy. Contact us through our request a quote page with your sample or photos. We can tell you quickly whether the pattern is still in stock, needs to be custom made, or has been retired for good.
This step alone resolves most matching questions. Once you know what you’re working with, the rest of the decision gets much easier.
When the Pattern Is Still Available, but the Batch Has Aged
Good news first: many of our patterns stay in the in-stock catalog for years. If your original tile is still there, you can order it again. However, expect the new boxes to look slightly fresher than your existing floor, at least for a while.
Here’s what actually helps. Order a sample first instead of committing to a full order. Set that single tile down in the actual room, under the actual lighting, and let it sit for a few days. That way, you judge the match under real conditions, not showroom light.
Also consider timing. If you can wait, order everything at once rather than in stages. Buying an addition’s worth of tile in one batch, from one production run, keeps the new area internally consistent, even if it reads slightly different from the old section.
Finally, understand that new cement tile will patina toward the older floor’s tone over the following months. A sealer wears in, light exposure evens out, and foot traffic softens the sharp “new” look. The gap you see on day one typically narrows, though it rarely disappears completely.
When the Pattern Is Fully Discontinued: Reproduction and Alternatives

Sometimes the exact design is gone. It happens after 300-plus patterns rotate through decades of production. In that case, you have two real paths.
Custom reproduction. Because we still make cement tile the same way our factory has since 1900 in San Luis Potosi, Mexico, we can often reproduce a retired design through our custom made tile program. Send us your sample, and our team can work up a color match using the same hand-pressing process. Custom orders typically take about 4 to 6 weeks, so plan ahead if you’re working around a contractor’s schedule.
Be realistic about the result, though. Pigments, raw cement sources, and even the exact mold can shift slightly over the decades. A reproduction gets very close, often close enough that only you would notice the difference. It won’t be a molecule-for-molecule match to tile made 20 years ago.
A coordinating replacement. If reproduction isn’t in the budget or timeline, consider a pattern from the same family or color story instead of chasing an exact copy. For example, a faded blue floor might pair well with a fresh pattern like Moorish Blue 01 in an adjoining room, framed as a deliberate design choice rather than a failed match. Browsing tile by color can help you find something that complements the original without pretending to be identical.
Design Tricks That Turn a Mismatch Into an Intentional Look

Professional designers rarely fight a mismatch head-on. Instead, they use a few reliable tricks to make the transition read as a choice.
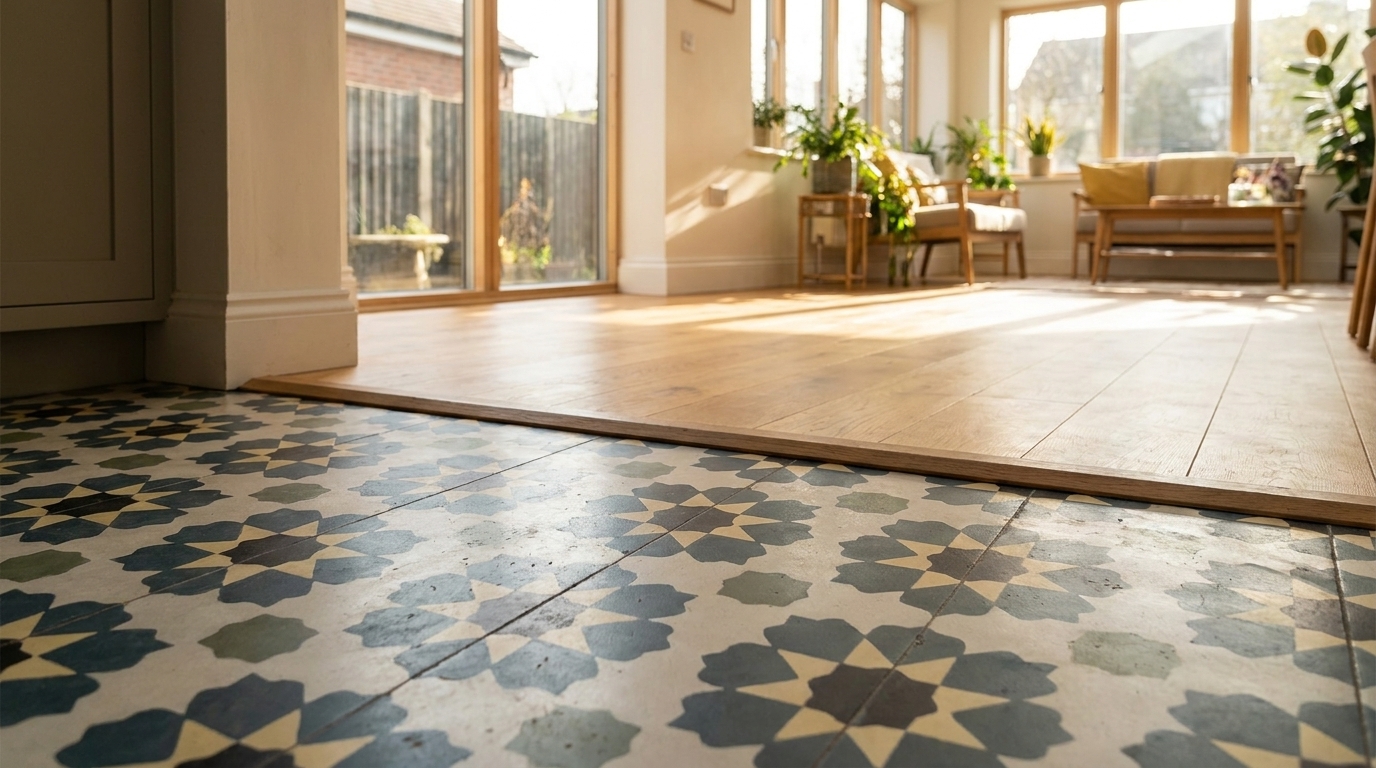
- Add a transition border. A row of contrasting tile, a metal strip, or a change in layout direction between old and new areas gives your eye a natural stopping point. Because the two zones no longer touch directly, small color differences matter far less.
- Spread the new tile out, don’t concentrate it. If you’re patching a handful of tiles in a large field, avoid clustering all the new pieces in one visible spot. Instead, distribute a few new tiles across less-trafficked areas, and move a few original tiles to the repair spot.
- Hide the newest tile in the least visible zone. Pull a few original tiles from under an appliance, inside a closet threshold, or beneath permanent cabinetry. Patch the visible repair with those originals, then install the new tile in the hidden spot instead.
- Use grout color strategically. A grout shade that reads as part of the pattern, rather than a stark white line, softens the contrast between old and new tile. Our maintenance and cleaning guide also covers how sealer buildup affects perceived color, which matters when you’re comparing old grout lines to new ones.
- Reframe the addition as its own room. Instead of trying to disguise a seam, use a doorway, threshold strip, or change in flooring material as the natural break point. A slightly different but complementary pattern in the new room reads as intentional zoning, not a failed match.
These tricks work because they shift attention away from a direct side-by-side comparison. That way, the small differences that come from handmade tile stop looking like a mistake.
Even a perfect tile match can look off if the installation doesn’t follow the same standards as your original floor. Grout width, sealing method, and layout direction all affect how consistent the finished area looks. Before your installer starts, review our installation guidelines together, especially the sections on sealing before grouting.
Cement tile needs to be sealed before grout goes down, or grout haze can permanently discolor the surface. That single step affects final color more than almost anything else, so don’t skip it, especially on a repair where you’re trying to match an existing floor’s finish.
Protect Your Future Self: Order Extra and Keep Records Now
If you’re installing new cement tile today, whether it’s an addition, a full renovation, or a discontinued pattern you finally tracked down, take five minutes to plan for the future.
- Order at least 15% more tile than your measured square footage covers, to allow for cuts and breakage.
- Store the leftover boxes somewhere dry, away from direct sun, so a future spare tile hasn’t already faded differently from the installed floor.
- Write down the pattern name, SKU, and order date on the box itself. Future you, or a future homeowner, will thank present you.
- Keep a photo of the original invoice or order confirmation in a shared family or project folder.
This single habit prevents almost every matching headache described in this article. Because cement tile is a natural, handmade product, the safest match is always tile from your own original order, sitting in a box, ready when you need it.
Frequently Asked Questions
Can I get an exact match to cement tile installed 10 or 15 years ago?
Rarely a perfect match, but often a close one. Pigment batches shift over time, and years of sun and foot traffic change how the original floor looks now. Expect new tile to look slightly fresher at first, and to settle closer to the existing floor’s tone over the following months.
What if I don’t know the original pattern name?
Send us a clear photo taken in natural daylight, or a physical sample if you have one, through our contact page. Our team can often identify a pattern from its geometry and colorway, even without a SKU number.
Does regrouting help disguise a mismatch between old and new tile?
It can help, but it isn’t a fix on its own. Choosing a grout shade that reads as part of both the old and new tile, instead of a stark contrast, softens the visual seam. However, grout color alone won’t correct a significant difference in tile tone.
Should I refinish the old tile or try to match new tile to it?
It depends on the floor’s condition. If the existing tile has heavy wear, resealing or lightly refinishing the whole surface can even out its appearance and make new tile easier to match. If the old floor is in good shape, it’s usually easier to work with its current patina than to try to strip years of character back to “like new.”
How long does a custom reproduction of a discontinued pattern take?
Custom made tile typically takes about 4 to 6 weeks from order confirmation, since each tile is hand-pressed to order rather than pulled from stock. Build that timeline into your renovation schedule, and order a sample early so you can approve the color match before the full run goes into production.
See the tile in person before you commit
Photos only tell you half the story. Colors, texture and the handmade character of cement tile are best judged in your own light. Order a sample of any in-stock pattern for $20 (additional samples $10, free shipping) — or tell us about your project and we’ll help you narrow it down.
Browse in-stock cement tiles →
Talk to us about your project →