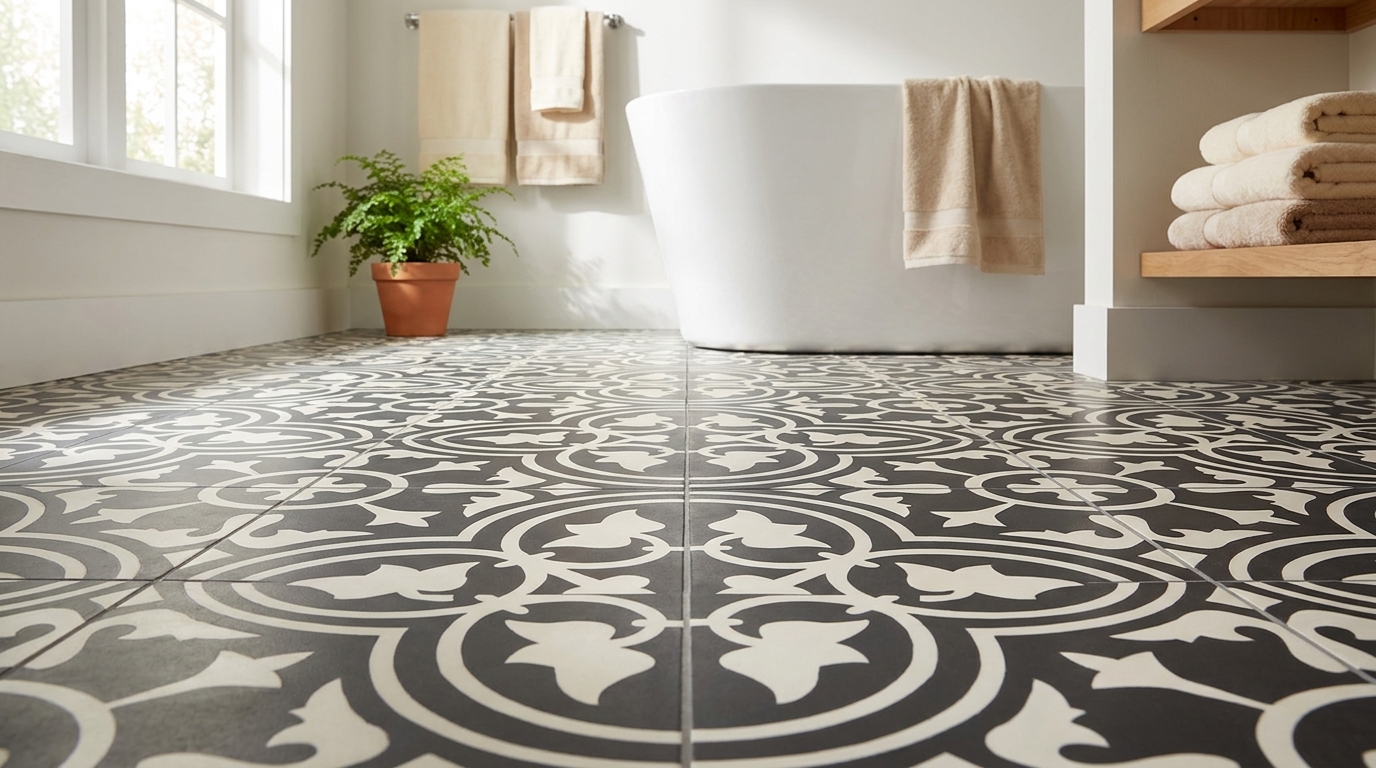
You're standing in a half-finished remodel, the cabinets are in, the light hits the room just right, and the floor is where the whole design either comes together or falls apart. You want the warmth of wood in the living space, but you also need something tougher at the entry, kitchen, or bath. That's where a tile and wood floor combo earns its keep, not as a compromise, but as a controlled way to give each zone the surface it needs.
Why the Tile and Wood Floor Combo Works in Modern Homes
A lot of homeowners start with the same request, they want wood everywhere because it feels continuous, calm, and expensive. Then the room plan gets real. The mudroom needs moisture resistance, the kitchen sees spills, and the bath can't pretend it's a dry space, so the finish has to change with the use of the room.
That's why the combo has become such a reliable design move in open layouts. It lets wood carry the visual warmth through the main living areas, while tile takes the hard work in entries, kitchens, baths, and utility zones. The result feels intentional because the floor is doing two jobs at once, one for comfort and one for durability.
The market data backs up that shift in behavior. In U.S. new single-family homes, hardwood floors increased from 11% of all flooring in the home to 31% over a 12-year period, while ceramic tile rose from 15% to 21% in the same span, and hardwood now accounts for 65% of flooring in new dining rooms, about 50% in living rooms, and about 45% in kitchens, according to Home Innovation's flooring trends data. That doesn't read like a market choosing one winner. It reads like a market learning to assign the right material to the right room.
Zoned floors feel more natural than forced uniformity
In practice, the best mixed floors don't try to make tile and wood behave like the same product. They accept the difference, then use it to frame the plan. A kitchen might open into a living room with tile under the wet work zone and wood under the seating area, and the shift becomes part of the architecture instead of an awkward break.
Practical rule: if a room changes function, the floor can change with it.
Consumer behavior reflects that same idea. Another widely cited study found that 52% of homeowners say they have wood floors and 58% say they have tile, which suggests both materials are mainstream, just often used in different rooms rather than as direct substitutes Home Innovation flooring trends data. That's the design logic behind a tile and wood floor combo, continuity where people live, resilience where life gets messy.
The Economic Logic Behind Mixed Flooring Plans

Mixed flooring makes financial sense when the material choice follows the room's job. A homeowner does not need hardwood under every sink run, and tile does not need to cover every square foot of a living room. Spend on the surface that has to take water, grit, and heavy traffic. Use the other material where comfort and appearance carry more weight.
The USDA flooring costs study shows why that split often holds up in real projects. Under residential conditions, composition tile had the lowest average installation cost at $35.00 per 100 square feet and an average wear life of 17.7 years, while hardwood had the highest average installation cost at $60.00 per 100 square feet USDA flooring costs study. Those figures do not settle every budget question, but they explain why builders often place tile in wet, hard-use areas and let wood cover the adjoining spaces where the floor is doing more visual work than heavy-duty service.
The same report also shows that maintenance changes the math over time. In living rooms, a floor completely covered with composition tile carried a maintenance cost of $9.89 per 100 square feet per year, while hardwood was $4.21 USDA flooring costs study. That does not make hardwood the cheaper answer in every case. It means the long-term bill depends on where the floor sits, how much wear it takes, and how often it sees moisture and tracked-in dirt.
Why mixed plans make budget sense in real projects
A full-house tile layout can be more surface than a dry living area needs. A full-house wood layout can become a maintenance problem in entries, kitchens, and baths. Mixed flooring lets the project account for both realities without forcing one material to carry every condition.
That same material selection mindset shows up in hardwood floors for humid climates, where the room environment is treated as part of the flooring decision. The same thinking belongs in a mixed-floor remodel. Zone the material to the way the room is used, and you spend less money on performance you do not need.
The other advantage is visual. A mixed plan can preserve the feel of a high-end interior without pushing every room into the same cost tier. Tile handles the demanding areas, wood carries the continuity, and the transition between them shows that the plan was considered from the start.
For a solid floor underlayment for tile, the savings only matter if the assembly beneath the finish is built correctly. A cheap layout that ignores thickness matching, substrate prep, or transition height usually costs more to fix than the material it saved.
Structural Prerequisites for a Successful Tile and Wood Floor Combo

A floor can look right on day one and still fail later if the structure below it gives too much. Tile stays rigid. Wood moves with moisture and temperature. Once those two finishes meet, the build has to control deflection and manage movement, or the stress shows up at the tile edge.
Start with deflection, not finish material
The framing comes first. Industry guidance for ceramic tile over wood subfloors commonly calls for floor system deflection to stay within L/360 for ceramic tile and L/480 for stone, as noted in Laticrete guidance. If the floor feels springy underfoot, that is not just a comfort issue. It is a structural warning that the tile edge will eventually have to absorb movement it was never meant to take.
Panel thickness matters too, and it should be checked before the tile layout is even drawn. The same guidance calls for at least 5/8 in. (16 mm) at 16 in. o.c. joists and 3/4 in. (19 mm) at up to 24 in. o.c. joists, along with the related framing and panel conditions in Laticrete guidance. That kind of structure gives the tile side enough support to stay stable while the wood side continues to respond seasonally.
Wood movement and flexing concentrate stress at the tile edge. If the structure is too compliant, the seam becomes the weakest part of the floor.
Build the tile side like a separate assembly
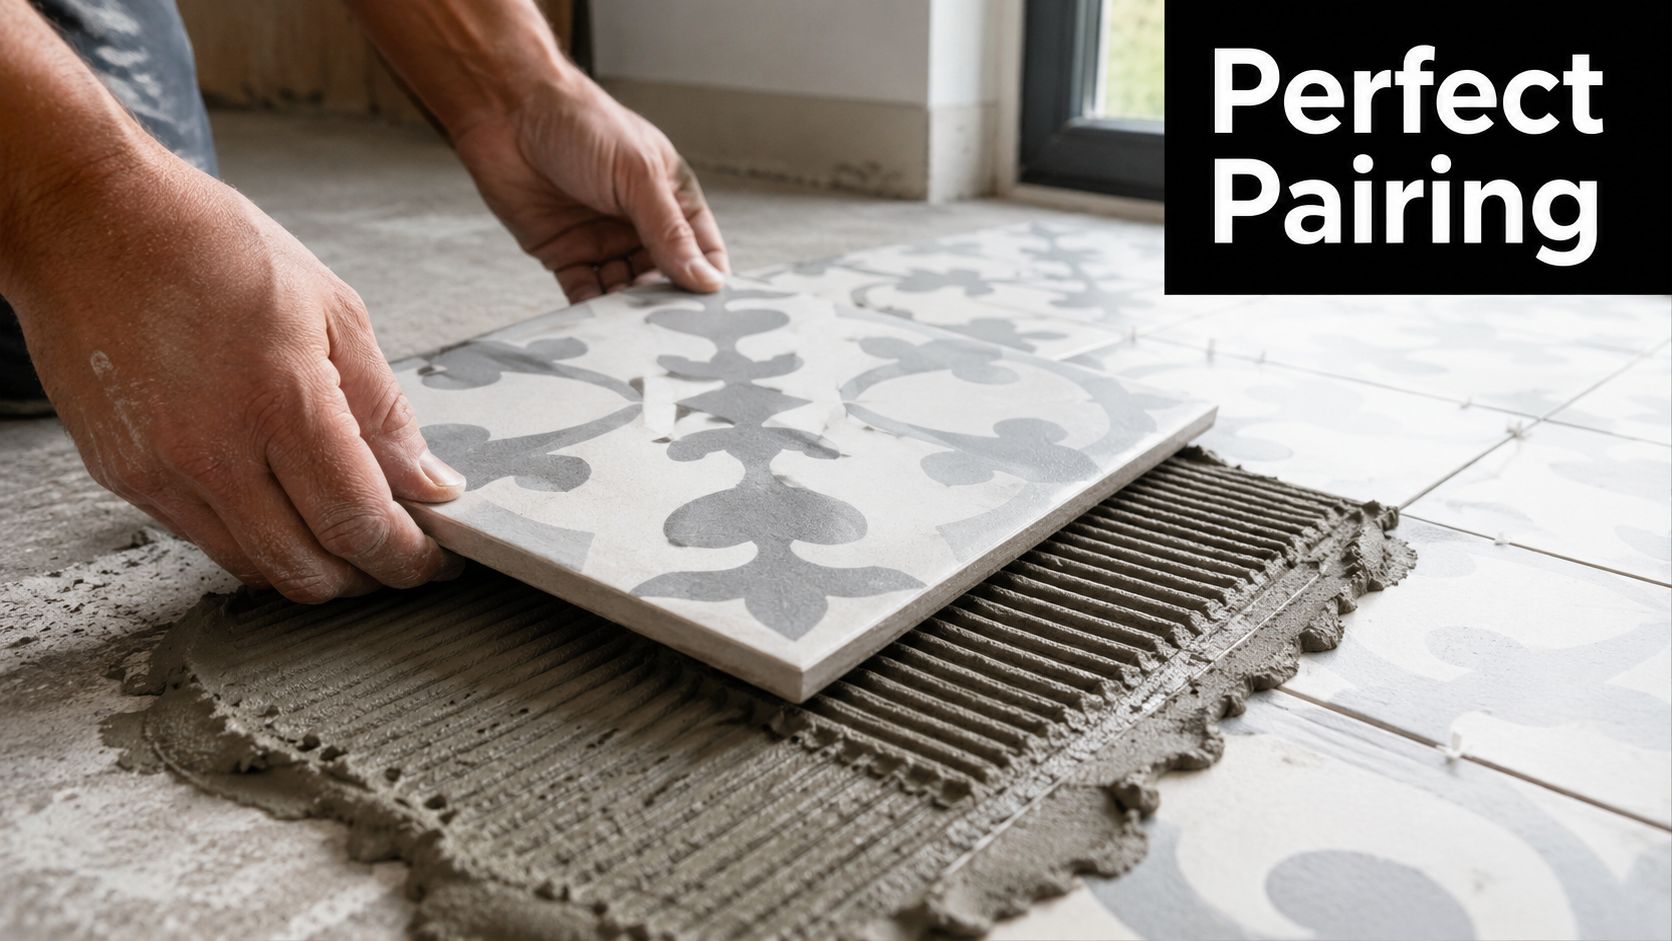
A mixed floor works better when the tile field is treated as its own assembly, not as an afterthought against the wood. That usually means an intermediate backer layer or membrane, staggered sheet joints, screw fastening around 300 mm centers, and an adhesive bed that reaches at least 80% coverage, with some standards targeting >90% coverage and a minimum continuous adhesive thickness of about 2.5–4 mm Flextile guidance. Better load distribution lowers the point stress that builds up where the materials meet.
The underlayment decision belongs near the start of the job, not as a patch at the end. A practical overview is in floor underlayment for tile, and the point is straightforward, the substrate has to be ready before the tile is set.
If the project includes radiant heat or another embedded system, the heating plan needs to be coordinated before floor heights are finalized. Harrlie Plumbing and Heating advice is a useful reference because underfloor heating changes buildup, transition height, and service access. Get the structure right first, and the mixed finish has a real chance of lasting.
Achieving Flush Transitions Between Tile and Wood

A tile and wood floor combo can look polished in a high-end remodel, but the visible seam only works if the hidden build-up is handled with care. The trouble usually starts below the finished surface. If the tile assembly ends up higher than the wood, or the wood finishes proud of the tile, the joint becomes a lip, a trip point, or a strip that looks like a late fix.
Measure the build-up before anything gets installed
The transition line should be set after both floor assemblies are mapped, not after one side is already down. DIYTileGuy notes that a flush transition is generally easiest when flooring thickness is about 1/2 to 3/4 inch, and that thinner tile systems may need a dedicated transition strip; it also mentions a typical movement gap of about 1/8 inch filled with silicone, plus methods to raise tile height using cement board, uncoupling membrane, or added thinset DIYTileGuy. That is the part many homeowners miss. A clean seam comes from planning the stack-up, the substrate, and the finish heights before either floor is set.
I start by checking the subfloor for level and deflection, then I work upward from there. If the framing moves too much, or the underlayment is inconsistent, the transition can look fine on day one and fail later at the seam. The tile side often needs its own buildup, while the wood side may need a different underlayment thickness to meet it cleanly.
That decision belongs at the layout stage, not during trim-out. A practical planning reference is wood to tile transition ideas, because it shows how the visual line has to follow the actual assembly underneath. In real homes, door swings, cabinet kicks, and appliance clearances all affect where that line can land, and they can force a different solution than the one that looked ideal on paper.
Choose the seam treatment based on the actual height difference
A flush seam works best when the materials land close in height and the substrate has been built correctly on both sides. If the finished surfaces are off by too much, a reducer or transition profile is the cleaner fix. Rubi warns that differing material depths can create both a tripping hazard and an uneven aesthetic, which is exactly why the joint should follow the assembly instead of fighting it Rubi.
A transition strip is not a design mistake. It is the honest answer when the structure will not let the floors meet perfectly.
That same logic applies to other hard surface decisions too, including the epoxy garage floor pros and cons epoxy garage floor pros and cons. Once you understand how coating thickness, substrate prep, and edge detail affect the finish, the floor-to-floor transition becomes easier to judge in a residential interior as well. The point is simple, the seam should be chosen to match the build-up, not to hide a height problem that is still there.
For the best result, keep the joint narrow, deliberate, and protected. If the transition is allowed by the structure, it reads as part of the design. If the structure is ignored, the floor may look smooth for a while, but the seam will keep reminding you where the compromise was made.
Pairing Cement Tile with Hardwood and Engineered Wood
A bold cement tile pattern can look expensive next to wood, but only if the wood tone gives it room to breathe. Too many competing colors and the floor starts shouting. Too little contrast and the tile loses its point of view.
Match pattern energy to wood grain, not just color
Cement tile, especially handmade or hydraulic-pressed pieces, works best when the wood has a quieter grain and a more restrained finish. That's where the matte, silky surface of a well-made cement tile can sit comfortably beside hardwood or engineered wood without looking slick or plastic. A patterned 8×8 tile can hold an entry, a powder room threshold, or a dining feature zone while the wood softens the rest of the plan.
Hexagon and arabesque shapes need a little more discipline. They look cleanest when the wood is simple, because the geometry already brings enough movement into the room. Strongly figured wood can compete with the tile pattern instead of supporting it.
Use borders and inlays where you want the eye to stop
A border strip works better than a hard chop in many interiors. It gives the material change a frame, which helps the transition feel deliberate instead of abrupt. In larger rooms, a tile inlay can define a dining area or a kitchen work zone inside a broader wood field without turning the whole floor into a patchwork.
For homeowners weighing cement tile options, a homeowner's guide to choosing and using cement tile is a helpful companion because it covers how the material behaves in real projects. Original Mission Tile is one source for that kind of product, along with other cement tile suppliers in the market, and it's the sort of material that rewards careful sampling before you commit.
Color matters under real light, not just in a rendering. Warm woods tend to sit well beside muted creams, earth tones, and softened contrast. Cool woods can support darker pattern fields, but the room still needs balance so the tile doesn't feel isolated.
The simplest rule is still the best one. Let one surface be the conversation starter, and let the other support it.
Real-World Use Cases and Illustrated Examples
A mixed floor becomes useful when it solves a layout problem, not just when it looks good in a photo. In open-plan kitchens, tile often sits where spills, dropped pans, and sink traffic happen, while wood stretches into the living zone to keep the room from feeling like a utility space. The transition reads as a threshold, but it also acts as a visual cue that the room has changed function.
In entryways, the logic is similar. Tile handles wet shoes, grit, and the daily traffic spike, then wood takes over once you're past the landing zone. That works especially well in homes where the front door opens directly into the main living area, because the flooring can guide the eye without forcing a hard architectural break.
Feature zones work best when they're tied to use
Hospitality projects often use the same principle, just with heavier wear. A tile field can anchor a reception point or bar area, while wood introduces warmth in seating zones and dining nooks. The benefit isn't only style, it's that the room can absorb different traffic patterns without looking chopped up.
Bathrooms that open into bedrooms are another place where the combo makes sense. Tile belongs near the wet side of the plan, and wood can continue the softer residential feel beyond the splash zone. The trick is keeping the transition line simple enough that it doesn't become the visual center of the room.
The most successful mixed floors don't announce the material change. They make the room feel more organized.
For pattern-heavy spaces, Original Mission Tile collections can be used to define a focal area in classic 8×8 layouts, hexagon fields, or arabesque accents. Those shapes work best when the transition line is tied to cabinetry, a doorway, or a natural shift in function. When the geometry respects the plan, the floor feels custom instead of busy.
In every case, the design win comes from the same place, the room decides where durability belongs, where warmth belongs, and where the seam should disappear into the architecture.
Maintenance and Care for Mixed Tile and Wood Floors
A mixed floor lasts when you treat each surface the way it behaves. Tile can handle a wetter cleaning routine than wood, but that doesn't mean you should flood the seam. Wood needs a lighter touch, and the transition zone should be checked often enough that small issues don't become visible damage.

Keep the cleaning routines separate
Use a dry dust mop on tile daily if the room collects grit, then follow with a damp mop and a pH-neutral cleaner on a weekly basis. Skip acidic solutions, because they can be too aggressive for finished surfaces and grout lines.
Wood should get a microfiber dust mop every day in busy areas, then only a damp, not wet, mop with a wood cleaner on a monthly cadence. Avoid excess water and harsh chemicals, because wood gives you a clean finish, not permission to soak the surface.
A few habits matter more than fancy products:
- Wipe spills immediately: Water sitting at the seam is the fastest way to create trouble.
- Inspect the movement gap: If silicone opens up or collects debris, address it before dirt starts packing into the joint.
- Watch entry points closely: The transition near doors gets more abrasion than the center of the room.
- Use the right cleaner for the surface: Tile-friendly doesn't automatically mean wood-friendly.
For cement tile, follow the maker's sealing and cleaning guidance, especially in kitchens and baths where stains can set faster. For hardwood, humidity control matters just as much as surface care, because the wood side of the combo still responds to the room around it.
The maintenance win is consistency. If the tile side is scrubbed aggressively while the wood side is treated gently and the seam is protected, the whole installation stays readable and clean instead of wearing out unevenly.
If you're planning a tile and wood floor combo and want materials that suit the way the room will be used, explore Original Mission Tile for cement tile options, transitions, and design support. Their collections work well when you need a defined tile zone that still feels integrated with hardwood or engineered wood, and the right sample set can save you from a costly mismatch later.