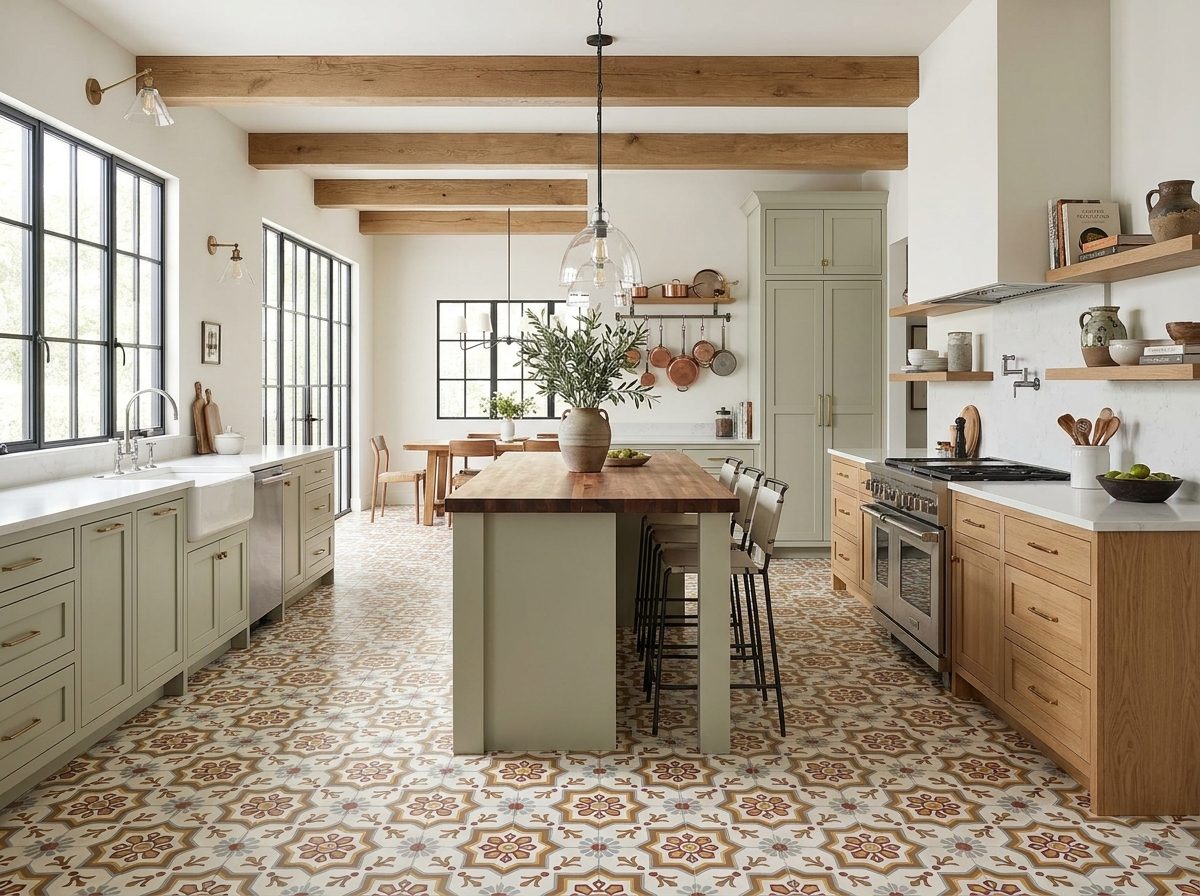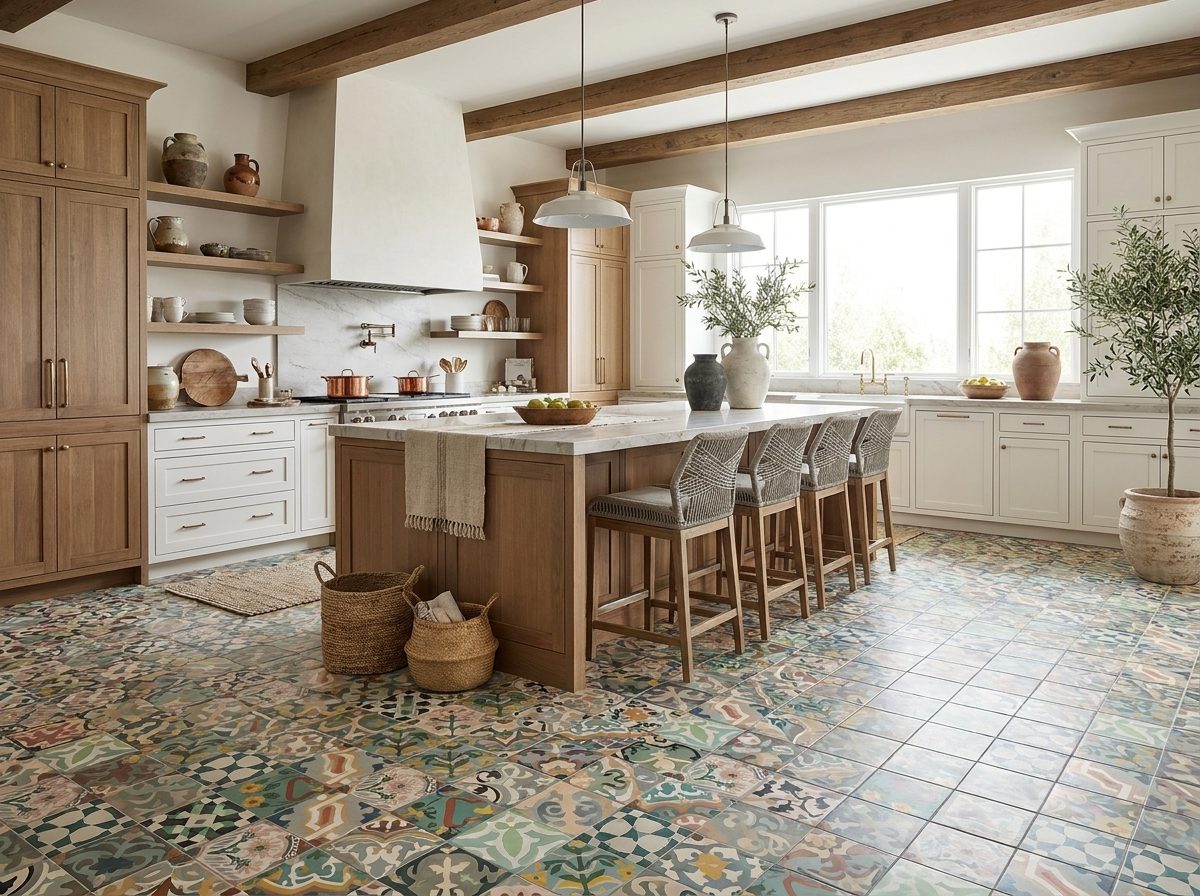
You're probably staring at the wall behind your range right now, trying to solve two problems at once. You want it to look finished, centered, and worthy of the kitchen. You also don't want to discover too late that your new tile pushes the stove forward, traps grease in a gap, or turns into a maintenance headache the first time someone cooks over a powerful burner.
That's where tiling behind stove work separates a pretty idea from a durable installation. The stove wall asks more from tile than almost any other backsplash run. It has to handle splatter, steam, regular wipe-downs, and a lot more visual scrutiny than the sink wall usually gets.
Most guides stop at style and basic adhesion. The details that cause trouble are more practical. Will the range still sit correctly after you add tile and setting material? And does the surface you chose stay easy to live with when cooking gets hot, messy, and frequent? Those are the questions that deserve professional attention before a single tile goes on the wall.
Why the Stove Backsplash Is More Than Just Decorative
The stove wall is rarely background. In many kitchens, it's the line your eye lands on first. Cabinet runs, hood placement, counter spans, and lighting all tend to direct attention there, which is one reason installers often treat the stove area as the visual anchor for the whole backsplash layout.
There's also a practical reason to give this area more respect. The wall behind a range deals with grease mist, sauce splatter, steam, and repeated cleaning. A tile that looks beautiful in a sample board can become tiresome fast if its surface traps residue or its joints weren't planned well.
A standard backsplash zone behind the stove is often the same as the rest of the counter-to-cabinet run, about 18 inches from countertop to upper cabinets, with a commonly used working range of 15 to 18 inches in stove-area guidance, according to layout guidance for backsplash tile. That sounds straightforward, but the visual reading of that band changes completely depending on where you start the pattern, where cuts fall, and whether the range wall is centered cleanly.
Practical rule: If the stove wall is the focal point, the layout should respect that focal point. Center the field first. Solve the edges second.
That's why old-school tile setters paid close attention to symmetry here. The cooking wall often carries the strongest visual weight in the room, so crooked cuts at the hood line or awkward slivers at the cabinet edge stand out immediately.
The stove backsplash also has a tougher job than “heat resistance” alone suggests. Plenty of materials can live near normal kitchen warmth. The better question is whether the finish keeps its composure under repeated splatter and regular scrubbing. That's where material choice, tile thickness, edge detailing, and finishing work all start to matter together.
For homeowners, that means planning before shopping. For designers, it means the drawing should reflect how the appliance, tile depth, and pattern all work as one composition, not three separate decisions.
Choosing the Right Tile for Heat and Durability
A stove backsplash shouldn't be chosen the way people choose a powder room wall tile. This area lives harder. It gets wiped more often, sees more grease, and exposes weak finishes quickly. The right material is the one that still looks intentional after months of actual cooking.
Many articles say a backsplash material is fine if it's heat resistant. That's only part of the story. As noted in this discussion of backsplash performance behind stoves, many guides don't address what happens near direct flame from high-output burners. The practical question is less whether a tile can survive near a stove, and more which surface and finish remain easiest to maintain with frequent splatter, steam, and high heat.
How the main materials compare

| Tile Material Comparison for Stove Backsplashes | Heat Resistance | Stain & Grease Resistance | Maintenance | Best For |
|---|---|---|---|---|
| Porcelain | Strong choice for stove areas | Usually easy to clean because the surface is dense | Low-maintenance in day-to-day use | Busy kitchens, frequent cooking, minimal upkeep |
| Ceramic | Good for backsplash use behind a stove | Glazed versions are easier to wipe than unglazed ones | Moderate, depends on finish | Classic kitchens, budget-conscious remodels |
| Natural stone | Can work well, but performance varies by stone and finish | Varies significantly because porosity varies | Requires sealing and more care | Projects where natural texture is part of the design intent |
| Handmade cement tile | Suitable when properly specified and maintained | Depends heavily on sealing and cleaning habits | Moderate to higher maintenance than glazed tile | Statement walls, heritage design, matte decorative surfaces |
What works in busy kitchens
Porcelain is the practical workhorse. It's dense, usually easy to wipe, and forgiving if the household cooks often. If someone asks for the least fussy option for tiling behind stove areas, porcelain is high on the list.
Ceramic is broader as a category, so the finish matters. A glazed ceramic tile can be very manageable behind a range. An unglazed surface asks more of the owner and is less forgiving if grease sits too long.
Natural stone needs more thought than most homeowners expect. Some stone surfaces wear beautifully and give a kitchen depth that manufactured materials can't imitate. But texture and porosity change the cleaning routine. If the cook uses high heat regularly, that textured cleft or open pore can become the place where grease settles first.
Where cement tile fits
Handmade cement tile belongs in this conversation, especially in kitchens where the backsplash is meant to carry design identity, not just cover drywall. It brings color depth, pattern, and a matte surface that feels rooted rather than glossy. But it shouldn't be chosen casually.
Cement tile can perform well behind a stove when the installer and owner treat it like a porous decorative surface that needs sealing and sensible maintenance. It's a strong design choice when the household values material character and understands the finish will ask for proper care.
One option homeowners and designers often review is Original Mission Tile's kitchen backsplash guide, especially when comparing handmade cement patterns to more conventional backsplash materials.
A backsplash behind a serious cooking surface should be chosen for cleanability as much as appearance. Beauty matters. So does the third cleanup on a weeknight.
A simple decision filter
If the kitchen sees frequent high-output cooking, lean toward smoother, easier-to-clean surfaces.
If the backsplash is meant to be the room's main decorative moment, a more character-rich material can make sense, but only if you accept its maintenance needs.
Choose by these questions:
- How hot does this zone get in real use: Occasional simmering is different from regular wok cooking or high-flame searing.
- How often will someone wipe it down: A forgiving glazed or dense tile helps in fast-moving households.
- Do you want patina or precision: A handmade surface brings variation. A factory-finished surface usually brings easier upkeep.
- Will the grout choice support the material: The tile doesn't work alone. Joint color, grout type, and sealing all influence long-term performance.
Critical Planning and Measurement for a Flawless Fit
Good backsplash work starts before the first box is opened. Most avoidable failures happen in planning. Crooked starting lines, proud walls, misread outlet positions, and range clearance problems all trace back to skipped measuring.

The stove area is often treated as the layout center because that wall carries so much visual weight. Standard backsplash dimensions help frame the task, but measurement alone doesn't create a professional result. The wall has to be flat enough for the tile you chose, the appliance has to fit after the assembly builds out, and the pattern has to land cleanly where people will notice it most.
Start with the wall you actually have
Before you think about pattern, inspect the substrate.
- Check flatness: Handmade tile, large-format tile, and any tile with a crisp edge telegraph humps and dips.
- Repair damaged drywall: Loose paper, grease residue, and soft spots need attention before tile goes up.
- Confirm outlet and trim depths: Box extenders or trim adjustments may be necessary depending on tile thickness.
- Look at the countertop line: If the counter isn't level, your eye will still expect the tile layout to read correctly.
For anyone mapping the field carefully, this tile measuring guide is a useful reference for organizing dimensions before ordering or cutting.
The clearance issue most guides skip
A common but overlooked issue is the conflict between backsplash thickness and appliance clearance. Thicker tiles can keep a range from sitting flush and create both functional and visual problems, a concern that appears repeatedly in homeowner discussions about stove fit and backsplash depth.
Remodels can be tricky. A beautiful thick tile, especially cement or some stone, adds depth. So does the setting bed. On paper that can seem minor. In a real kitchen, it can change how the range meets the wall, how crumbs fall behind it, and whether the appliance still aligns with adjacent counters.
Measure the appliance recess before you choose the tile, not after it arrives. The wall finish doesn't get the final vote. The appliance fit does.
How to measure for tile thickness and stove fit
Use a straightedge, tape measure, and the actual tile sample if possible.
- Measure the available depth at the appliance opening: Don't assume the existing range has extra room.
- Add the tile thickness to the expected setting material build: The finished assembly is what matters.
- Check side and rear relationships: Some ranges tolerate little build-out before the body or trim projects awkwardly.
- Confirm service access: A range that barely slides in can become a maintenance nuisance later.
If the tile assembly threatens the fit, you still have options. You can change material, use a thinner field tile, stop the heavier decorative tile above a certain line, or revise the wall treatment behind the body of the appliance while keeping the visible composition intact.
Plan the layout from the centerline
A stove wall benefits from symmetry. Find the centerline of the range area, then test the layout against it before setting anything. Dry-lay enough tile to see where joints, cuts, and pattern repeats will land at the cabinet edge, under the hood, and near any outlets.
A handcrafted material deserves respect. Handmade surfaces carry variation in face, edge, and tone. They look best when the layout feels deliberate rather than mechanically forced.
A few planning habits consistently improve the result:
- Dry-fit the focal zone first: Don't let the most visible cuts be a surprise.
- Avoid tiny slivers at exposed edges: A pattern can be shifted slightly if the wall allows it.
- Balance left and right cuts: The eye forgives variation. It doesn't forgive accidental imbalance.
- Think about cleaning while you design: Deep relief and heavy texture behind burners should be a conscious choice.
The Tile Installation Process from Start to Finish
Setting tile behind a range isn't difficult because it's mysterious. It's difficult because small shortcuts show up forever. A crooked first course never fixes itself. Poor coverage behind handmade tile doesn't get better with time. Sloppy cuts around an outlet stay in your line of sight every time you cook.

A proven method is to treat the stove area as the layout anchor, establish the first course with a level, dry-fit before setting, and work in small sections with back-buttering for full contact, as described in this practical backsplash installation walkthrough. That sequence matters because it keeps the most visible part of the wall under control from the first tile onward.
Set the line before you set the tile
Don't trust the countertop, the cabinet, or the existing wall to give you a true starting line. Use a level or laser and strike the first course deliberately.
That first horizontal decision governs everything above it. If the counter has a slight dip, the tile layout still needs to read straight to the eye. Sometimes that means managing a small adjustment at the bottom edge rather than allowing the whole field to wander upward.
Dry-fitting isn't wasted time. It's how you catch awkward cuts before thin-set or mastic goes on the wall. Around a stove, that usually means checking the centerline, outlet interruptions, and the transition under the hood or cabinet.
Choose the setting material with the location in mind
Different tile bodies and site conditions call for different adhesives. For a stove backsplash, many installers prefer a cementitious thin-set mortar in areas that see more heat and kitchen moisture, while premixed mastic is often reserved for appropriate interior backsplash situations where its limitations are understood.
What matters most is using the product within its intended conditions and giving yourself a manageable working pace. With premixed mastic, installers often recommend limiting the spread to about a 5-minute workable section and letting the tile cure at least 24 hours before grouting, based on the installation method outlined in the source above.
Spread small areas and aim for full contact
Use the proper notched trowel for the tile size, and don't cover more wall than you can set neatly before the adhesive skins over. Behind a stove, I'd rather see a slower setter working cleanly in small sections than a fast one chasing a wall full of drying adhesive.
Back-buttering matters, especially with larger pieces, handmade tile, or any tile with slight warpage or uneven backing. It improves contact and helps eliminate voids.
Full coverage isn't a luxury behind a range. That wall gets cleaned often, and loose spots usually reveal themselves at the worst time.
Make your cuts look intentional
Most backsplash jobs are won or lost at the cuts. The field tile can be flawless and the whole wall will still look amateur if the outlet cuts are ragged or the cabinet returns are inconsistent.
Use the right cutting method for the tile body. Dense porcelain often wants a strong score-and-snap tool or wet saw. Cement tile rewards a careful blade and a steady hand. Natural stone may chip differently depending on the species and finish.
Keep a few principles in mind:
- Cut visible edges cleanly: The eye goes there first.
- Test around outlets before final setting: Cover plates hide some sins, not all of them.
- Respect joint consistency: Wandering grout joints make even expensive tile look unsettled.
- Sort handmade tile before setting: Blend tone and surface variation intentionally across the field.
After you've seen the process in still form, it helps to watch the hand rhythm and pacing of a real backsplash install:
Work outward and upward
Once the focal area behind the stove is established, build out from there. That approach protects the visual center and lets edge cuts fall where they're least disruptive.
Keep checking with a level as you go. Tile has a way of drifting if you trust your eye too much in a room full of competing lines. Clean adhesive from joints while it's fresh, and don't rush the last rows near the underside of cabinets. Those top cuts are often more visible than people expect because task lighting throws them into relief.
A calm install always looks better than a hurried one. That's true whether you're setting plain white ceramic or a patterned handmade field meant to carry the entire kitchen.
Grouting Sealing and Curing the Right Way
The job isn't finished when the tile is on the wall. In many kitchens, the failures people blame on “bad tile” are finishing failures. Grout was rushed. Movement joints were ignored. A porous surface never got properly sealed. Then the stove went back in and the wall was put into service before the assembly had time to settle.

Grout is part of the surface, not a filler
Choose grout with the tile and the kitchen in mind. A tight-jointed glossy ceramic backsplash may call for a different grout approach than a handmade cement tile with a wider joint and softer visual character. In a cooking zone, stain resistance matters, but so does ease of cleanup during installation.
The cleanup timing matters just as much as the grout itself. Backsplash guidance consistently recommends beginning grout cleanup immediately with a well-wrung sponge so you don't drag material back out of the joints, and allowing grout to dry for about 24 hours to 3 days depending on the manufacturer. Mortar or tile drying is commonly about 24 hours, according to this step-by-step backsplash guide focused on curing and movement joints.
Leave movement joints and caulk them properly
Tile shouldn't be jammed hard into every change of plane. The meeting points at countertops, cabinet edges, and wall transitions need a small gap that's later filled with color-matched caulk, not grout. That flexible joint helps the installation absorb normal movement without telegraphing stress into the field.
If you want a clear refresher on where and how flexible sealant should be used, Home Project Services' caulking guide is useful because it explains the logic behind caulking joints that need movement accommodation rather than rigid fill.
Grout belongs in the joints between tiles. Caulk belongs where surfaces meet and move differently.
Seal porous tile like you mean it
Glazed porcelain and glazed ceramic often need far less attention here than porous surfaces do. Natural stone and cement tile are different. If the material can absorb, it needs a sealing plan that matches the manufacturer's guidance and the realities of kitchen use.
Sealing doesn't make a porous decorative tile maintenance-free. It makes it more manageable. That distinction matters. A sealed cement backsplash can be a durable and rewarding surface, but the owner still needs to wipe cooking residue in a timely way and avoid treating it like glossy porcelain.
Patience protects the finish
Premature use is one of the easiest ways to spoil an otherwise solid installation. Reinstalling the appliance, washing aggressively, or loading the wall before cure times are met can affect bond and finish.
For anyone timing the handoff of a kitchen, this guide to grout drying times is a helpful reference point when planning the final stage of the work.
A handsome backsplash usually comes down to restraint at the end. Let the mortar cure. Let the grout dry. Caulk the proper joints. Seal the surfaces that require it. Those aren't finishing touches. They're part of the installation.
Long-Term Maintenance and Troubleshooting Tips
A stove backsplash earns its keep in cleaning, not on installation day. The surfaces that stay handsome are the ones matched to the household and maintained according to what they're made of.
For routine care, wipe splatter early. That matters more than any miracle cleaner. Grease that sits gets tacky, then attracts dust, and the wall starts looking dull even when the tile itself is sound. Glazed porcelain and glazed ceramic usually tolerate the simplest routine. A soft cloth, warm water, and a cleaner suitable for kitchen grease are often enough.
Porous materials need a gentler approach. Sealed cement tile and many natural stones don't respond well to harsh, residue-heavy, or overly aggressive products. Use cleaners appropriate to the finish, and test first if there's any doubt. The goal is to lift grease without stripping sealer or discoloring the surface.
What to watch for over time
A few issues show up repeatedly in stove-area backsplashes:
- Hairline tile cracks: These often point to movement, poor support, or stress at an edge or change of plane.
- Stained grout joints: Usually a maintenance issue, sometimes a sealing issue, and occasionally a sign the wrong grout was chosen for the space.
- Crumbling or pinholed grout: This can trace back to installation technique, cleanup errors, or premature use during cure.
- Persistent gap behind the range: Often caused by the build-out problem discussed earlier, not by the appliance alone.
When to repair and when to call a pro
If one tile is cracked but the surrounding field is stable, a careful replacement may be enough. If several cracks follow a line, or grout keeps failing at transitions, stop treating it as a cosmetic defect. The installation may be telling you there's movement or stress underneath.
Use a simple rule. Clean first, inspect second, replace third. Don't smear new material over an unresolved cause.
A stove backsplash should get easier to live with over time, not harder. When the tile suits the cooking style, the layout respects the wall, and the finish work was done properly, maintenance becomes ordinary. That's the point. Good tile work doesn't ask for attention every day. It rewards it.
If you're weighing materials for tiling behind stove areas and want a surface with lasting character, Original Mission Tile offers handmade cement tile in stocked and custom designs, along with guidance on specification, installation, and care. For designers, homeowners, and builders trying to balance appliance fit, cleanability, and design intent, that kind of material knowledge is worth having before the wall goes up.