You order 40 boxes of cement tile for your kitchen floor. Halfway through the job, the installer runs short and the next batch has a slightly different dye lot. Now you have a patched-together floor and a rush order that eats another two weeks. This is the single most common and most avoidable mistake in cement tile installation: guessing at quantity instead of calculating it.
Getting your cement tile overage right the first time saves you money, saves your installer a headache, and protects you from color mismatches down the road. This guide walks through the exact math, room by room, so you order the right amount once.
Why Cement Tile Needs More Overage Than Ceramic
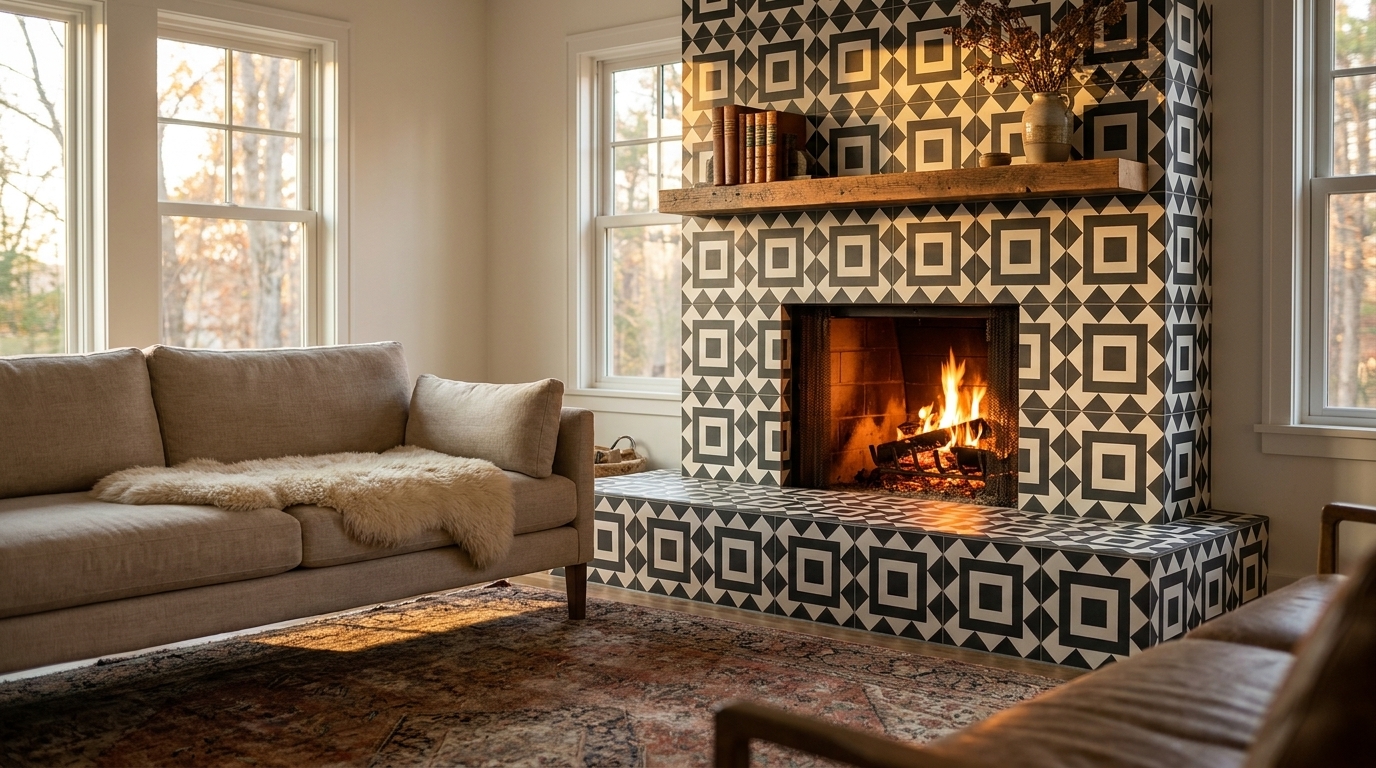
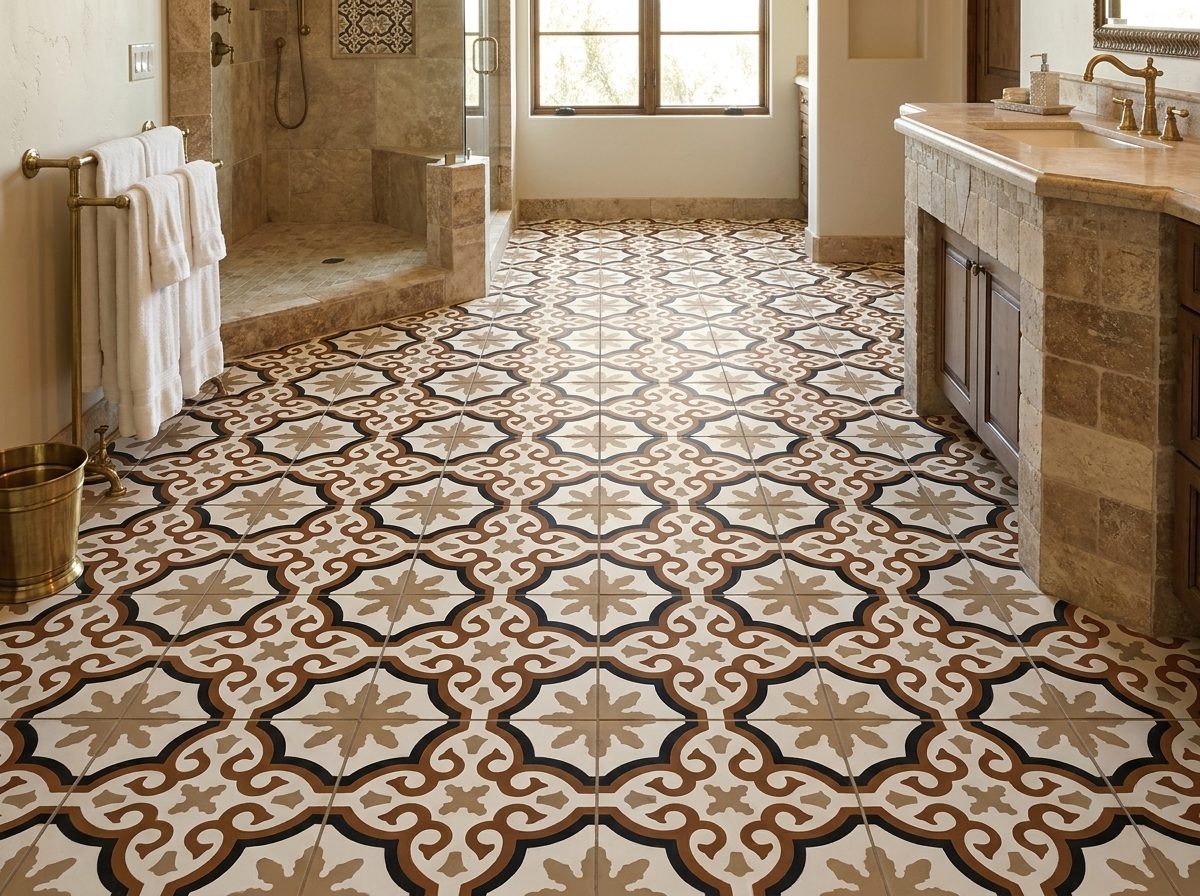
Cement tile is made differently than ceramic or porcelain. Each tile is hand-poured and hydraulically pressed, then cured for weeks before it ships. That process gives cement tile its rich, saturated color and matte figure below.
Because of that, cuts break more often, especially on tile saws with a dull or wrong-grit blade. A straight cut on a factory-edge ceramic tile might have a 2% failure rate. The same cut on cement tile, near a doorway or around a vent, can run higher. That’s why we recommend a minimum 15% overage on every cement tile order, regardless of pattern.
Fifteen percent is not an arbitrary number. It covers standard breakage, a few miscuts, and one or two tiles held back for future repairs. For complex layouts, you’ll want to go higher, and we’ll cover exactly how much in the pattern section below.
The Basic Math: Square Footage to Boxes
Before you can calculate overage, you need your base square footage. Measure the length and width of the room in feet, then multiply. For an L-shaped or irregular room, break it into rectangles and add the totals together.
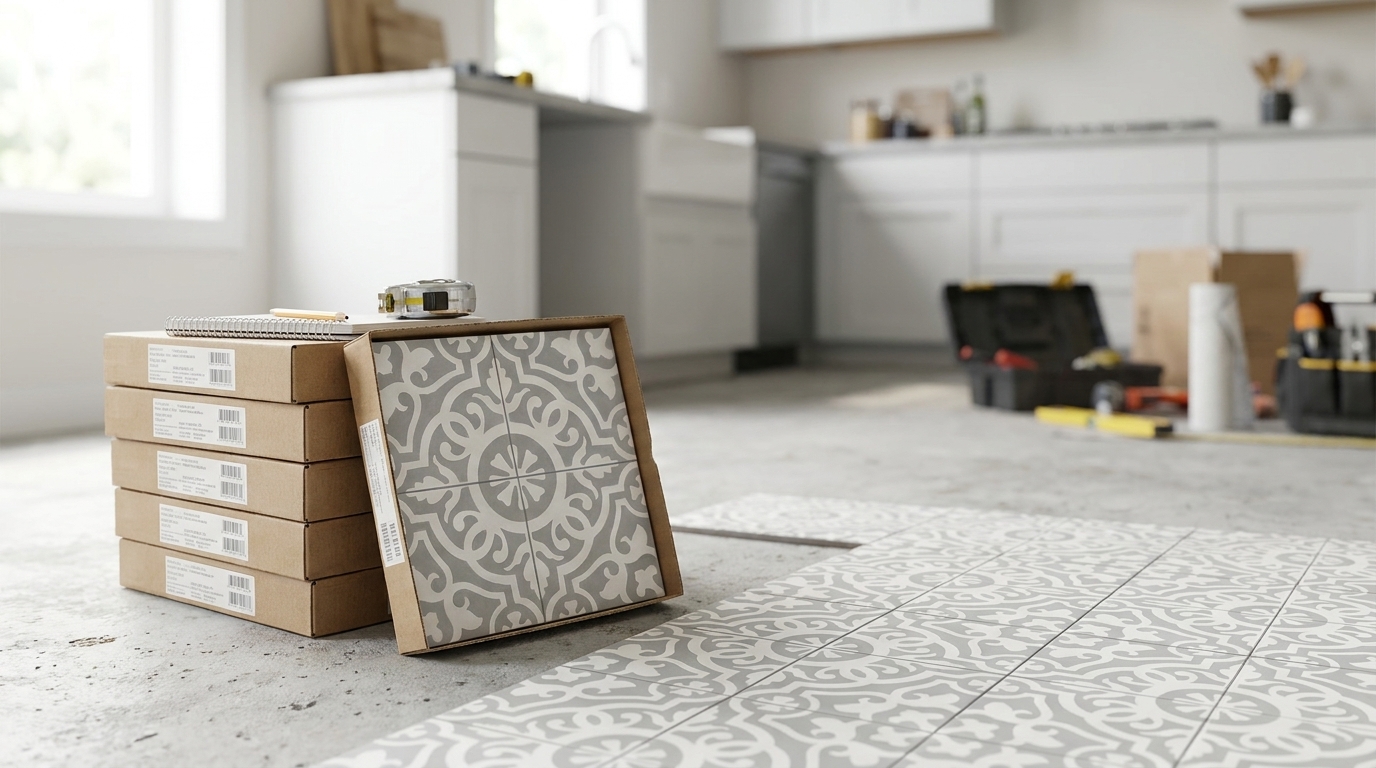
Our standard 8×8 cement tile ships 12 tiles per box, covering 5.17 square feet. That means one box covers a little more than a 2-foot by 2.5-foot section of floor. Once you know your square footage, the formula looks like this:
- Step 1: Room square footage ÷ 5.17 = base boxes needed
- Step 2: Base boxes × 1.15 (for 15% overage) = boxes to order
- Step 3: Round up to the nearest whole box
Note that not every pattern uses an 8×8 format. Hex, fishscale, and brick shapes cover different areas per box, so always check the specific product page for coverage per box before you run the math. For example, a hex-format tile like Hex-100 White 8×9 covers a different square footage per box than a standard square tile.
Room-by-Room Overage Guide
The 15% baseline works for most rectangular rooms with a simple, straight layout. However, some rooms carry extra risk factors that push the number higher. Here’s how to think about the most common spaces.
Kitchen Floors
Kitchens usually have more obstacles than any other room: islands, cabinet toe-kicks, appliance cutouts, and door swings. Each obstacle means more cuts. Plan for 15-18% overage on a kitchen floor, leaning toward the higher end if you have an island or a peninsula to tile around.
Bathroom Floors and Shower Pans
Bathroom floors are small, which sounds like an advantage, but small rooms have a higher ratio of edge to open field. That means more cuts per square foot than a large open room. Add in a shower curb, a toilet flange, and a floor drain, and 15-18% overage is the safe range here too.
Backsplashes and Accent Walls
Backsplashes are forgiving because most cuts happen along a straight top or bottom edge, not at odd angles. A 12-15% overage usually covers a standard backsplash, including outlet cutouts. If you’re wrapping the tile around a window or up to open shelving, add a few points to that number.
Entryways and Hallways
Entryways often set the pattern’s focal point, so cuts matter more visually. You want extra tile on hand to test placement before committing to a cut. Plan for 15% overage, and if the entry has an angled threshold or a curved transition, push to 18-20%.
Patios and Exterior Spaces
Exterior installations bring their own sealing and substrate rules, which we cover in our exterior tile installation guide. For overage purposes, treat an open patio like a simple kitchen floor: 15% is the starting point, more if the patio has curves or planting cutouts.
Pattern Complexity: How Layout Changes Your Waste Factor

The single biggest factor in your overage number, after room shape, is the pattern itself. A straight, grid-aligned layout wastes the least tile because offcuts from one edge often work on the opposite wall. Diagonal and herringbone-inspired layouts waste far more, because the angled offcuts rarely fit anywhere else in the room.
Here’s a practical breakdown by layout type:
- Straight grid layout: 15% overage is typically enough.
- Diagonal layout: Increase to 18-20%. Every perimeter tile needs an angled cut, and those cuts don’t reuse well.
- Multi-color geometric patterns (like diamonds or checkerboards): Add 5% on top of your layout’s base number for each additional color, since color-specific cuts can’t substitute for each other. A two-tone pattern like Harlequin Blue 01 needs this extra buffer per color.
- Hexagon, fishscale, or other shaped tiles: Plan for 18-20% because the interlocking shape creates more partial-tile cuts along every straight wall. A fishscale layout like FS-100 White 8×8 falls into this category.
If you’re mixing patterns, custom-designing a layout, or working with a custom made tile order, talk to your installer before you order. That way you can calculate overage per pattern zone instead of applying one number to the whole project.
Accounting for Trim, Borders, and Accent Pieces

Overage calculations usually focus on field tile, but trim pieces need their own math. Bullnose, brick-format borders, and single-color accent bands each have different waste characteristics than the field.
Border tiles almost always need more overage than field tiles because they run in a single line with almost no room to shift a bad cut. A 20% overage on border and trim quantities is a safer bet than the 15% baseline you use for the field. For instance, if you’re finishing a shower curb with Bullnose S-101 Black 4×8, measure the exact linear footage first, then add that 20% before rounding up to full boxes.
Brick-format tiles used as a border or hallway runner, like Brick S-101 Black 2×8, follow the same logic. Because these ship at 8×8 coverage rates per box but install in a linear run, measure the run’s total length in inches, divide by the tile’s face width, and add your overage from there rather than relying on a flat square footage estimate.
A Worked Example: Calculating a 120 Sq Ft Kitchen
Let’s put the formula to work with real numbers. Say you’re tiling a 120 square foot kitchen in a straight grid layout, using an 8×8 tile like Amalia II Gris 01. The kitchen has one island and a doorway, so it’s a moderate-obstacle room.
- Base boxes: 120 sq ft ÷ 5.17 sq ft per box = 23.2 boxes
- Apply overage: Because of the island, use 17% instead of the 15% minimum. 23.2 × 1.17 = 27.1 boxes
- Round up: Order 28 boxes
That extra 5 boxes beyond the base 23 covers your cuts around the island, your doorway transition, and a small buffer for breakage. It also leaves a spare box or two for future repairs, which matters because cement tile is a batch-dyed product and later reorders may not match perfectly.
Before you finalize any order, order a sample from the product page so you can confirm color and texture in your actual lighting. Samples run $20 for the first tile and $10 for each additional one, with free shipping.
Common Overage Mistakes That Cost Money
Even experienced contractors get overage wrong sometimes. Here are the mistakes we see most often, and how to avoid them.
Rounding down instead of up. If your math lands on 27.1 boxes, order 28. Rounding down to save money almost always costs more later in a rushed reorder.
Forgetting waste from a bad batch of grout or a saw mishap. Even a careful crew loses a tile or two to a chipped edge during grouting. Your 15% baseline already accounts for this, so don’t shave it down.
Treating custom made tile like in-stock tile. Because custom made tiles are produced to order in about four to six weeks, running short mid-project means a real delay, not a quick reorder. Order more generously on custom made tile projects, especially for multi-color designs.
Skipping the layout plan. Before you cut a single tile, sketch the layout and mark where cuts will fall. This step, covered in depth in our installation guidelines, often reveals that a slightly different starting point reduces waste significantly.
If you’re still unsure about quantity after running the numbers, our team can review your floor plan and confirm the order before it ships. That’s a much cheaper conversation than a mid-project reorder.
Frequently Asked Questions
How many boxes of cement tile do I need for a 100 square foot room?
Divide 100 by 5.17 to get about 19.3 base boxes for a standard 8×8 tile. Add 15% overage for a simple layout, which brings you to roughly 22.2 boxes. Round up to 23 boxes to be safe.
Should I order extra boxes for future repairs, beyond my overage?
Yes, if your budget allows it. Because cement tile is dyed in batches, a reorder months or years later may not match the original floor exactly. Keeping two or three spare tiles from your original order means any future repair blends in seamlessly.
What happens if I run out of tile mid-installation?
For in-stock patterns, a reorder usually ships within days since our in-stock cement tiles are ready to go from our Laredo, Texas warehouse. However, the new box may come from a different production batch, so slight shade variation is possible. That’s exactly why the 15% minimum overage matters.
Does a custom pattern design need a different overage calculation?
Yes. Custom made tiles, especially multi-color geometric designs, need overage calculated per color and per pattern repeat, not as one flat percentage. Review your layout in our installation gallery for examples of how complex patterns break down, and talk to our design team before finalizing quantities.
See the tile in person before you commit
Photos only tell you half the story. Colors, texture and the handmade character of cement tile are best judged in your own light. Order a sample of any in-stock pattern for $20 (additional samples $10, free shipping) — or tell us about your project and we’ll help you narrow it down.
Browse in-stock cement tiles →
Talk to us about your project →