Cold tile floors send a lot of homeowners searching for radiant floor heating under cement tile. It works, and cement tile actually makes a great radiant heat surface. But cement tile is not fired ceramic or porcelain. It is a dense, handmade material with a thin pigment layer on top. That structure changes how you build the system, how fast you warm it up, and how you protect it long term.
This guide covers what actually matters: the layers under the tile, safe temperature limits, movement joints, and the timing for curing and sealing. We also compare electric and hydronic systems, because the choice affects your whole installation. Think of this as the missing chapter between your radiant heat installer’s manual and your tile setter’s know-how.
Why Cement Tile Works Well With Radiant Heat
Cement tile is a dense hydraulic cement composite. It is poured and pressed by hand, not fired in a kiln like ceramic or porcelain. That density means it conducts heat well once it warms up. It also holds that warmth after the system cycles off, so the floor stays comfortable between heating cycles.
The tradeoff is porosity. For example, cement tile is more porous than porcelain, with a face layer of pigmented cement bonded to a coarser cement back. Because of that layered structure, installers avoid quick temperature swings. A slow, steady warm-up protects the bond between those layers, which we cover in detail below.
None of this makes cement tile a bad match for radiant heat. It simply means a slightly different playbook than ceramic or stone requires. Designers pair cement tile with bathrooms and kitchens often, and radiant heat lives in those same rooms. That overlap is exactly why the two show up together so frequently.
Electric vs. Hydronic: Choosing the Right System
Electric radiant heat uses thin mats or loose cable, embedded in a layer of thinset or self-leveling compound. It heats up fast and has a low profile. Because it adds less than an inch of height, it is usually the easier retrofit for a single bathroom or kitchen floor.
Hydronic radiant heat circulates warm water through tubing, typically inside a concrete or gypsum layer. It costs more to install, and it takes more planning up front. However, it heats large areas efficiently, and it pairs well with new construction or a full slab pour. If you are heating an entire first floor, hydronic often wins on long-term value.
Whichever system you choose, check the manufacturer’s maximum wattage or water temperature before you spec cement tile over it. Most residential systems stay well within safe limits for tile. Still, it is worth confirming in writing, especially on a custom project.
Building the Right Layers Under Cement Tile
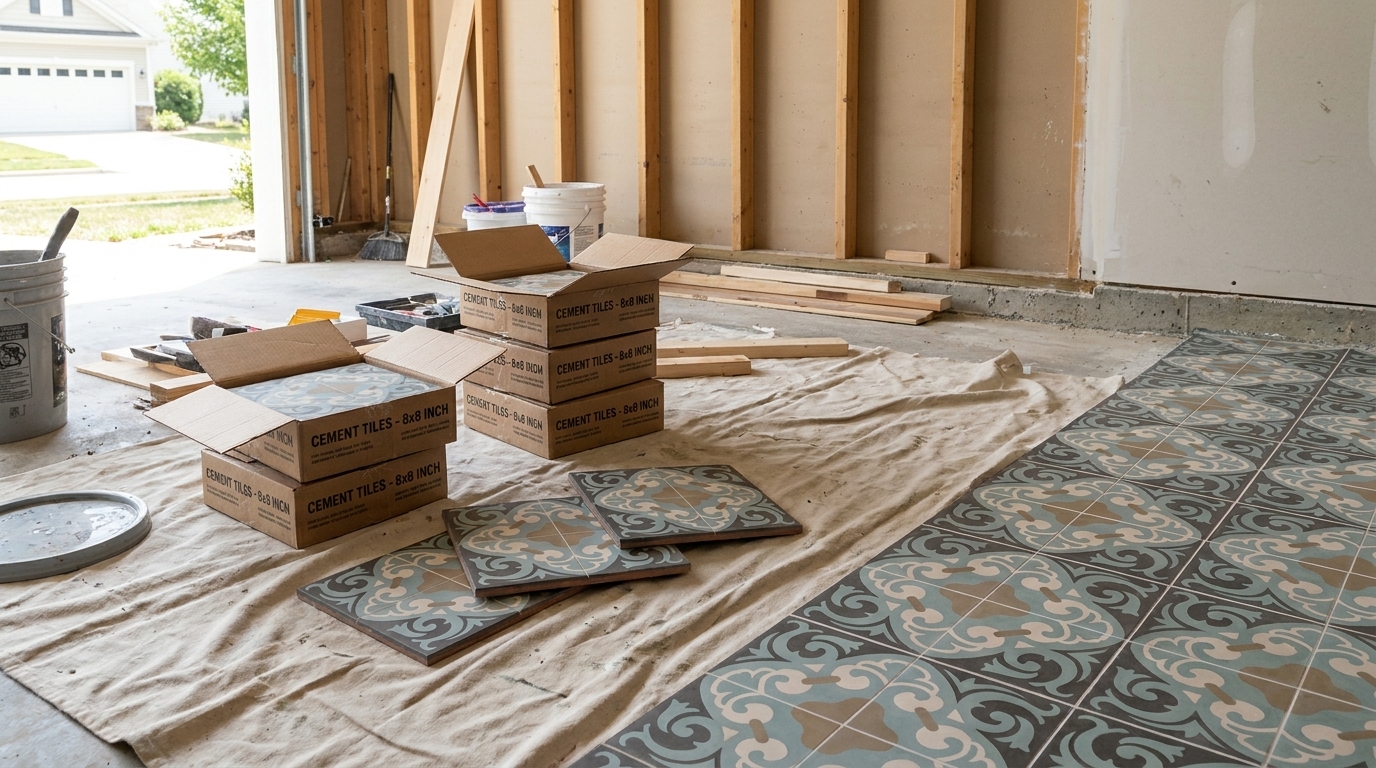
Layer sequence matters more than any single product in it. A typical heated cement tile assembly, from the subfloor up, looks like this:
- Structurally sound subfloor, flat and free of deflection
- Radiant heat element: electric mat, cable, or hydronic tubing
- Uncoupling membrane or self-leveling layer to embed the heating element evenly
- Latex-modified thinset mortar rated for use over radiant heat
- Cement tile, set with full mortar coverage and no voids
An uncoupling membrane is a thin, grid-textured sheet that separates tile from the substrate below it. It absorbs small movements from the subfloor and heating cycles instead of passing them into the tile. That layer is worth the extra cost for cement tile specifically, because the pigment face is less forgiving of stress cracks than a fired ceramic glaze.
Skip a self-leveling underlayment or mud bed unless the heating element manufacturer requires one. Extra mass adds lag time before the floor feels warm, and lag time is the opposite of what most homeowners want from radiant heat. For full details on substrate prep, movement joints, and mortar coverage for cement tile generally, see our cement tile installation guidelines.
Temperature Limits and the Slow Warm-Up Rule
Most radiant systems run comfortable floor surfaces at 80 to 85°F. That range is well within what cement tile can handle. The real risk is not the target temperature; instead, it is how fast you get there.
Cement tile cures for weeks after installation. It needs to acclimate to heat the same way. Bring a new radiant floor up gradually, in roughly 5-degree steps over several days. Do not jump straight to your target setpoint on day one.
That slow ramp lets the mortar bed and the tile’s pigment layer adjust together. It prevents the kind of stress cracking that shows up as thin hairline marks on the tile face. This matters even more in winter, when a cold slab meets a sudden blast of heat.
Thermal shock, not heat itself, is the real enemy here. Patience during startup is the cheapest insurance on the whole project. Once the floor is broken in, normal day-to-day thermostat cycling is not a concern.
Movement Joints Still Matter With Heated Floors
Radiant heat adds daily expansion and contraction cycles on top of the seasonal movement every tile floor already experiences. That makes movement joints, also called soft joints, more important, not less. Perimeter joints where the floor meets a wall need to stay flexible. So do transition joints at doorways, because the heated tile field needs somewhere to move.
Skipping movement joints is one of the most common causes of cracked heated tile floors. It has nothing to do with the tile itself. Instead, it is a system design failure that shows up months later, once enough heating cycles accumulate.
If your project spans large open rooms, or connects a heated area to an unheated one, plan those joints before you set a single tile. Your installer or membrane manufacturer can help size and space them correctly for the square footage involved.
Curing, Sealing, and Grouting Before You Turn On the Heat
Cement tile needs to cure, and in most cases be sealed, before it faces sustained heat. Sealing too early traps residual moisture in the tile. Heating that trapped moisture can push it back out through the surface, causing haze or uneven color. Wait until grout and mortar fully cure, then seal, and only then start your slow warm-up sequence.
Use a grout and sealer combination rated for the tile. Ideally, choose products with a track record on radiant-heated floors. For a full walkthrough of curing timelines, sealer types, and ongoing care, our maintenance and cleaning guide covers the specifics for cement tile.
Once the floor is sealed and broken in, radiant heat actually helps with upkeep in one respect. A warm floor dries faster after mopping. That means less standing moisture and fewer chances for water spotting over time.
Choosing Patterns and Planning Your Order
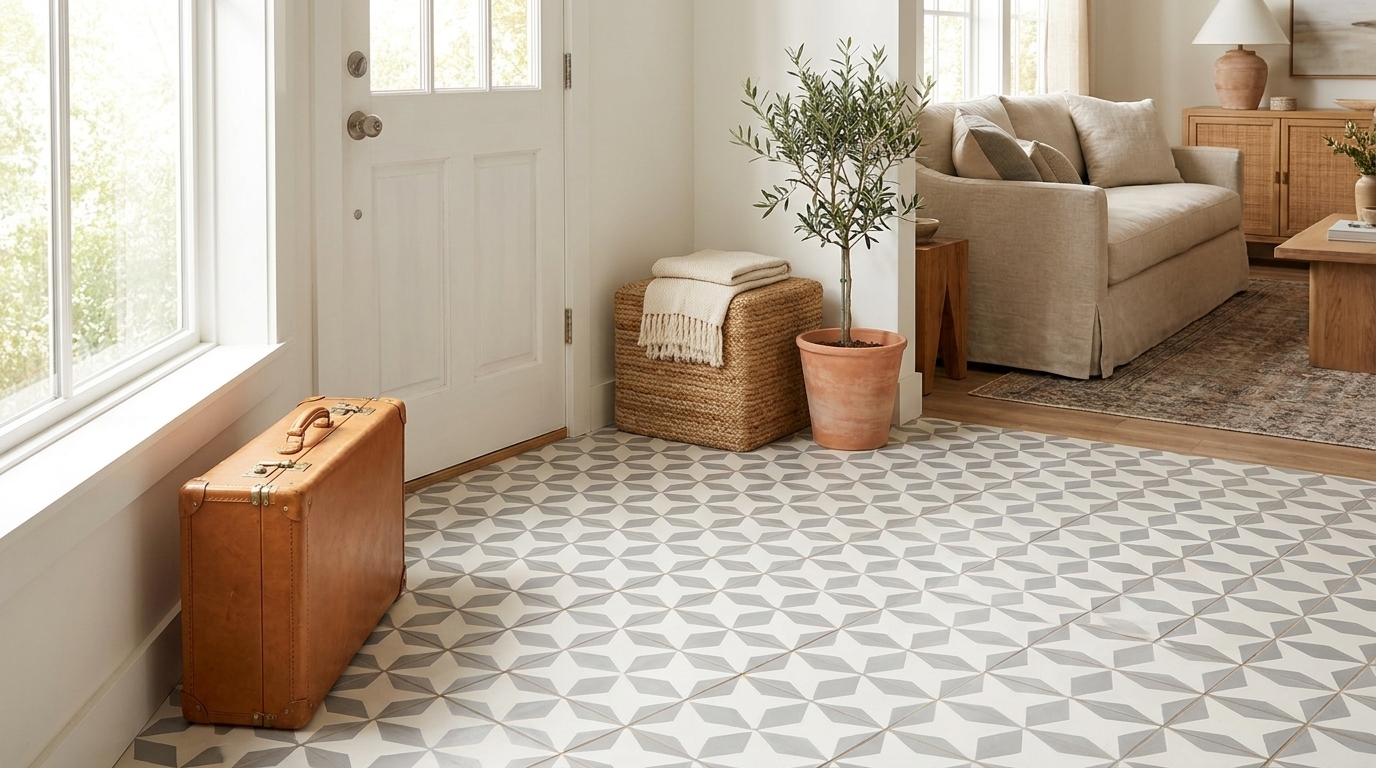
Almost any pattern in our catalog works over radiant heat, because the heating system lives below the tile, not inside it. Still, bathrooms and kitchens are the most common rooms for radiant heat. That makes color and pattern choices worth thinking through in context.
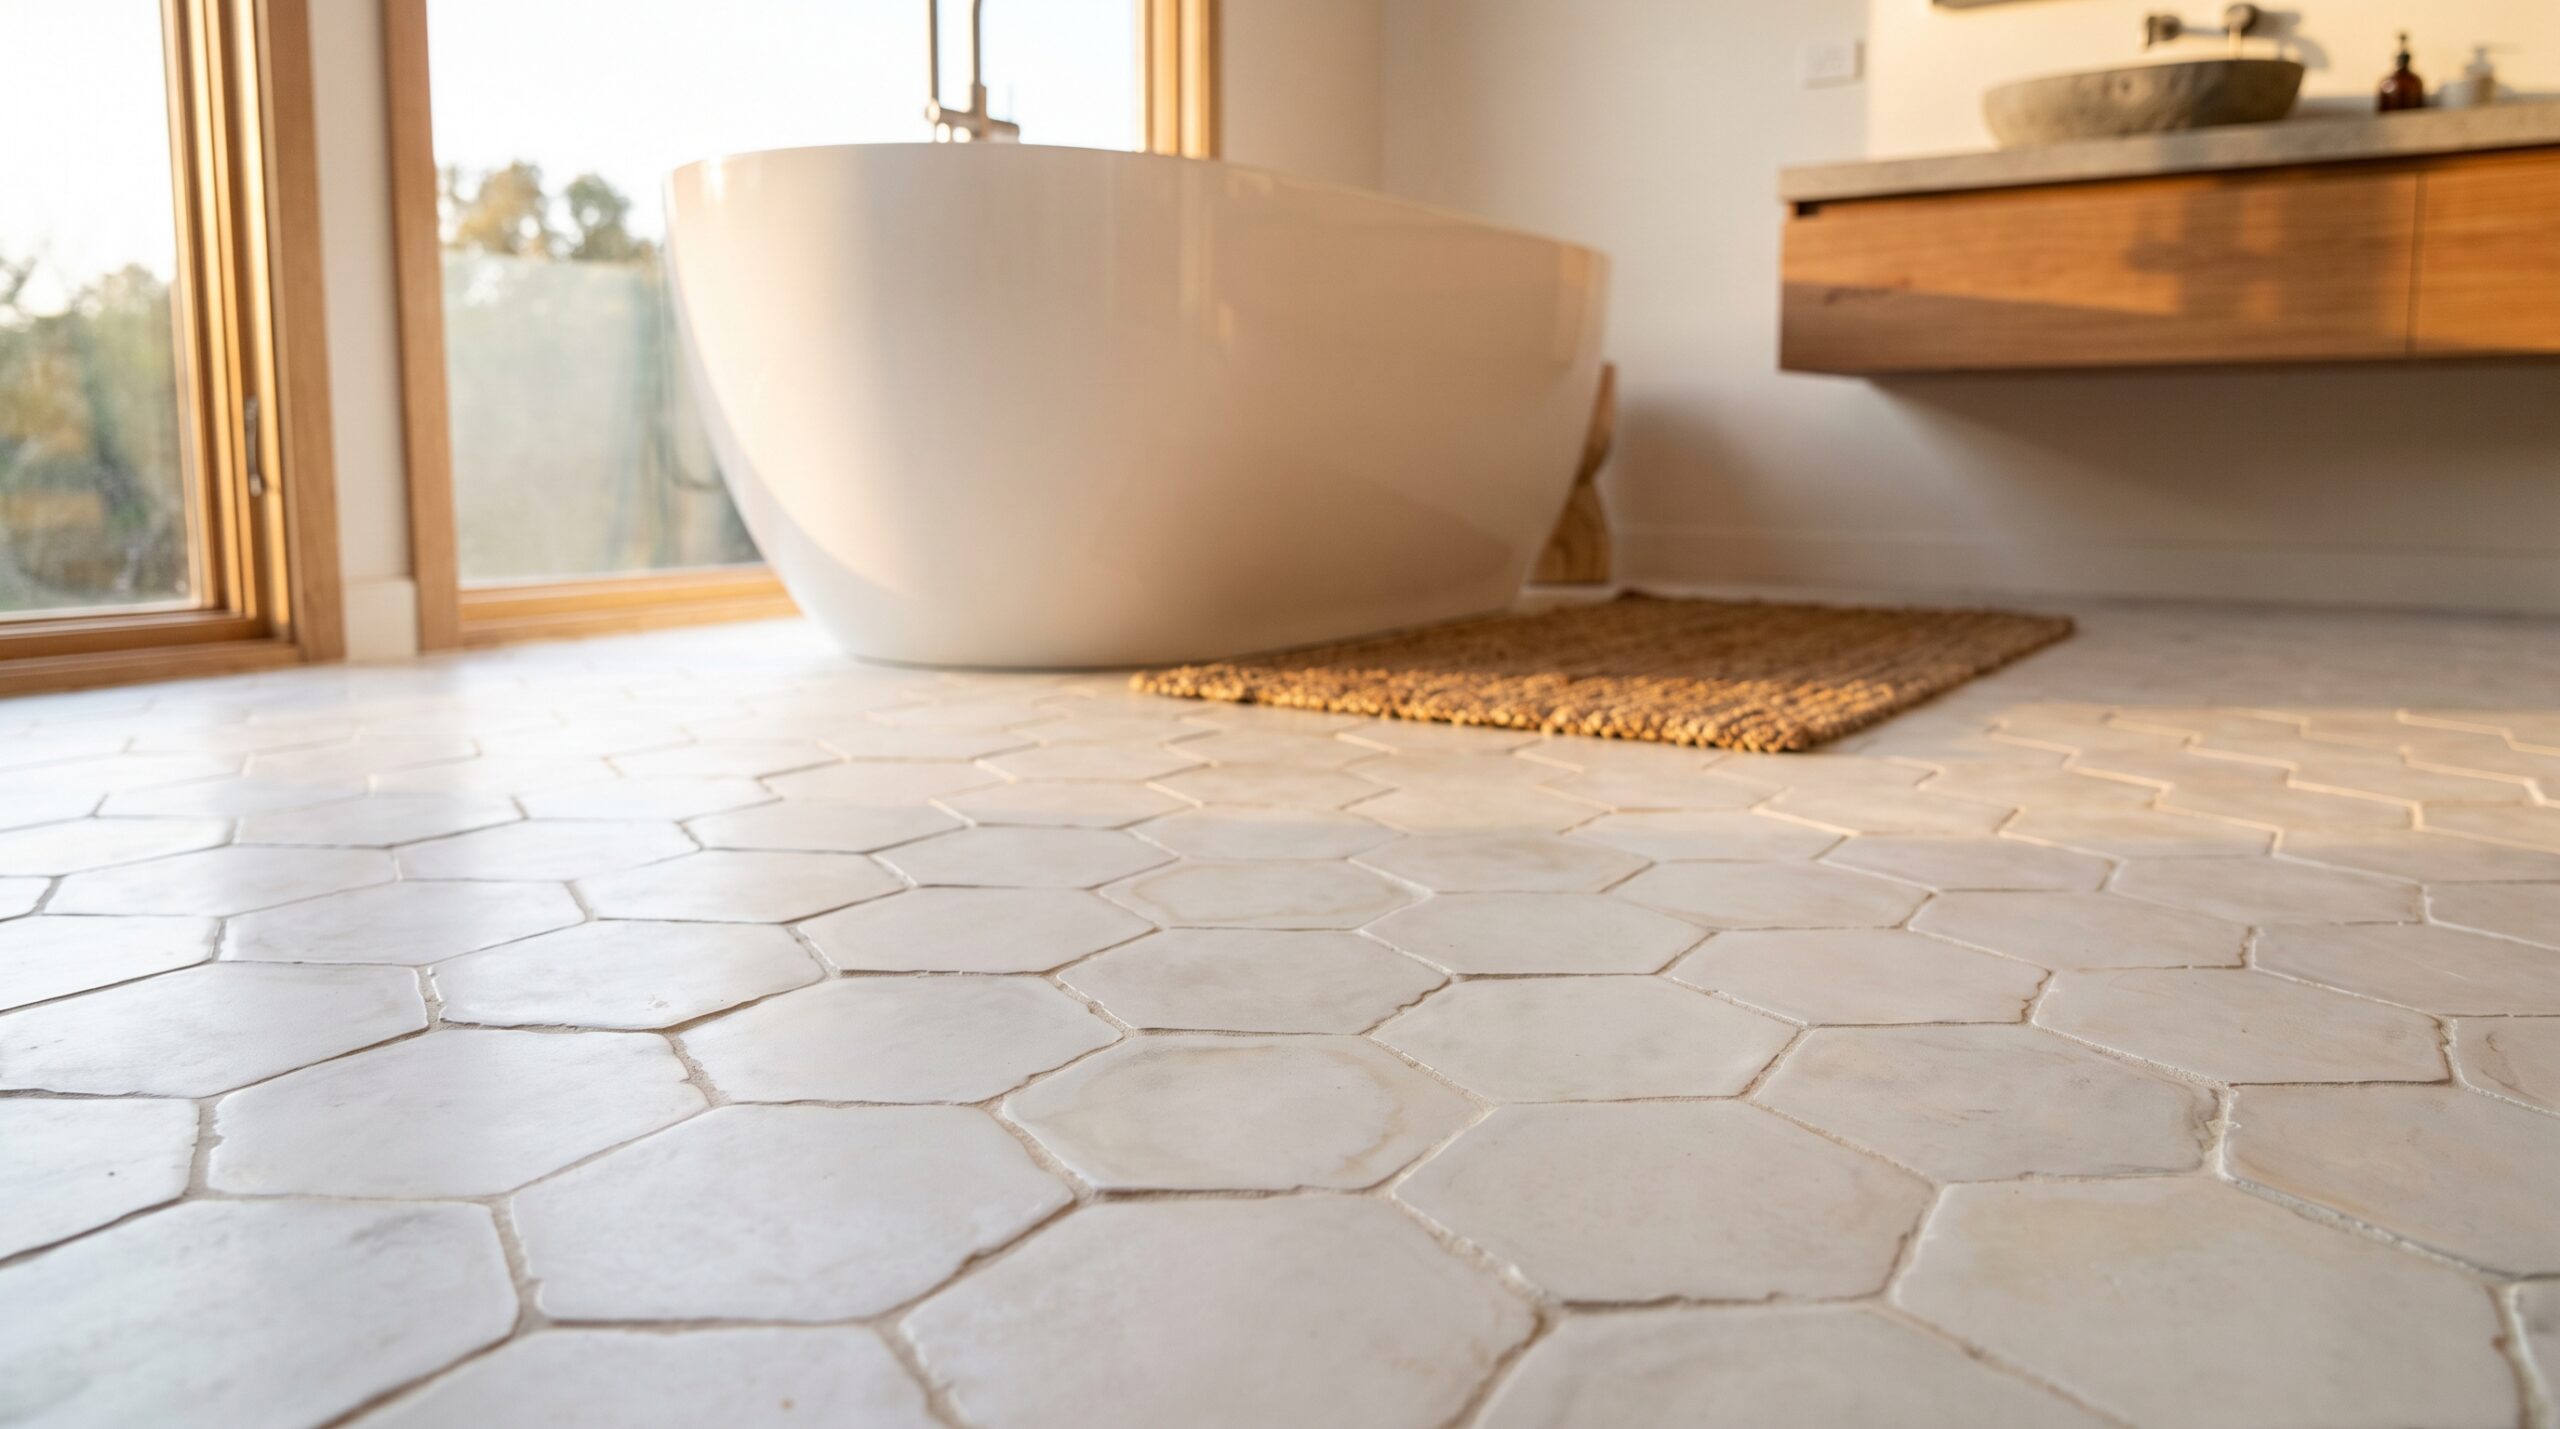
A soft, quiet field pattern reads calm in a primary bathroom. A hexagon shape like Hex-100 White 8×9 keeps a small heated floor feeling open and bright. For more color, a saturated tone like S-160 Azul Rey 8×8 or a graphic pattern like Harlequin Blue 01 can anchor a heated kitchen floor without any performance tradeoff.
Browse the full range of in-stock cement tiles for patterns that ship in days. Or explore custom made tiles if you have a specific colorway in mind for a larger heated floor. Either way, order 15% over your measured square footage to cover cuts and breakage, which is standard practice for any cement tile project.
If you are unsure how a pattern will read once warmed, request a sample first. You can order one from any in-stock product page for $20 for the first sample and $10 for each additional one, with free shipping.
Planning the Project Timeline
Radiant heat adds a few extra steps to a normal cement tile timeline. Those steps center on curing and warm-up, not on tile lead time. In-stock patterns still ship in days, so tile availability rarely becomes the bottleneck on a heated floor project. Custom patterns take roughly 4 to 6 weeks to produce, so factor that into your installer’s schedule if you are matching a bespoke design to a heated room.
Coordinate your electrician or plumber, tile installer, and any waterproofing steps in the right order. First the heating element, then the membrane, then mortar, tile, and grout. Cure fully, then seal, then begin the slow heat ramp-up. Skipping this sequence, or rushing any single step, is the most common reason heated cement tile floors underperform.
If you want a second opinion on sequencing before you order tile, our team can walk through your layout. Reach out through our contact page with your floor plan and heating system details.
Frequently Asked Questions
Does radiant heat make cement tile crack or fade?
Not when it is installed and operated correctly. Cracking almost always traces back to skipped movement joints, or a system switched on too fast after installation. Fading is not typical at normal residential temperatures, because cement tile pigment runs through the top layer instead of sitting on the surface as a coating.
Can I add radiant heat to an existing cement tile floor?
Usually not without removing the tile first. Electric mats and hydronic tubing need to sit below the tile, embedded in mortar or a membrane. Retrofitting under an existing floor typically means pulling up the tile, installing the heating layer, and resetting it. That is also a good time to inspect the tile and decide if you want the same pattern again.
What is the best temperature setting for cement tile radiant heat?
Most homeowners find 80 to 85°F comfortable for a floor surface, and that range sits well within safe limits for cement tile. The setpoint itself is not the sensitive part. Instead, ramp-up speed is what matters most. Always increase temperature gradually when you first start the system, or after it has been off for a while.
Do I need special grout or sealer for a heated cement tile floor?
You do not need a specialty product line, but you do need materials rated for use over radiant heat. Confirm compatibility with your grout and sealer manufacturer. Then let the installation cure completely before sealing, and before your first heat cycle.
See the tile in person before you commit
Photos only tell you half the story. Colors, texture and the handmade character of cement tile are best judged in your own light. Order a sample of any in-stock pattern for $20 (additional samples $10, free shipping) — or tell us about your project and we’ll help you narrow it down.
Browse in-stock cement tiles →
Talk to us about your project →