Ceramic floor tile is a covering that is used in bathrooms, kitchens, and living halls, because of the resistance it has against, water, durability that it offers, and simplicity. While most of the homeowners look to hire experts to Install Ceramic Floor Tile but, these ceramic floor tiles can be installed by yourself as it is quite easy to install it manually.
Successfully Installing Ceramic Floor Tile is everything about understanding its preparations. With the substrate that it has, a functional layout, and with the help of the tools and materials that you have in hand, the process of installation becomes more straightforward and more natural.
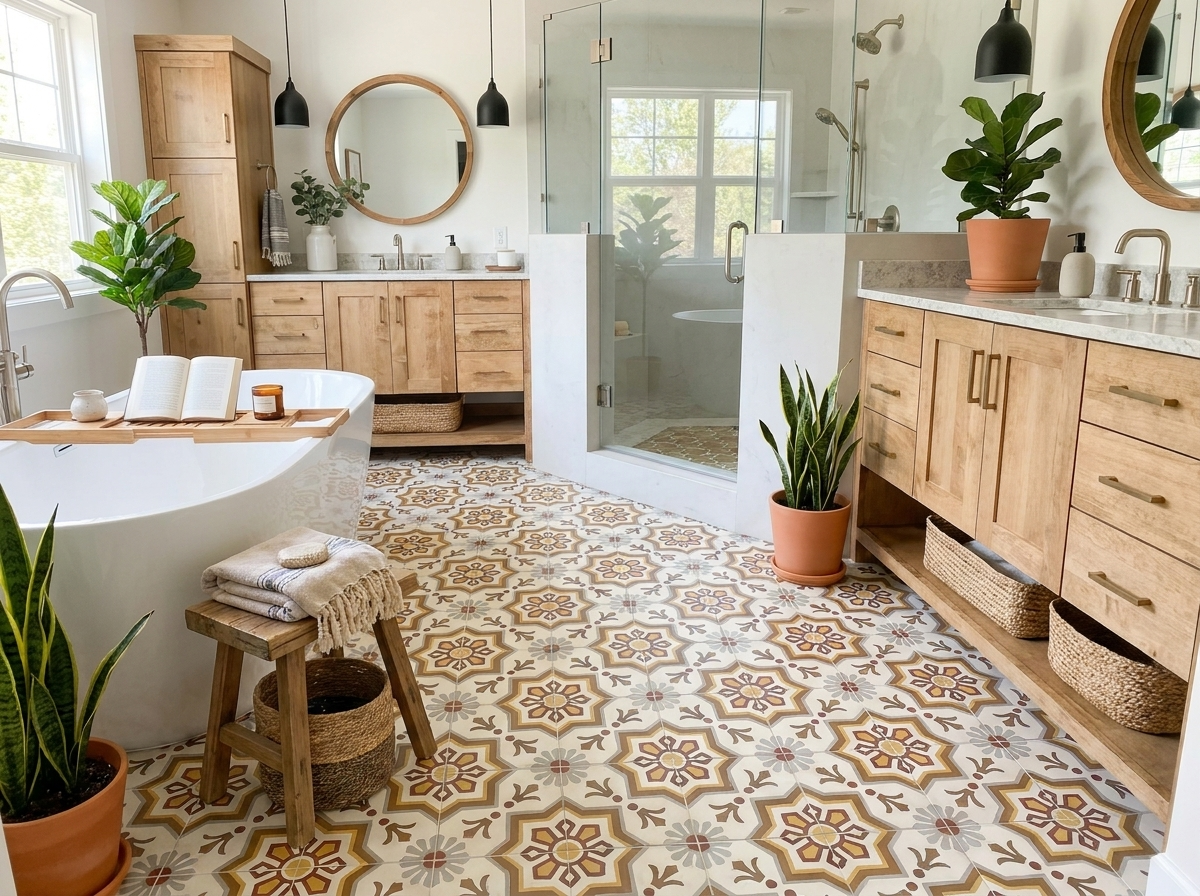
A step-by-step guide for Ceramic Floor Tile Installation
Tools you need
Here is a list of tools that you need to have in store before proceeding with the installation of tiles:
- Tile Cutting Tools or Snap tile cutter
- Tile Nipper
- Rubber tile float that is used for grouting
- Notched tile trowel that is required for dispensing mortar
- Margin trowel: flat-sized should work
- Rubber mallet
- Huge sponges
- Measuring tape
- Chalk line that is used for snapping lines on the floor
- Bubble Levels
- Lumbers – Size – 2/4
- Framing Squares
- Safety glasses
- Rubber Gloves
Here is a list of materials that are used for Floor Tiles Installation:
- Tile
- Mortar
- Grout
- Grout haze removers
- Grout Sealers
- Cement Backer boards
- Fiberglass tapes
Planning the layout
The patterns of tiles will be affected depending on the number of ceramic tiles that you are purchasing. A grid pattern is quite simple and easy to install on the floor, as there are not many tiles that are needed to be cut.
Diagonal tiles have that appeal and charismatic charm, helping visually to use it in smaller spaces such as bathrooms or kitchens. Although this ceramic bathroom floor tile is quite complicated to cut in diagonal shapes, it enhances the beauty of the floor where it is installed.
What you need to keep in mind is measuring the area of the room, then add about 15 percent to your expenses that would appear in the wastage category. You can also use the tile calculator that is available online to keep an account of the costs that you are putting in place.
Preparing the substrate
Marble ceramic tile or ceramic tile has fragile characteristics; however, it tends to gain a significant amount of strength when you are laying it on the top of a durable and inflexible surface. These surfaces should be free from gaps or any ridges to make sure that the tiles are gaining strength consistently. You can also choose to lay these tiles on plywood or vinyl flooring.
Many companies across the world offer a rock-solid substrate material that is appropriate to use when installing the tiles. Installing cement board panels by attaching them tightly to the floor with the help of screws help the floor to become firm and healthy. You can also choose to tape the gaps and seams with seam tapes, mainly fiberglass, fill it with mortar, and allow it to cure fully.
Drying layout of tiles
Measuring all the walls to identify the center of the wall is quite tricky. You can make use of chalks and draw the line between every two opposing walls for creating a cross-like pattern so that it becomes easier for you to determine it. Without the help of mortars and grouts, make sure the layout all the tiles and spacers in that specific line that you have drawn in each arm. The motive is to ensure that you are avoiding having any small, cut tiles that are against the wall, as it can appear to be visually jarring. You can then shift this assembly into whatever direction you prefer so that the tiles get placed accordingly to form a unique and appealing texture.
Spreading the Mortar
Picking up small batches of mortar with the trowel and depositing the thin-set produced on the cement board would be your next step. You can hold on to the flat side of the tile trowel that is notched at around 45-degree angles and then spread the thin-set mortar around the surface till it covers a region extending beyond the surface perimeter of the tile.
Laying Ceramic Floor Tiles
Once your thin-set is ready, you can press the tiles gently into the wet thin-set, twist the tile in forwarding and backward direction, and then pushing it harder into the damp thin-set will form your surface. Your main aim should be collapsing the ridges in the thin-set mortar and filling the gaps. You can also lift the tiles occasionally and have a glance at the back to make sure that it is covering the surface thoroughly. As you proceed, you can keep placing the tile spacers in the corner regions to maintain a decent spacing between the tiles. Likewise, continue putting the tiles until the floor is entirely covered.