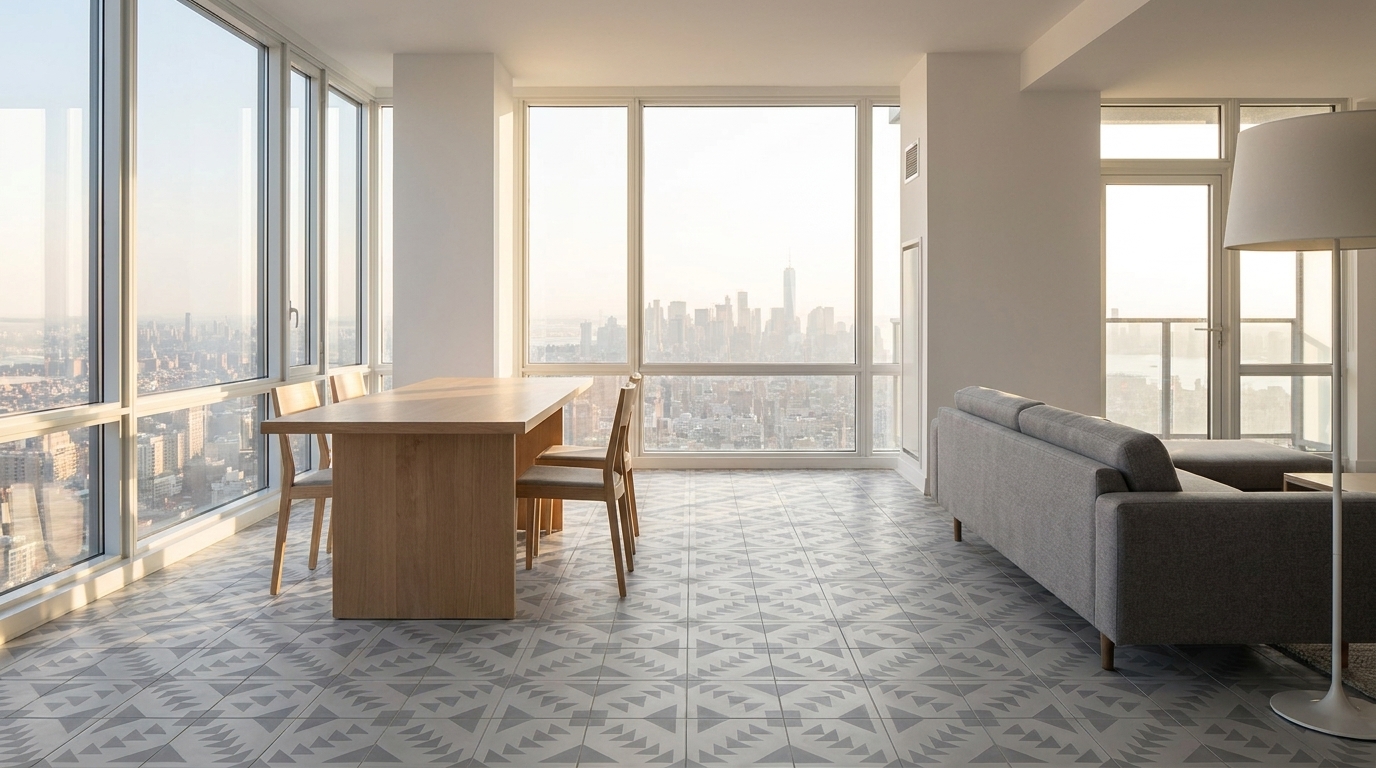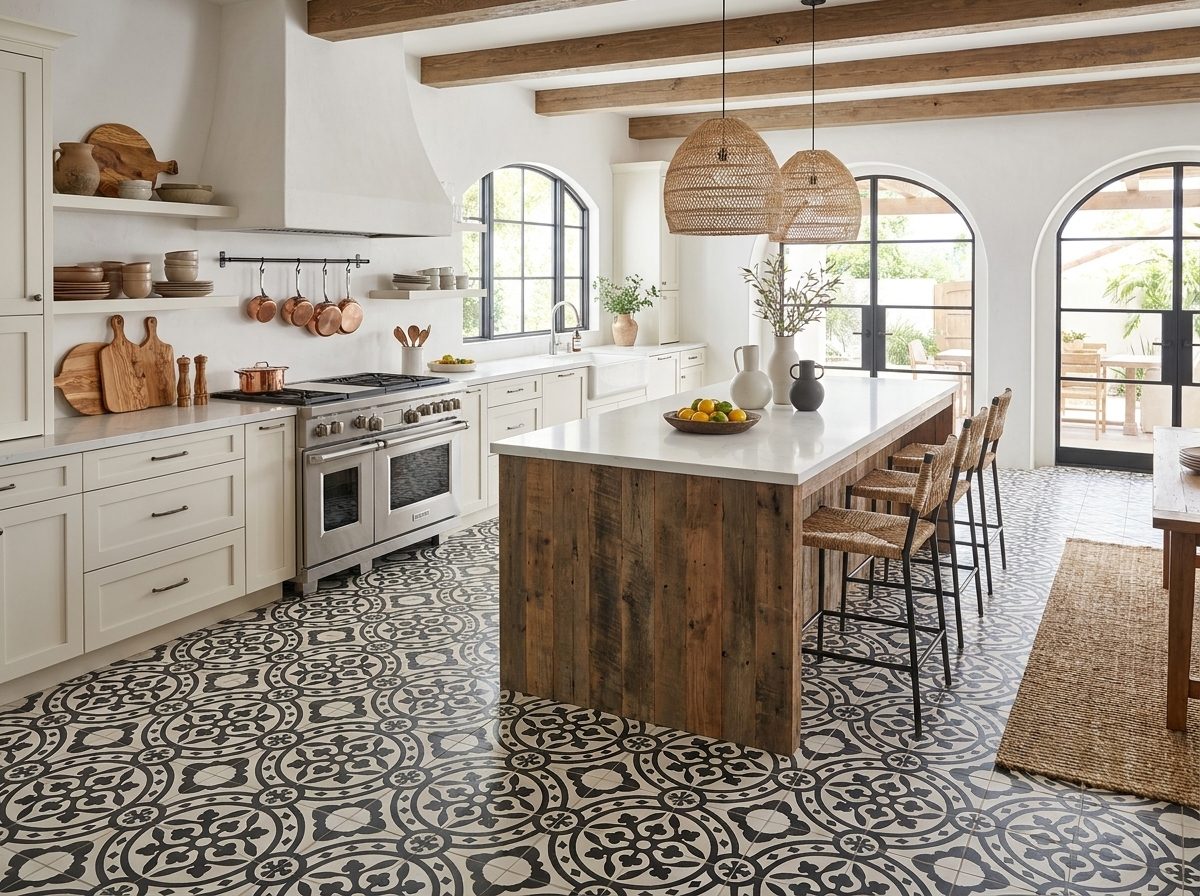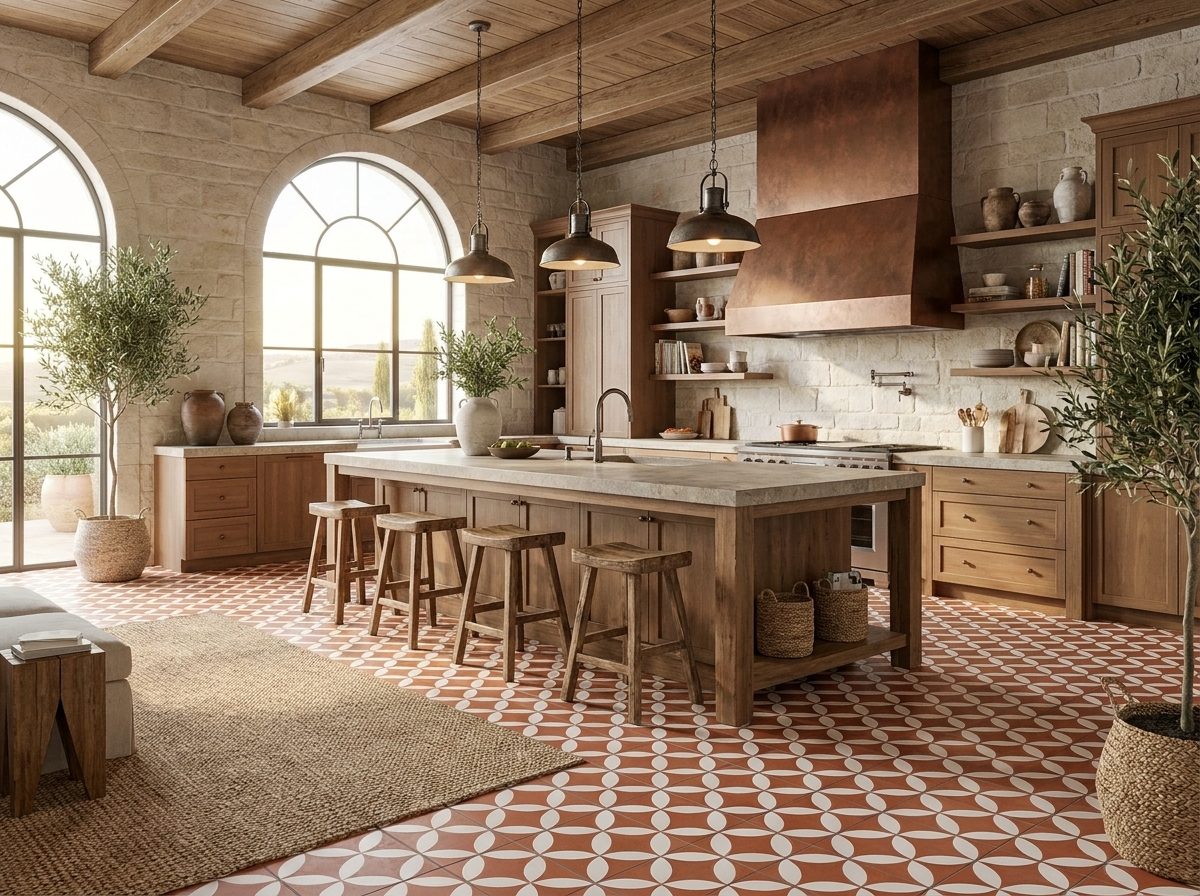
You're standing in a tile showroom or reviewing a finish schedule, and the sample board looks settled. The porcelain is crisp, the handmade field tile has character, the stone feels right for the brand story. Then the project moves from mood board to wet wall, kitchen floor, patio, or spa detail, and one quiet specification starts deciding whether that surface will age beautifully or become a callback.
That specification is tile water absorption.
It is often treated like a product detail. It's more important than that. It's a performance threshold that affects cracking, staining, freeze damage, bond reliability, grout behavior, and long-term maintenance. For designers and specifiers, it's one of the fastest ways to separate a tile that merely looks right from one that will still be doing its job years later.
Why a Single Number Determines Tile Success or Failure
A hotel shower can look flawless at turnover and still become a problem six months later. The same goes for a restaurant entry that sees rain, mop water, and grit every day. In both cases, water absorption is often the quiet spec that decides whether the assembly holds up or starts producing stains, bond problems, and replacement work.
Water rarely enters through one obvious failure point. It moves through grout joints, cut edges, pinholes in sealant, and transitions that looked fine on opening day. Once it gets into a system that cannot dry or shed moisture reliably, problems show up fast. Efflorescence at joints, darkened tile faces, freeze damage in exterior work, and debonding at the setting bed usually start there.
The spec sheet detail that changes everything
A low absorption rating tells you the tile body is dense and less likely to take on water. A higher absorption rating tells you the opposite. That single number gives a fast read on risk, especially in showers, commercial kitchens, entries, facades, and exterior decks where wetting cycles are routine.
The part basic guides often miss is that water absorption is not only a tile question. It is an assembly question. A dense porcelain tile over the wrong mortar, poorly packed grout, or incomplete waterproofing can still trap moisture and fail. A more absorbent tile, specified with the right setting materials and a waterproofed substrate in the right application, can perform well. The number still matters. It just has to be judged in context.
Practical rule: In wet, exterior, or heavily maintained spaces, use water absorption as an early screening tool, then check the full moisture-management stack, tile body, grout, thin-set, substrate prep, movement joints, and waterproofing.
That is why this number carries so much weight. It does more than describe the tile body. It gives a realistic sense of how much margin for error the full assembly has once the space starts operating like a real project.
Thinking About Tile Like a Sponge
The easiest way to understand tile water absorption is to stop thinking about tile as a hard finish and start thinking about its internal structure. Some tile bodies are tight and dense. Others have a network of tiny voids that pull in moisture.

A dense porcelain tile is like a compact sponge that barely takes on water. A porous wall tile or handmade cement tile behaves more like an open sponge. Water doesn't just sit on the face. It can migrate into the body.
What the number actually measures
Water absorption is measured as the percentage of water a tile gains relative to its dry weight after standardized saturation testing. In plain terms, the tile is dried, soaked under a controlled method, and weighed again. The difference tells you how much water entered the body.
That matters because porosity is performance. The more open the body, the more opportunities moisture has to move through the tile, linger behind it, or interact with setting materials.
Here's the practical translation:
- Low-absorption tile bodies resist water entry and are better suited to showers, poolsides, and exterior work.
- Moderately absorbent bodies may perform well in dry or lightly wet interior settings, but they require better application matching.
- Highly absorbent bodies need careful detailing, sealing strategy, and realistic placement limits.
Why specifiers should think beyond the face
The finish you touch isn't the whole story. A glaze can look smooth and protective while the body underneath remains thirsty. That's why a pretty sample can mislead a team if nobody checks the technical data.
In field conditions, absorbent tile bodies also affect installation behavior. They can pull moisture from grout and thin-set, change working time, and make cleanup less forgiving. Even before you get to long-term durability, porosity shapes how the installation behaves during the install itself.
A tile that drinks water quickly also changes how the rest of the assembly cures, bonds, and stains.
That's the mindset worth keeping. Don't ask only whether water can touch the surface. Ask whether the tile body wants to hold on to it.
Decoding the Four Official Water Absorption Ratings
A tile rep hands over a sample marked “ceramic,” the finish looks tight, and the color is right. That still does not answer the question that decides whether the installation behaves well in service. The absorption rating does.

Per Emser's technical specifications reference, tile absorption is classified under standardized test methods such as ASTM C373 and ISO 10545-3. The four categories are Impervious less than 0.5%, Vitreous 0.5% to 3%, Semi-vitreous 3% to 7%, and Non-vitreous greater than 7%. That classification gives a specifier a quick read on how much water the tile body can take on under test conditions.
The four categories in jobsite terms
| Rating | Absorption range | What it usually means in practice |
|---|---|---|
| Impervious | <0.5% | Strong choice for showers, exterior work, and other assemblies that face sustained moisture |
| Vitreous | 0.5% to 3% | Often suitable for many interior floors and walls, but the rest of the assembly starts to matter more |
| Semi-vitreous | 3% to 7% | Calls for tighter application matching and closer attention to grout, mortar, and drying conditions |
| Non-vitreous | >7% | Better reserved for dry or controlled settings unless the full system is designed to manage moisture |
The category is only the start. Water exposure is a system problem, not a tile-only problem.
An impervious tile over a poorly detailed shower assembly can still trap moisture, discolor grout, or telegraph failures at movement joints. A more absorbent tile in the right location, paired with the right mortar, grout, and membrane, can perform well for years. The rating tells you how much moisture the tile body may accept. The assembly determines where that moisture goes next.
What the classification helps you decide
The lower the absorption, the less margin you lose in wet service. That matters in freeze-thaw conditions, repeated washdown environments, steam-adjacent areas, and any installation where drying is slow.
It also affects installation behavior. More absorbent bodies can pull water from thin-set and grout faster, which changes open time, cleanup, and curing. Designers often focus on the finished face. Installers deal with the tile body, the setting bed, and the substrate acting on each other from the first spread of mortar.
Use the rating with the product family, not instead of it
A material label still has value, but only if it is backed by the tested classification. That is why it helps to review the common tile product categories used in design alongside the published absorption range.
Specification habit: Ask for the absorption classification, the recommended setting materials, and the waterproofing approach as one package.
That approach avoids a common mistake. Teams approve a tile because the number looks safe, then ignore the grout joint density, the mortar choice, or whether a membrane is present and correctly tied into drains and penetrations. The rating matters. The system matters more.
Water Absorption Rates by Tile Material
Material labels help, but they do not finish the job. Two tiles can sit in the same showroom bay and behave very differently once they are set, grouted, and exposed to daily moisture. Good specifications start with the tile body, then account for the rest of the assembly that will either manage water well or trap it.

For a useful side-by-side of common product families, compare tile types used in residential and commercial design before you finalize the assembly details.
Porcelain and standard ceramic
Porcelain is usually the safest choice in wet service because its absorption rating is tightly controlled. That low-absorption body gives installers more margin in showers, exterior work, and other locations where drying is slow.
Standard ceramic needs a closer read. Some ceramic bodies perform well in wet areas. Others are better suited to dry walls or light-duty use. “Ceramic” is a family name, not a moisture-performance spec, so the published classification matters more than the display label.
This shows up in mixed-material designs all the time. A porcelain floor tile may be paired with a decorative ceramic wall tile that has a very different appetite for moisture, different mortar behavior, and different maintenance needs.
Natural stone varies more than many specs acknowledge
Stone has to be judged piece by piece, quarry by quarry, and finish by finish. A honed limestone, a dense granite, and a cleft slate should not be treated as if they share one moisture profile.
That is why stone specifications need more than a sealer note. They need a realistic plan for grout selection, setting materials, cleanup procedures, and maintenance after turnover. If the client wants a clean, uniform appearance, the team should confirm up front how much variation, darkening, and periodic resealing they are willing to accept.
Cement, terracotta, and other porous specialty bodies
These materials can be excellent design choices. They also ask more from the assembly.
Handmade cement tile, terracotta, and many artisanal wall tiles absorb water readily and can transmit that moisture into the setting bed. In a dry powder room, that may be manageable. In a shower, steam room approach, or exterior wall, the same tile can become the start of a moisture problem unless the grout, mortar, substrate prep, and membrane detailing are specified to suit it.
I treat these products like open-grain wood in a wet room. The finish matters, but the backing and detailing decide whether the material ages gracefully or starts telegraphing stains, salts, and bond stress.
Porous tile is workable. It just gives you less room for sloppy grout selection, weak sealers, or incomplete waterproofing.
Matching the material to the job
From a practical specification standpoint:
- Choose porcelain when the project needs the widest moisture tolerance and the least day-to-day maintenance.
- Use standard ceramic selectively when the tested absorption class fits the exposure and the manufacturer approves the application.
- Specify natural stone with discipline when the finish, sealer, grout, and owner maintenance plan are all aligned.
- Use porous artisanal materials on purpose when the design team is also controlling the membrane, joint treatment, and cleaning regimen.
The right choice is rarely about the tile alone. It is about how that tile behaves once water reaches the joints, the mortar, and the layers behind it.
The Hidden Risk No One Talks About
The common mistake is treating tile water absorption as if it belongs only to the tile. It doesn't. The key performance question is how the assembly handles moisture. Tile, grout, thin-set, substrate prep, movement joints, and waterproofing membrane all work together. If one layer is vulnerable, the dense tile above it won't save the installation.
Many otherwise good specifications often fall short in this regard. The tile may be excellent, but the assembly still gives water a pathway.
The weak link is often the joint
Porcelain can absorb less than 0.5% water, but standard cement grout can absorb up to 20% to 25%, creating moisture pathways that the tile-only ANSI A137.1 test doesn't cover, as noted in Johnson Tiles' discussion of water absorption and tile suitability. That single fact changes how you should think about every shower, splash zone, and wet wall.
If the tile is dense but the joints are thirsty, water still enters the system. It may not destroy the tile body, but it can reach the setting layer, remain in the assembly, and show up later as discoloration, mineral deposits, persistent dampness, or bond problems.
A waterproof-looking surface isn't automatically a waterproof system.
That's why proper membrane detailing matters as much as tile selection. For teams reviewing substrate prep and enclosure design, a dedicated guide to moisture barrier and subfloor installation is worth having on hand before tile ever reaches the site.
What works and what doesn't
What works is specifying the whole stack with the same seriousness you apply to the tile face. That means confirming the membrane strategy, choosing grout with the application in mind, and avoiding the assumption that a low-absorption tile makes the assembly forgiving.
What doesn't work is this sequence: dense tile, generic cement grout, no real waterproofing logic, and hope.
A shower system fails from the seams inward. A restaurant wash area fails at edges, corners, and penetrations. An exterior installation fails where absorbed water meets cold weather. In each case, the assembly fails before the surface story catches up.
How to Specify and Seal Tile Correctly
Good specifications remove ambiguity. They don't just name a tile. They describe the moisture demands of the assembly, the acceptable absorption range for the application, and the required waterproofing and sealing approach.
For shower walls, best practice is to use tile with absorption below 3%, while tiles in the 7% to 18% range are considered unsuitable without effective waterproofing and penetrating sealers, according to this trade-focused explanation of tile absorption limits in showers.

Write the requirement, not just the product name
If I'm reviewing a wet-area specification, I want to see language that answers four questions:
What exposure is the tile facing
Interior dry wall, shower wall, steam-adjacent area, exterior facade, or freeze-prone paving all need different limits.What absorption level is acceptable
If the project requires dense tile, say so directly rather than assuming the supplier will infer it.What waterproofing system is required
State the membrane expectation and the continuity at corners, penetrations, niches, and transitions.What sealing process applies, if any
This matters most with porous tile bodies and cementitious products.
Sealing porous tile the right way
Porous tile needs a sequence, not a single sealer note buried in the finish schedule. The work usually includes:
- Pre-sealing or grout release so the tile face doesn't grab grout pigment and haze.
- Controlled grouting with attention to cleanup timing and joint packing.
- Final sealing after the installation has cured and is ready for protection.
- Maintenance instructions handed to the owner so the finish performs as intended.
For project teams comparing products, a practical overview of ceramic tile sealers and how they're used helps frame the difference between surface protection and true assembly planning.
Coordinate with the other trades
Tile failures in wet rooms often start before the tile installer arrives. Plumbing penetrations, valve trims, tub decks, and wall plane transitions all affect water management. On remodels or fast-track hospitality work, I like seeing the tile team coordinate early with the plumbing scope so everyone agrees on where the waterproofing line is. For that kind of cross-trade planning, this resource on Dallas-Fort Worth kitchen and bath plumbing is a useful example of the systems thinking these rooms require.
Field advice: If a porous tile is part of the design intent, write the sealer process into the spec and the closeout documents. Don't leave it as installer folklore.
A tile assembly succeeds when the spec treats moisture like a system issue from the beginning.
Protecting Your Investment with Smart Maintenance
Once the tile is installed, water absorption keeps mattering. It shapes how the surface should be cleaned, how often the sealer needs attention, and what kind of wear will show up first.
Dense porcelain is straightforward. Routine cleaning is usually enough, and the maintenance burden is low because the tile body itself doesn't invite much moisture. More porous surfaces need a different mindset. The goal is no longer just cleaning the finish. It's protecting the sealer and keeping water from spending too much time in the assembly.
Maintenance that respects the material
A sound maintenance plan usually includes:
- Use pH-neutral cleaners so you don't strip protective sealers or leave residues that attract soil.
- Watch for darkening or lingering damp spots because they often signal that a porous surface is taking on moisture more readily than before.
- Treat grout and tile as one maintenance zone since many moisture issues show up at the joints first.
- Revisit high-exposure areas early such as shower corners, sink splashes, and exterior thresholds.
The deeper point is simple. Tile selection, sealing, and cleaning are not separate decisions. They're one chain. If the material is porous, maintenance preserves the design. If the material is dense, maintenance mostly preserves appearance.
Clients don't need to memorize standards. They need a surface that was specified appropriately, installed as a system, and cared for according to how that system performs.
If your project calls for handmade cement tile, patterned field tile, or a custom surface with real material character, Original Mission Tile offers the kind of traditional craftsmanship that rewards good specification and careful installation. Their team can help you choose the right tile for the application, understand sealing requirements, and develop a finish strategy that looks right on opening day and holds up over time.