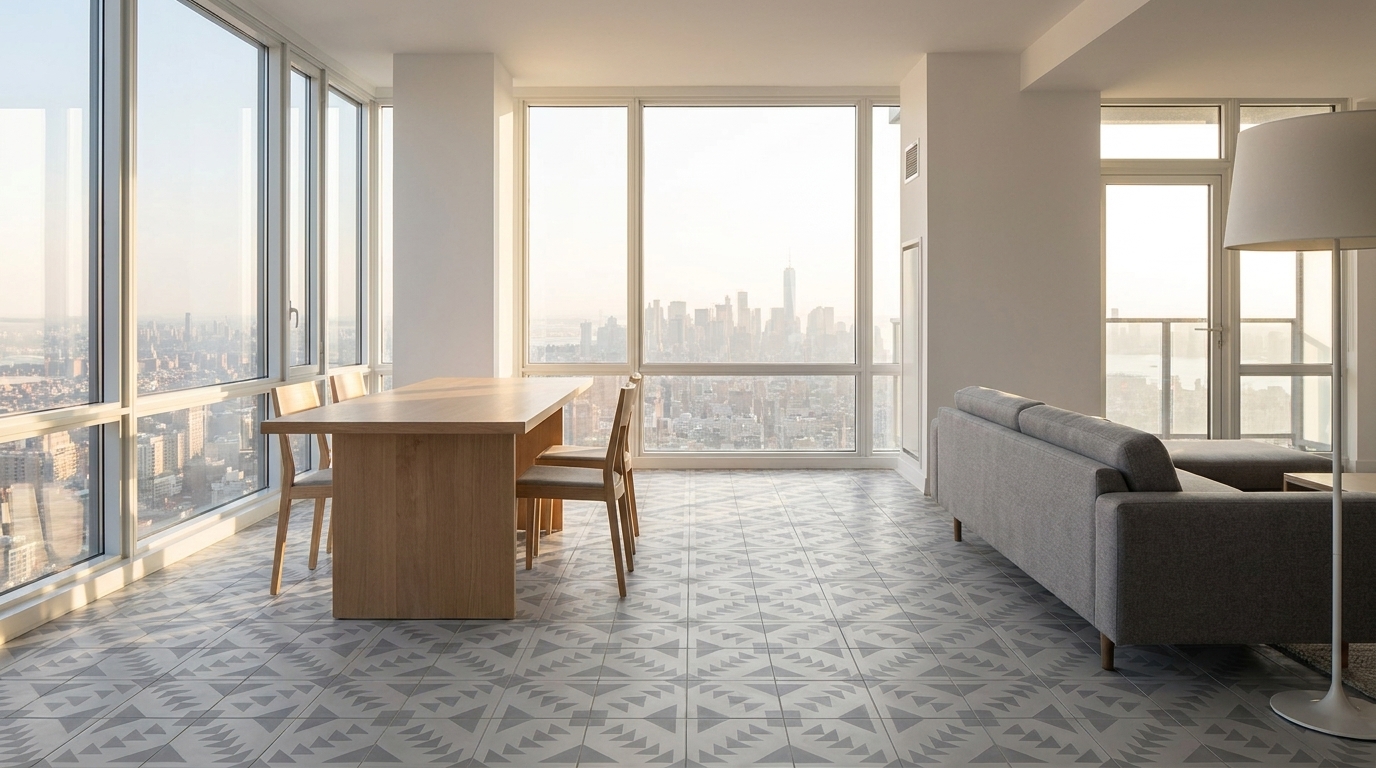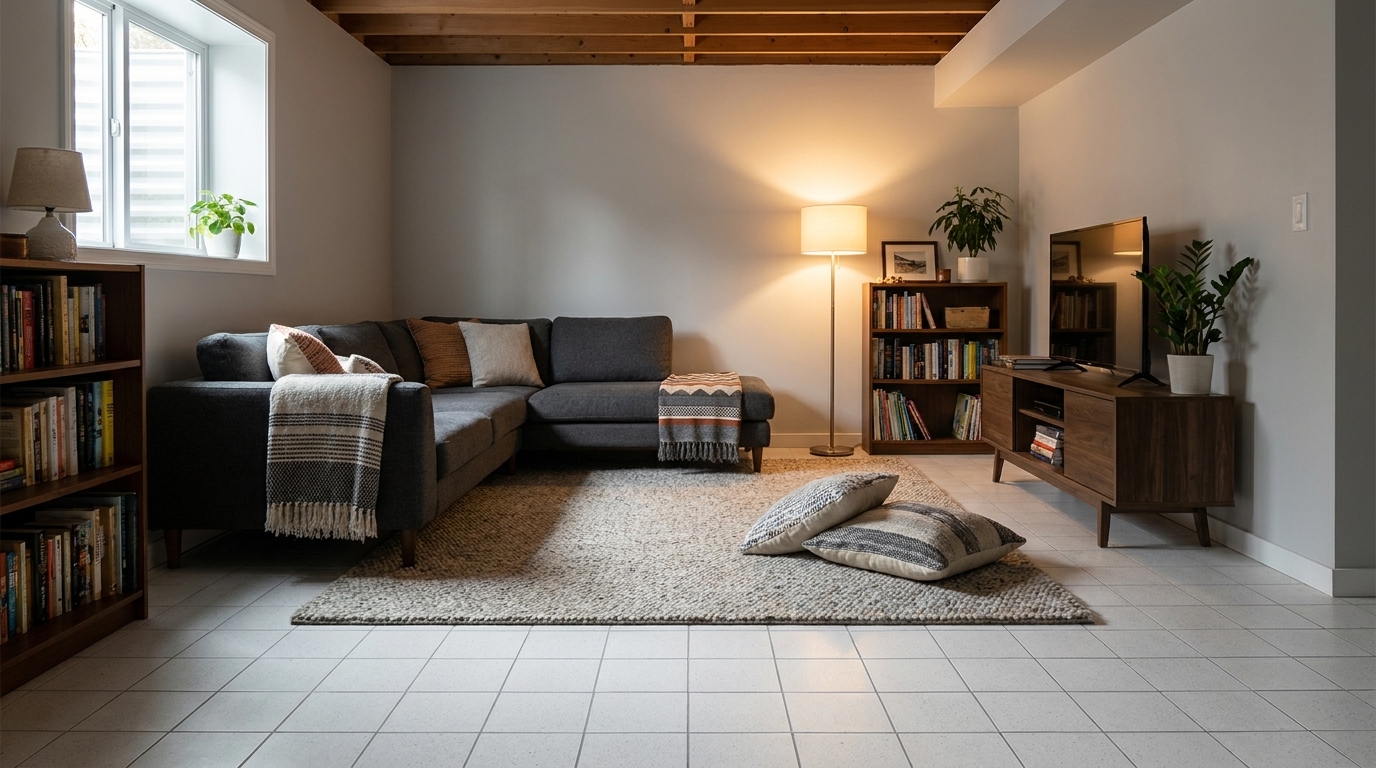
A basement is not just a floor with a ceiling on top of it. It sits partly or fully below grade, surrounded by soil that holds water long after the rain stops. That is exactly why cement tile in the basement raises questions that never come up in a kitchen or a bath. Before you fall for a pattern, you need to understand what is happening under that slab and what it means for a handmade, cement-based tile.
The good news: cement tile can work beautifully below grade. The catch: it demands more homework than almost any other room in the house. This guide walks through the testing, the moisture control, and the installation choices that separate a basement floor that lasts for decades from one that fails in year two.
Why Basements Play by Different Rules
Above-grade floors deal with spills. Basement floors deal with the earth itself. Soil around a foundation holds groundwater, and that water pushes against the slab from below and from the sides. Engineers call this force hydrostatic pressure — water pressure trying to find a way in.
Because of that pressure, concrete slabs below grade almost always carry more internal moisture than a slab on the second floor. That moisture moves upward through the concrete over time, a process called vapor emission. If it hits a tile and grout system that cannot handle it, you get efflorescence, bond failure, or a musty smell that never goes away.
Cement tile adds one more layer to think about. Unlike porcelain, it is not fired at high heat. It is cured, which means it stays naturally porous. That porosity is part of why cement tile has such rich, matte color, but it also means it will absorb moisture faster than a glazed or porcelain product if the slab underneath is not managed correctly.
Test the Slab Before You Buy a Single Box
Never guess about moisture. Test it. Two standard methods dominate the flooring industry, and a good contractor should already be familiar with both.
- Calcium chloride test (ASTM F1869): A small dome is sealed to the slab for 60 to 72 hours. It measures how many pounds of moisture vapor emit from the surface each day.
- In-situ relative humidity test (ASTM F2170): Small holes are drilled into the slab and probes measure humidity deep inside the concrete, not just at the surface. Most flooring manufacturers now prefer this method because it reflects long-term conditions more accurately.
Because concrete moisture changes with the seasons, test during a representative time of year if you can, not right after a dry spell. If the numbers come back high, that is not a reason to abandon the project. It is a reason to plan for a moisture mitigation step, which we cover below.
While you are down there, look for other warning signs too. Hairline cracks, old water stains, a white chalky residue, or a musty smell all point to a slab that needs attention before any tile goes down.
Stop the Water at the Source First

No membrane or sealer can outwork an active water problem. Before you spend a dollar on tile, make sure the basement itself is dry under normal conditions. That means:
- Grading soil so it slopes away from the foundation, not toward it.
- Cleaning gutters and extending downspouts several feet from the house.
- Adding a French drain or interior perimeter drain if water has entered before.
- Installing or maintaining a sump pump with a battery backup in flood-prone regions.
- Sealing foundation cracks from the outside, which is more effective than patching from inside.
If your basement has flooded in the past year, fix the cause first. Tile is a finish, not a defense system. Skipping this step is the single most common reason basement floors fail, regardless of what material sits on top.
Vapor Barriers and Moisture Mitigation Systems
Once the water source is under control, you still need to manage the moisture that naturally lives in below-grade concrete. There are a few proven approaches, and the right one depends on whether you are pouring a new slab or working with an existing one.
New construction: A 6-mil (or thicker) polyethylene sheet goes under the slab before it is poured. This is the cheapest and most effective vapor barrier you can install, because it stops moisture before it ever enters the concrete.
Existing slabs: You cannot add a barrier under concrete that is already poured. Instead, contractors use one of two systems:
- Topical moisture mitigation coatings: Epoxy-based systems applied directly to the slab that seal in vapor before thinset and tile go down.
- Uncoupling or crack-isolation membranes: Sheet or fabric underlayments that separate the tile from the slab, absorb minor concrete movement, and reduce the moisture that reaches the tile above.
These systems add cost and a day or two of install time, but they are far cheaper than tearing out a failed floor later. Ask your installer to follow our cement tile installation guidelines alongside whatever membrane manufacturer’s instructions apply, since the two need to work together, not against each other.
Sealing Cement Tile for Below-Grade Success
Because cement tile is porous by nature, sealing is not optional in a basement. It is the last line of defense between ambient humidity and the tile body.
Plan on sealing before grouting to protect the tile face from grout haze, and again after grouting once everything cures. In a basement environment, many installers add a third coat for extra insurance, especially in rooms like a below-grade bathroom or a home bar with more standing moisture in the air.
After installation, resealing on a regular schedule matters more below grade than it does upstairs, simply because ambient humidity stays higher for more of the year. Our maintenance and cleaning guide walks through the products and timing that keep a sealed cement tile floor performing well long-term.
Installation Details That Matter Below Grade
A basement installation looks similar to any other cement tile job on the surface, but a few details deserve extra attention.
- Thinset choice: Unmodified thinset is generally recommended for cement tile because it cures through hydration rather than drying, which matters in a slower-drying below-grade environment.
- Cove base or tile baseboard: Running tile slightly up the wall, or adding a tile baseboard, protects drywall from minor moisture and makes mopping easier in a rec room or laundry nook.
- Expansion joints: Basements experience more temperature swing than upper floors. Soft joints where the tile meets walls or large room breaks give the floor room to move without cracking.
- Flood-prone regions: If your area sees occasional basement flooding despite drainage improvements, talk to your installer about elevating cabinetry and electrical below the tile line, so a minor water event does not become a major repair.
Because in-stock patterns ship in days, you can often test a small area first, live with it through a season, and then order the rest with confidence. Custom patterns take about four to six weeks, so plan that lead time if you are working with a designer on something bespoke.
Living With It: Humidity Control and Design Choices

Once the floor is in, the job of managing basement moisture does not stop. A dehumidifier set to keep relative humidity between 40 and 55 percent protects both the tile and everything else stored down there, from framed art to cardboard boxes.
Good HVAC design helps too. If your basement is on its own zone, make sure it actually gets conditioned air rather than sitting stagnant behind a closed door. That air movement keeps the slab and tile from becoming a cold, damp surface that invites condensation.
Design-wise, basements are often darker than the rest of the house because of smaller windows or none at all. Lighter tile colors bounce available light around the room and make the ceiling feel higher. Browsing tile by color is a fast way to compare how different tones read in low light before you commit.
Radiant floor heating is also worth considering in a basement remodel. Cement tile holds heat well once warmed, and it takes the chill off a below-grade slab that stays cooler than the rest of the house year-round.
Frequently Asked Questions
Can you install cement tile in a basement that has flooded before?
Yes, but only after you fix the reason it flooded. Address grading, drainage, and any foundation cracks first. Then have the slab tested for moisture and, if needed, add a mitigation membrane before tile goes down.
Do you need a vapor barrier under cement tile in a basement?
If you are pouring a new slab, yes — a 6-mil polyethylene sheet under the concrete is standard practice. For an existing slab, a topical moisture mitigation coating or an uncoupling membrane does a similar job from the top side.
Is cement tile slippery in a damp basement?
A properly sealed cement tile floor performs similarly to other sealed stone or concrete-based flooring. Matte, unpolished finishes, which is how we finish all our cement tile, offer more traction than a glossy glazed tile, especially once sealed.
How often should you reseal cement tile in a basement?
Plan on checking the seal at least once a year in a below-grade room, since ambient humidity stays higher there than upstairs. If water stops beading on the surface, it is time to reseal.
What if I only want to tile part of the basement, like a bathroom or bar?
That is common and often the smartest approach. Test and mitigate moisture in that specific area, then order in-stock tile so the project moves quickly. Request samples from any in-stock cement tile product page, or reach out through our contact page if you want help matching a pattern to a below-grade space.
See the tile in person before you commit
Photos only tell you half the story. Colors, texture and the handmade character of cement tile are best judged in your own light. Order a sample of any in-stock pattern for $20 (additional samples $10, free shipping) — or tell us about your project and we’ll help you narrow it down.
Browse in-stock cement tiles →
Talk to us about your project →