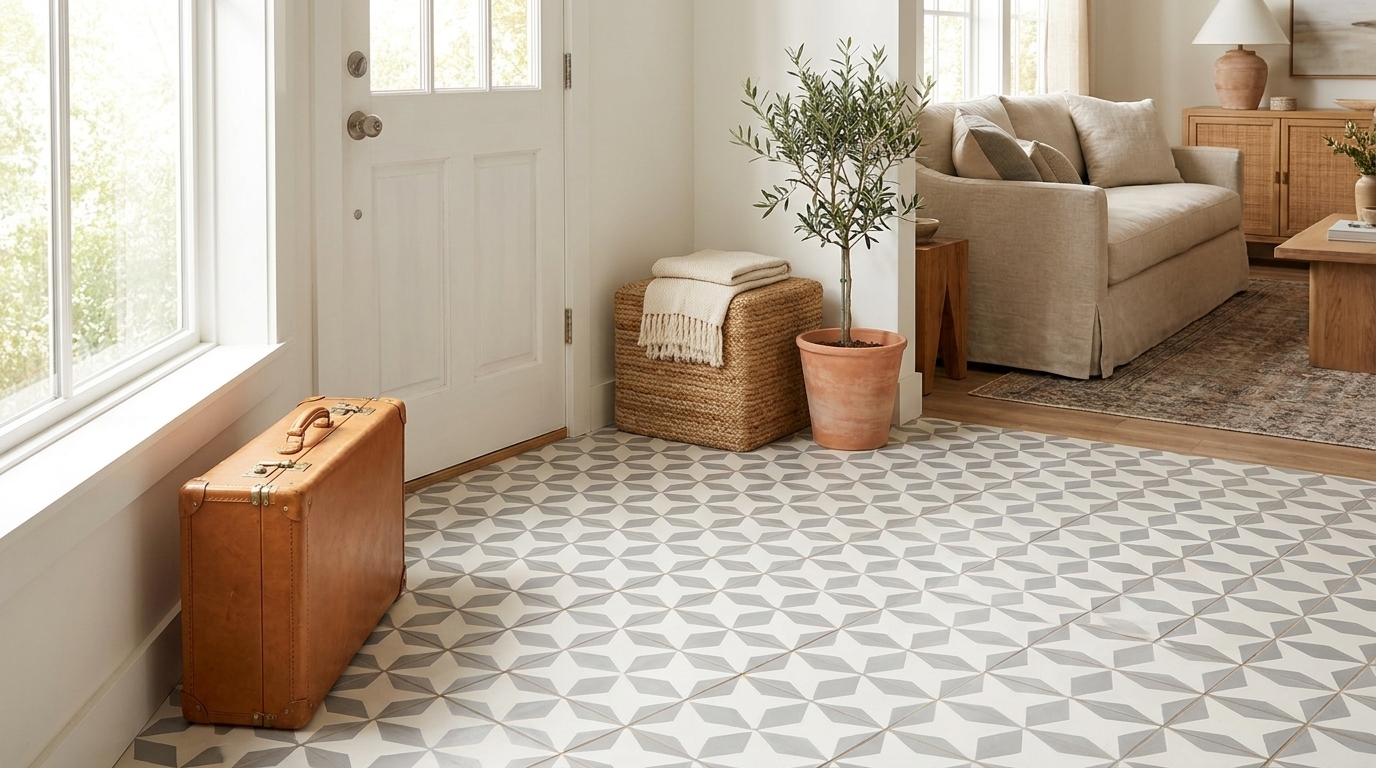
Ever looked at a professionally installed floor and wondered how it flows so perfectly from one room to the next? That seamless quality isn’t magic—it’s the work of a tile transition strip. This small but mighty component is the unsung hero that bridges different flooring materials, like rich cement tile meeting warm hardwood.
It’s the key to preventing chips and creating a cohesive, high-end finish.
The Secret to Flawless Floor Transitions
Think of a tile transition strip as the punctuation in your home’s design story. It’s a subtle detail that defines where one chapter ends and another begins, ensuring the narrative flows without any awkward pauses.
Its primary job is purely functional: to cover the necessary expansion gap between two different types of flooring. This protects the vulnerable edges of your beautiful cement tile from chipping under daily foot traffic and gets rid of a dangerous trip hazard.
Without this piece, the exposed edge of a tile could easily crack or chip. A proper transition also handles the natural expansion and contraction of materials like wood, which prevents buckling down the road. If you’re planning a big project, a detailed guide on replacing tile with hardwood floors can offer some great insights into managing this process.
More Than Just a Functional Piece
Beyond its practical duties, a tile transition strip is a surprisingly powerful design tool. It can transform what would be an awkward seam into a deliberate, stylish accent that ties the whole space together. The right strip elevates the entire look from DIY to professionally curated.
This growing appreciation for detail is reflected in the market.
The global floor transition strips market is on a strong growth path, projected to hit $101.28 billion by 2025. This boom is fueled by construction projects where architects and designers demand both solid function and aesthetic finesse.
This isn’t just a boring piece of hardware anymore. The tile transition strip is now seen as a critical element for creating floors that are durable, safe, and truly beautiful. Understanding its role is the first step toward achieving that flawless finish in your own project. You can dig deeper into market growth trends at Data Insights Market.
Choosing the Right Transition Strip for Your Project
Think of transition strips like specialized tools in a toolbox. You wouldn’t use a hammer to turn a bolt, right? The same logic applies here. Picking the right tile transition strip isn’t just a finishing touch—it’s a critical step for a safe, durable, and professional-looking floor.
The choice comes down to one simple question: what’s happening where your floors meet? Are the two surfaces at the same height? Is one floor noticeably thicker than the other? Does the tile just stop at a doorway or hearth? Your answers will point you directly to the right profile.
Using the wrong strip is one of the most common—and avoidable—installation mistakes. Trying to force a T-molding to bridge a gap between thick cement tile and thin vinyl, for instance, will create a nasty lip and an unstable join. It’s a small detail that makes a huge difference.
Which Tile Transition Strip Do You Need?
To make the right choice, you first need to know your options. Each profile is engineered to solve a specific flooring challenge, creating a clean, functional seam between different materials or elevations. This quick-reference guide will help you select the correct transition strip profile based on your flooring scenario.
| Transition Type | Best Used For | Common Application with Cement Tile |
|---|---|---|
| T-Molding | Connecting two floors of the exact same height | Joining a cement tile floor to a hardwood or engineered wood floor of equal thickness. |
| Reducer | Creating a gentle slope between floors of different heights | Transitioning from 5/8″ cement tile down to thinner vinyl plank, laminate, or low-pile carpet. |
| Threshold | Providing a clean, finished stop where flooring ends | Capping the edge of the tile at a doorway, sliding glass door, or against a fireplace hearth. |
Basically, the T-Molding bridges a level gap, the Reducer manages a height difference, and the Threshold gives you a clean, final edge.
Understanding the Primary Profiles
Let’s break down the big three you’ll encounter most often.
- T-Molding: This is your go-to for connecting two floors of the same height. Its classic “T” shape neatly covers the expansion gap required between materials like tile and hardwood, creating a smooth, level bridge that looks intentional.
- Reducer: A reducer creates a gentle, safe slope between floors of different heights. It’s the perfect choice when your 5/8″ handmade cement tile meets a thinner luxury vinyl plank or a low-pile carpet, eliminating a trip hazard.
- Threshold: Often used in doorways, a threshold provides a clean, finished edge where one type of flooring just stops. It can act as a reducer or simply cap the edge of the tile, providing a durable barrier built for heavy foot traffic.
This simple flowchart can help you visualize how to narrow down your options based on what your project needs.

As you can see, analyzing the gap, height difference, and your desired style are the first steps to a successful, safe transition.
Real-World Application and Selection
Let’s put this into practice. Imagine you’re remodeling a bathroom where your beautiful, thick cement tiles will meet the original hardwood in the hallway. Because the tile and its mortar bed will sit higher than the wood, a reducer is the only correct choice to prevent a trip hazard. Making sure this detail is right is just as important as learning how to choose bathroom tiles in the first place.
Choosing the right transition profile isn’t just about aesthetics; it’s a critical safety measure. The U.S. Consumer Product Safety Commission reports that falls are a leading cause of unintentional injury, and uneven flooring surfaces are a significant contributing factor in homes.
On the other hand, if you’re transitioning from a tiled kitchen to a dining room with engineered wood of the exact same height, a sleek T-molding is ideal. It will elegantly cover the seam while allowing both floors the space to expand and contract naturally with temperature changes. Taking the time to match the profile to the application ensures your floor is not only beautiful but truly built to last.
Matching Materials for Durability and Style
The material you choose for your tile transition strip does more than just bridge a gap—it makes a statement. This is where function and style really have to work together. Think of it like picking the right frame for a piece of art; it needs to be strong enough to protect the edges but also look like it belongs.
The right material has a huge impact on how your floor will look and perform over the years. A flimsy vinyl strip might buckle in a high-traffic entryway, while a heavy-duty aluminum profile could feel way too industrial for a cozy bedroom. Your decision has to balance the expected foot traffic with the overall vibe you’re going for.

Common Material Options
Let’s break down the most popular choices and where they really shine. Each one brings its own blend of strength, style, and upkeep to the table.
- Metal (Aluminum, Stainless Steel, Brass): These are the workhorses of the transition world. Prized for their serious durability, metals are the go-to for commercial spaces and busy homes. You can get anything from a sleek brushed nickel to a warm, elegant brass, giving you tons of design flexibility.
- Wood (Oak, Maple): Wood transitions bring a natural warmth that’s hard to beat. They’re perfect for creating a seamless flow from tile to hardwood floors, but just remember they need a bit more care and aren’t the best friends with moisture.
- Vinyl and Rubber: These are the flexible, budget-friendly options. They come in a huge range of colors and are great for simple, functional transitions. They just might not offer the same longevity or high-end feel as metal or wood.
The global market for metal tile trim was valued at USD 1.2 billion and is expected to double in a decade. Why? It’s all about performance. In high-traffic spots like restaurants, metal trims prevent 30% more edge damage compared to other materials. You can find more on this in the metal trim market insights from Reports and Data.
Creating Stunning Design Pairings
Your transition strip can either blend in quietly or stand out as a deliberate design accent. The trick is to think beyond just matching the floor—consider the room’s entire design language.
For instance, a matte black aluminum strip can create a crisp, modern border against a patterned cement tile, echoing black hardware or window frames in the room. In a more luxe space, a polished brass transition can beautifully pick up the warm tones in nearby light fixtures or complement brass inlays in a terrazzo floor. This is where your design vision really comes to life.
Just like the right grout can make your tile pop, the right transition material completes the picture. If you’re dialing in those details, you might find our guide on how to choose the right grout color for your tile helpful. By thoughtfully picking your transition material, you create a floor that’s not only built to last but is also a stunning, cohesive part of your home.
How to Ensure a Perfect Fit with Cement Tile
Handmade cement tiles from Original Mission Tile are special. They’re not like mass-produced ceramic or porcelain that come off an assembly line. They have distinct characteristics, and that’s especially true when it comes to transitions.
Our tiles have a standard 5/8″ thickness, which is more substantial than many other types of flooring. Their beautiful, unglazed edges need to be protected. Getting this junction right isn’t just about looks—it’s about safety and making sure your tile lasts a lifetime.
A poorly fitted tile transition strip can create a trip hazard where one edge sits higher than the other, often called “lippage.” Even worse, it leaves your tile’s edge exposed and vulnerable to chipping and cracking down the road.
Measure for Total Height, Not Just Tile Thickness
This is the number one mistake we see. People measure for the tile itself and forget about what’s underneath. To get a transition strip that sits perfectly flush, you have to account for the entire flooring assembly. Think of it like a layered cake—you need to know the total height, not just the height of one layer.
Your final measurement needs to include three key components:
- The Tile: For our cement tiles, this is a consistent 5/8″.
- The Mortar: The bed of thin-set mortar adds height, typically between 3/32″ to 1/8″ after the tile is set and compressed.
- The Subfloor: Don’t forget to check for any height differences in the subfloor itself between the two rooms.
The only way to be 100% sure is to do a “dry fit.” Lay a piece of your tile on a bed of thin-set mortar right next to the adjoining flooring. Place your chosen transition strip in the gap. This real-world test is the best way to confirm you’ll get a perfectly flush, trip-free finish before you commit with adhesive.
Selecting the Right Profile for Cement Tile
Once you have that total height measurement, you can choose the right profile with confidence.
Because our cement tiles are thicker than most standard flooring, a reducer is often the go-to choice when you’re transitioning down to materials like luxury vinyl plank (LVP), laminate, or even some thinner engineered hardwoods. A reducer creates a gentle, seamless slope that elegantly bridges that height difference.
For transitions to another thick material of the same height, like a robust hardwood floor, a classic T-molding works beautifully. For detailed guidance on setting your tiles correctly from the start, be sure to check out our expert tips for installing cement tiles. Getting the foundation right is critical before you even think about the finishing touches.
The goal here is a smooth, secure seam that feels as good underfoot as it looks. By accurately calculating your total height and choosing a profile designed to handle it, your transition will protect your artisan tile and create a safe, durable, and beautiful connection between your spaces.
Installation Best Practices and Mistakes to Avoid
A beautiful tile transition strip that fails in a year isn’t a win for anyone. The secret to a long-lasting, professional-looking installation isn’t just about the final placement; it’s about getting the details right from the very beginning. While every project has its own quirks, a few universal best practices will help you sidestep the most common—and costly—mistakes.
The real work starts long before you even think about adhesive. Subfloor prep is completely non-negotiable. Your subfloor must be clean, dry, and dead-level across the entire transition zone. Even a small dip or bump will cause the strip to rock and flex underfoot, eventually leading to failure.
Common Pitfalls and Simple Fixes
Even seasoned installers can miss a small detail that makes a huge difference. Here are a few of the most frequent missteps we see and how to avoid them with a little foresight.
- Forgetting Mortar Height: This is the big one. Cutting a transition strip based only on the tile’s thickness is a recipe for a ramp or a dip. It completely ignores the height added by the thin-set mortar. The fix: Always dry-fit your tile and the transition strip together with the mortar bed before you make your final cuts.
- Cutting Too Short: An improperly measured strip leaves ugly, dirt-collecting gaps at the ends. The fix: Measure the opening at three different points—each end and the middle—and use the longest measurement for your cut. It’s always easier to shave a tiny bit more off than it is to start over with a new piece.
- Ignoring Expansion Gaps: Forcing a transition strip tight against flooring like wood or laminate is asking for trouble. Those materials need room to breathe. The fix: Follow the flooring manufacturer’s guidelines for the required expansion gap, and make sure your transition strip covers it without pinning the floor down.
Proper installation is crucial for maximizing both function and value. The tile trim market is forecasted to climb to USD 32.77 billion, partly because these components are essential for protecting flooring investments. In fact, architects in the U.S. specify metal trims for 40% of commercial projects specifically to prevent chipping in high-traffic zones.
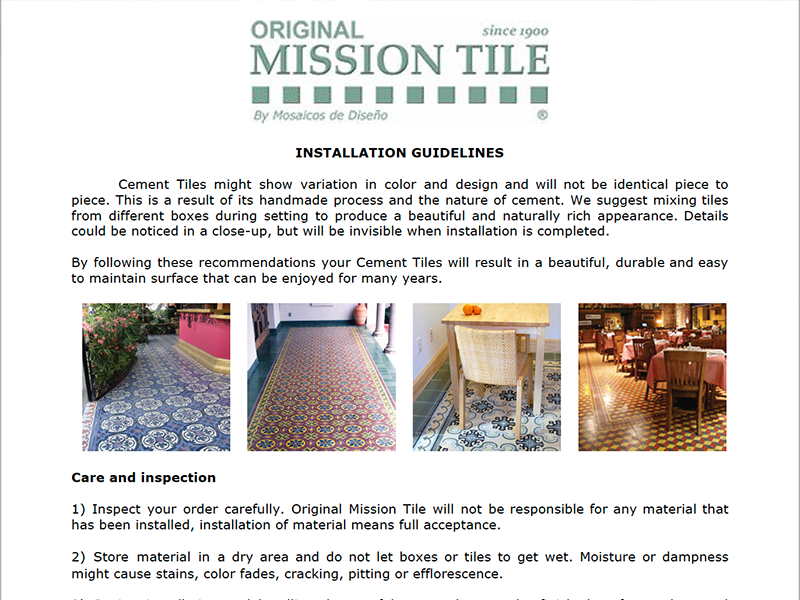
Ultimately, a successful installation comes down to careful planning. With handmade materials like our cement tiles, using the right setting materials is absolutely critical to the tile’s long-term health. You can find our detailed instructions in the official Original Mission Tile cement tiles installation guidelines. Taking the time to get these details right from the start ensures your transition strip will look great and perform flawlessly for years.
Your Tile Transition Questions, Answered
Even the best-laid plans can hit a snag when it comes to the finishing touches. A tile transition strip might seem like a small detail, but getting it right is the difference between a pro finish and a project that just feels… off. Here are the quick-fire answers to the most common questions we hear from designers, installers, and homeowners.
Think of this as your go-to guide for making smart decisions on the fly.
Do I Really Need a Transition Strip Between Tile and Another Floor?
Yes, almost without exception. A transition strip does two jobs you can’t skip. First, it’s the bodyguard for your tile’s edge. That unglazed, raw edge of a cement tile is vulnerable to chipping and cracking from foot traffic, rolling luggage, or a dropped pan. The strip armors it.
Second, it’s a safety feature. It creates a smooth, gentle ramp between two different flooring heights, preventing an abrupt lip that can be a serious trip hazard. This is non-negotiable, especially in homes with kids or older family members.
How Do I Choose the Right Color for My Transition Strip?
This all comes down to the story you want your design to tell. You can go one of two ways, and each has a totally different effect.
- To Blend In: Match the strip’s color and finish as closely as you can to either the tile or the other flooring. A wood-look transition next to your hardwood, for instance, makes the strip visually disappear, creating a clean, uninterrupted look.
- To Make a Statement: Choose a contrasting material that picks up on other finishes in the room. A matte black metal strip can act as a bold, modern frame for your tile. A warm brass trim can echo the hardware on your cabinets or light fixtures, tying the whole room together.
The right transition strip does more than just bridge a gap—it’s part of the design narrative. Think of it like a piece of jewelry for the room; it can either blend in quietly or be the standout accessory.
Can I Add a Transition Strip to an Existing Floor?
You can, but it’s much trickier than doing it during the initial installation. Retrofitting a strip means you’ll likely need to cut back some of the existing flooring to create a clean channel for the strip and its track.
This is a delicate operation, especially with tile that can easily chip when cut. For the cleanest look and the most secure fit, it is always best to plan for and install your transition strips at the same time as your flooring. It guarantees a perfect fit right from the start.
What’s the Best Way to Clean and Maintain My Transition Strip?
The cleaning method is all about the material. The golden rule is to start with the gentlest cleaner first and steer clear of harsh, abrasive powders or scrubbers that can scratch the finish.
- Metal Strips: A quick wipe with a damp cloth and a mild, pH-neutral cleaner is usually all you need. For materials like brass that can tarnish, a specialty metal polish will bring back the shine.
- Wood Strips: Treat them just like your hardwood floors. Use a cleaner made specifically for wood and don’t let water sit on the surface.
- Vinyl/Rubber Strips: These are the lowest maintenance of the bunch. Warm water with a little mild soap will take care of almost anything.
No matter the material, regularly sweeping or vacuuming around the transition will keep dirt and grit from building up. That grit is what causes tiny scratches over time, so a little routine care goes a long way.
At Original Mission Tile, we believe timeless design lives in the details. Our handmade cement tiles create a beautiful foundation, and the right transition strip is the perfect way to complete the look.
Explore our collection of artisan cement tiles to start your project.