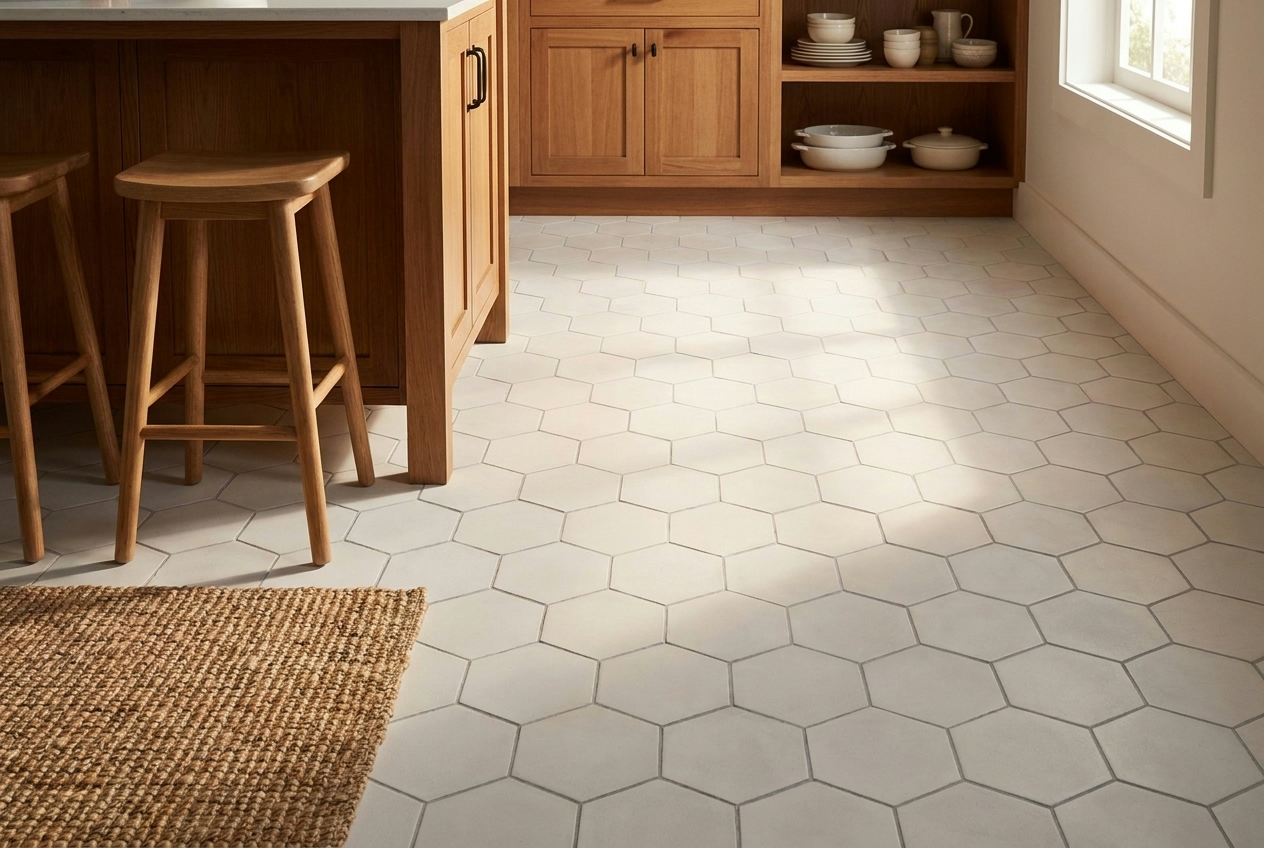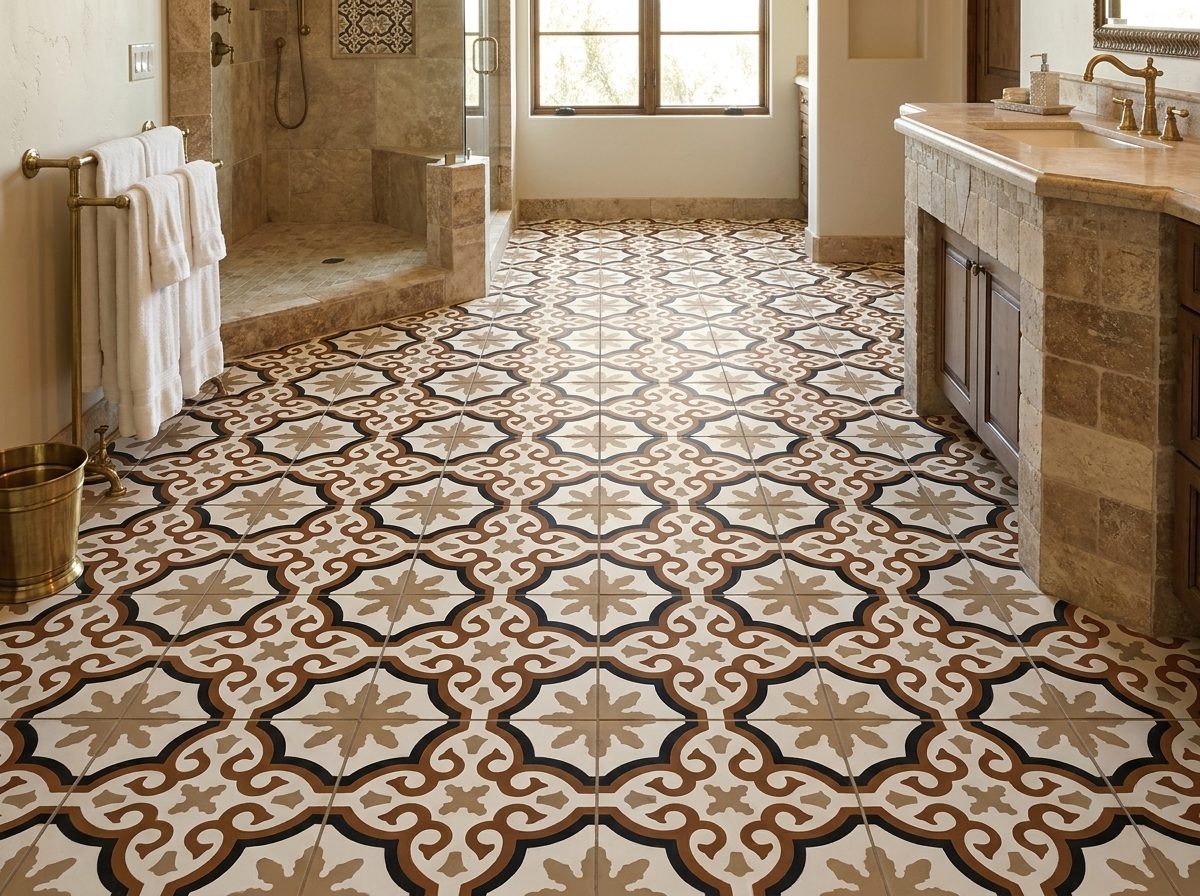
You're in the middle of a remodel, the tile is going in, and the carpet is already there, or maybe it's the other way around. The seam looks small on paper, but this is the spot where a room either feels finished or starts collecting complaints. A clean tile-to-carpet transition isn't a trim afterthought. It's the edge system that keeps carpet locked down, protects tile from chipping, and prevents a doorway from turning into a stumble point.
Why Tile to Carpet Transitions Matter More Than You Think
The first mistake people make is assuming the transition is just a cover strip. It isn't. In real installs, the transition is doing structural work at the edge of two very different floor assemblies, one rigid, one flexible, and that edge has to stay stable under traffic, cleaning, and seasonal movement.
When the seam is rushed, the failure usually shows up fast. Carpet can start fraying where the edge isn't held properly, tile corners can chip when the profile doesn't protect them, and a height change that looked harmless in the shop can become a trip hazard in the hallway. That's why the fit has to be deliberate, not improvised.

Practical rule: if the edge doesn't feel mechanically secure, it isn't finished, no matter how good it looks from standing height.
A proper transition also has to respect the subfloor relationship underneath. The strip needs to sit and bond correctly, and the surfaces need to meet with enough precision that the profile can sit flush between them. That matters anywhere tile and carpet meet, from a bedroom remodel to a hospitality corridor.
For a broader look at tile choices that may affect edge height and finish detail, see this tile material guide. The key point is simple, the cleaner the tile edge is planned, the cleaner the transition behaves later.
Planning Your Transition Materials, Measurements, and Methods
The first decision is the profile itself. A reducer, threshold, T-molding, or custom wood edge all solve slightly different problems, and the wrong one usually gets bought before anyone measures the actual height relationship. That's backwards. The transition has to match the floor build-up, not the other way around.
Measure the actual floor build-up
Don't measure from the finish surface alone and call it good. Carpet includes pile, pad, and the way it compresses under load, so the visible height is only part of the picture. Tile also changes the equation when thinset and underlayment are added, which is why the seam should be planned from the substrate up.
If you need a clean measurement workflow for the tile side, this tile measuring guide is a useful reference. In the field, I check the finished height relationship with a straightedge and a tape, then confirm how much the carpet can be stretched and tucked without creating a hump or hollow.
Match the profile to the gap
The table below is the practical way to think about it.
| Transition Type | Best For | Height Range | Installation Method |
|---|---|---|---|
| Reducer | A tile edge that needs a sloped approach into carpet | Small to moderate mismatch | Bonded or mechanically fastened, then carpet tucked to the edge |
| Threshold | Doorways and room openings where edge protection matters most | Moderate mismatch | Fastened to subfloor and aligned to both finishes |
| T-molding | Close-to-flush transitions where the surfaces are near even | Minimal difference | Anchored to the floor, with carpet secured to the receiving side |
| Custom wood edge | Rooms where finish match and trim style matter more than speed | Varies by build-up | Milled to height, then bonded or screwed based on substrate |
Decision point: if the surfaces aren't close to flush, don't force a flat-looking profile to solve a height problem. Use the right shape instead.
Cost matters too. Threshold materials are commonly priced in a broad range, and professional installation changes with complexity, so planning ahead keeps the job predictable. Savings come from choosing the correct profile before the tile is set, not from trying to hide a mismatch after the fact.
Installation Techniques for Common Scenarios
The cleanest installs start with layout, not hardware. When the seam is between new tile and existing carpet, a veteran installer's first move is to draw a straight transition line and set the tile to that line with the outer edge aligned to a straightedge. If the carpet is already there, the tile can be brought close to the carpet and finished with a bridge piece when needed, which keeps the seam from wandering or telegraphing movement.

Tile higher than carpet
This is the most common mismatch, and it's where reducer-style profiles earn their keep. The goal is to bring the visual edge down gently so the carpet doesn't end up shoved under a lip that's too abrupt. The profile should be bonded or fastened to the subfloor and aligned to both surfaces, not perched on top of them.
The carpet side needs a tight receiving edge. Industry installation guidance recommends placing the tack strip about 5 to 10 mm from the tile edge, then stretching the carpet with a knee kicker and tucking the edge under the transition strip. Another common guide puts the tack strip roughly 15 mm from the tile edge, about ¼ inch, before stretching and securing the carpet. The difference in those recommendations is why installers read the actual build-up before firing a nailer or spreading adhesive.
Carpet higher than tile
When the carpet is the higher surface, restraint matters. One installer recommendation is to keep the tile to within about 1 inch of the carpet and use a T-shaped wooden bridge strip with construction adhesive and overnight clamping or weighting to stabilize the seam while the bond cures. That keeps the tile edge from fighting the carpet edge during movement.
A transition that moves underfoot was never finished correctly in the first place.
Flush transitions
When the two surfaces land nearly even, the job gets simpler, but precision still matters. A flat metal profile or T-molding works well here because it bridges the seam without creating an awkward step. The strip still needs to be anchored properly, and the carpet has to be stretched to the edge rather than stuffed into place.
For a related material-use perspective in mixed flooring layouts, these wood-to-tile transition ideas show how trim logic changes when the finish materials change. The same principle applies here, the transition only works when the profile matches the floor relationship, not just the room style.
The working sequence is consistent, whatever the scenario. Mark the line, secure the transition base, stretch the carpet, and verify that the edge is locked down before you move on.
Common Mistakes That Ruin Tile to Carpet Transitions
The worst callbacks usually come from impatience, not bad materials. I've seen perfectly decent strips fail because someone nailed the tack strip into place when it should've stayed positionable, or used a general adhesive where the system called for a different bond method. Once the edge starts moving, everything else starts to unravel.

The errors that show up later
Too wide a gap leaves the carpet edge exposed, and too tight a gap can pinch the material so hard that the finish looks bunched. Ignoring height mismatch is just as bad, because a transition strip is not a magic ramp, it can only work inside the geometry it's given. If the tile and carpet are off, the right fix is a reducer, underlayment build-up, or a taller profile, not wishful thinking.
The cure time also gets ignored more than people admit. If a bridge strip or bonded profile is moved before it's set, the seam never really settles. You may not notice the shift on installation day, but you'll see it when the edge opens or the strip starts lifting under daily use.
What a proper finish looks like
A good transition feels deliberate underfoot. The edge is supported, the carpet stays anchored, and the tile isn't vulnerable to chipping where foot traffic lands first. That's the difference between a seam that disappears into the room and one that becomes a maintenance item.
Here are the signs I look for after the install:
- Loose carpet edge: If fibers can be pulled free at the seam, the tack or tuck detail failed.
- Visible rocking: If the strip shifts when stepped on, the fastening or adhesive bond is weak.
- Uneven reveal: If one side sits proud of the other, the profile was chosen without respect for the floor height.
- Frayed trim line: If the edge looks fuzzy within a short time, the carpet wasn't held tightly enough.
- Chipped tile corner: If the tile edge is exposed, the transition isn't protecting the hard surface.
The fix is usually straightforward, but only if you catch it early. Once the seam has been walked on for a while, what could've been a minor adjustment becomes a tear-out.
When to DIY and When to Call a Professional
A simple doorway transition can be a solid DIY project if the surfaces are nearly flush and the subfloor is easy to reach. If you can dry-fit the profile, keep the line straight, and stretch carpet cleanly with a knee kicker, the job is manageable. That's especially true in new construction or during a remodel where the floor layers are still accessible.
Once the seam gets more complicated, I'd bring in a pro. Height mismatches over 1/2 inch deserve a careful look, and stairs, existing carpet that can't be lifted, or irregular room geometry raise the risk fast. A contractor can also handle the sequencing when tile has to be set to an existing carpet line instead of the other way around.
For homeowners who like to tackle smaller jobs first, XTREME EDEALS INC. DIY project ideas can be useful for building confidence on less sensitive projects before moving into a floor transition that has to perform under load. The key is knowing where the line is between a neat weekend task and a detail that needs trade-level precision.
If the transition affects safety, edge protection, or a visible doorway, don't let price be the only filter.
When you ask for a quote, ask how the installer handles height mismatch, what profile they plan to use, and whether they'll bond or fasten the strip to the subfloor. A good contractor should be able to explain how they'll keep the edge flush and why that choice fits your exact flooring build-up. If the answer is vague, that's a warning sign.
Maintaining Your Transition for Long-Term Performance
A good transition doesn't ask for much, but it does need light care. Dirt collects at edges first, so vacuuming along the seam with a tool that won't beat the carpet edge is better than aggressive scrubbing. On the tile side, keep cleaning mild, because harsh products don't help the finish and can make adjacent materials look tired faster.
Watch the seam, not just the room
Humidity changes can shift how carpet behaves at the edge, especially where the pad compresses differently over time. If the seam starts to loosen, don't wait for a full failure. Re-stretching early is far easier than replacing a damaged edge, and it keeps the profile from doing all the work alone.
Inspection doesn't need to be elaborate. Check for lifting, gaps, or movement where the profile meets the floor, and look for early fraying where the carpet enters the transition. If a strip is worn, bent, or no longer sits tight, replace it before the damage spreads into the surrounding flooring.
Simple habits that keep the edge stable
- Vacuum carefully: Run the cleaner along the seam without abusing the carpet edge.
- Use mild cleaners: Keep harsh chemicals away from the transition materials.
- Look for movement: A loose strip or opening gap means the fastening has started to fail.
- Fix small issues early: Minor lift today is cheaper than edge repair later.
Furniture moves are another weak point. A heavy leg dragged across the seam can crush the profile or pull at the carpet edge, so protect the threshold when you shift bulky pieces. If the tile and carpet will ever be replaced on different timelines, plan the transition with that in mind so the edge system can be refreshed without forcing a full rebuild.
The best installations disappear into the room because they keep working without a sound. That only happens when the seam is built with the same care as the flooring itself.
If you're planning a tile-to-carpet detail and want it done right the first time, Original Mission Tile can help you think through the flooring choices that affect the edge, the finish, and the layout. Visit Original Mission Tile to explore materials, inspiration, and guidance that make mixed-floor transitions feel intentional instead of improvised.