Herringbone is the pattern people point to on Pinterest and then ask us, “can you actually do this in cement tile?” The answer is yes, but herringbone cement tile behaves differently than herringbone wood or porcelain planks. Cement tile is poured and pressed, not milled, so the shape and ratio of the tile change how the zigzag reads on your floor.
Get the size and layout right, and you get a floor that looks tailor-made for the room. Get it wrong, and the pattern looks squeezed or stretched out of proportion. This guide covers the sizes, layout options, and design decisions that make herringbone cement tile work. That way you can brief your installer with confidence before the first box opens.
What Makes Herringbone Different From Chevron
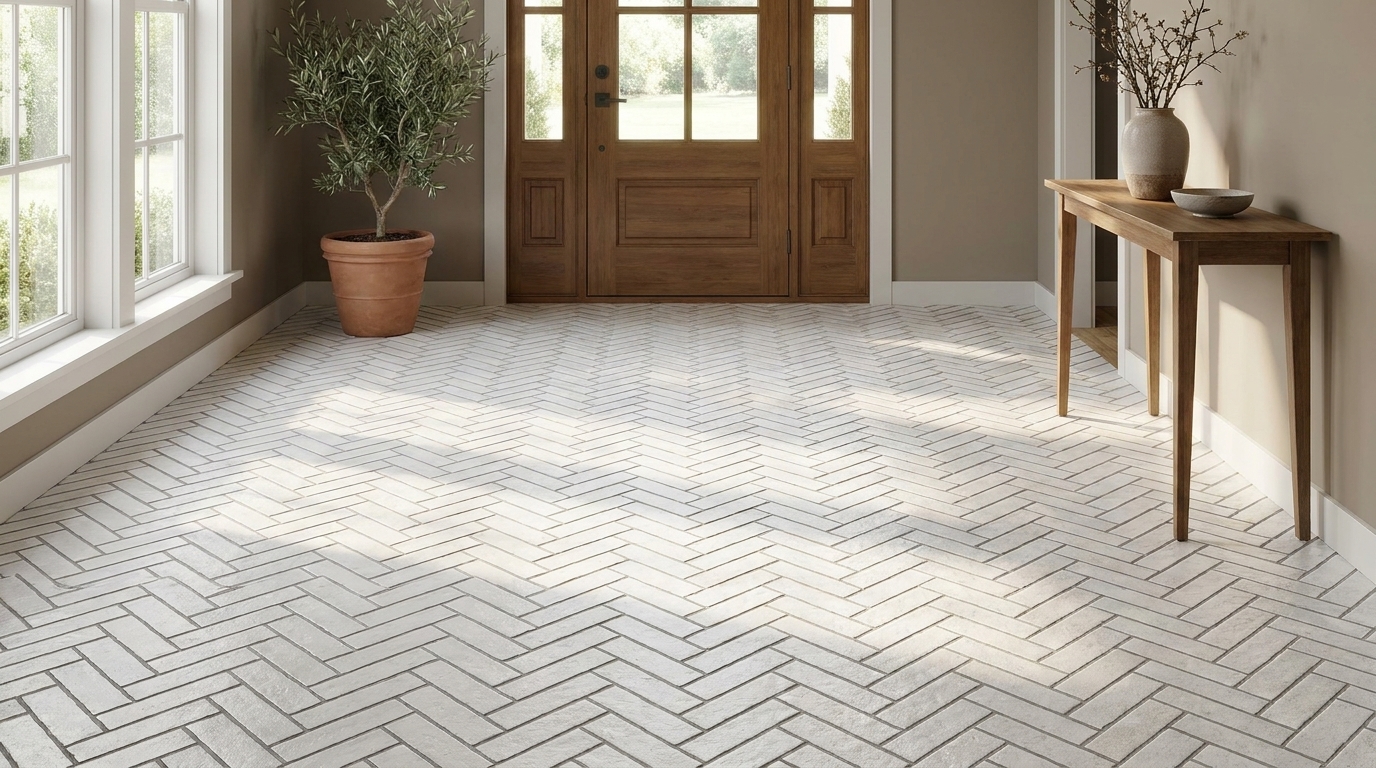
Herringbone and chevron get confused constantly, so let’s clear it up first. Herringbone uses rectangular tiles with square-cut ends, laid at 90 degrees to each other. The result is a broken, stair-step zigzag. Chevron, on the other hand, uses tiles with angled ends that meet in a continuous point, forming an unbroken “V.”
Cement tile almost always ships in square-cut shapes, which makes herringbone the natural fit. A true chevron needs factory-mitered ends, and that’s a specialty cut most cement tile makers don’t offer. If a chevron look is non-negotiable for your project, herringbone is the realistic alternative that still delivers serious movement underfoot.
Herringbone also has a quieter cousin called “basketweave,” but that pattern alternates pairs of tiles instead of single ones, so it reads more like a woven mat than a zigzag. If you want the classic diagonal energy, herringbone is the pattern to spec.
Choosing the Right Tile Size and Ratio
Herringbone depends on proportion. The tile needs to be roughly twice as long as it is wide, a 2:1 ratio. That ratio is what makes each tile’s long edge nest neatly against the short edge of its neighbor. Square tiles can’t do this on their own, which is why herringbone cement tile projects use brick-format pieces instead of standard 8×8 squares.
Our Brick S-902 Blanc 2×8 and Brick S-100 White 2×8 are both true 2:1 pieces, which is exactly what herringbone needs. For a darker palette, Brick S-101 Black 2×8 gives the same proportions with a moodier finish. Brick S-122 Sandstone 2×8 works well if you want warmth without going full terracotta.
Size also affects scale. A 2×8 tile herringbone reads as a classic, tight weave, similar to what you’d see in a prewar hallway. If you want a bolder, more contemporary statement, ask about a custom made larger format in the same ratio. Because custom made tiles are poured to order, we can scale the brick shape up while keeping the 2:1 ratio intact. Custom runs take roughly four to six weeks, so plan that lead time into your schedule.
Thickness matters here too. Cement tile runs noticeably thicker than porcelain, which is part of why it holds up for decades. That thickness doesn’t change the herringbone math, but it does mean your installer needs to plan transitions carefully wherever the herringbone field meets a thinner floor, such as a wood hallway next to a tiled kitchen.
One more option worth knowing: zellige-style cement tile. Our ZE-108 Brick Navy Zellige 2x8x3/8″ has the same brick dimensions but a slightly irregular, handmade edge. In herringbone, that irregularity softens the geometry so it feels organic instead of rigid, a look that’s especially popular in Mediterranean and transitional kitchens.
Before you commit to a size, order samples of two or three candidates and lay them on the actual floor. A 2×8 tile can look small in a photo but read very differently once it’s multiplied across a 200 square foot kitchen. Samples run $20 for the first piece and $10 for each additional one, with free shipping, so it’s an inexpensive way to confirm scale before you commit to a full order.
Herringbone Layout Variations to Consider

Standard herringbone, with tiles at a 45-degree run to the wall, is the most common layout. However, there are a few variations worth discussing with your designer before installation starts.
- Straight herringbone: Tiles run parallel to the walls instead of on the diagonal. This version feels calmer and works well in narrow hallways because it doesn’t fight the room’s existing lines.
- Diagonal (45-degree) herringbone: The classic version, angled across the room. It makes small spaces feel larger because the eye follows the zigzag toward the far corners.
- Double herringbone: Pairs of tiles are grouped together instead of single pieces, which creates a chunkier, more graphic weave. This works best with a larger-format custom tile, since a 2×8 doubled up can look busy in a small room.
- Framed herringbone: A contrasting border tile, often a solid color, outlines the herringbone field. This is a smart way to use a bold color like Brick S-101 Black as an edge without covering the whole floor in it.
Whichever variation you pick, decide on it before ordering. Changing layout mid-project after tiles arrive almost always means ordering more tile, because each layout wastes material differently at the edges.
Grout Lines, Color, and Why They Matter More Here
Herringbone has more linear grout joints per square foot than a straight-lay pattern, because every tile edge meets another tile at a 90-degree angle. That means grout color has an outsized effect on how crisp or soft the zigzag looks.
A grout that closely matches your tile color lets the herringbone shape blur into a texture rather than a hard graphic. A contrasting grout, for example dark grout with Brick S-100 White, sharpens every zigzag line and turns the floor into the room’s focal point. Neither is wrong. It depends on whether you want the floor to recede or to lead.
Grout joint width matters too. Herringbone typically looks best with a narrower joint, often 1/8 inch, because wide grout lines compete with the pattern’s own geometry. Talk to your installer about joint width before the layout is chalked on the subfloor, since it’s much harder to adjust once tiles are set.
Where Herringbone Cement Tile Works Best

Herringbone shines in rooms where you want the floor to do visual work without adding more color or ornament. A kitchen floor in a neutral herringbone, for instance, adds texture while still letting cabinetry and backsplash take center stage.
Entryways are another natural fit. Because herringbone draws the eye forward, a diagonal layout in a foyer makes a narrow entry feel longer and more generous. It also happens to be one of the most durable-looking patterns for a high-traffic zone, since scuffs and wear blend into the busy pattern instead of standing out.
Bathrooms, especially shower floors, benefit from herringbone’s smaller tile footprint. The 2×8 format gives better slope and drainage than large-format tile, because there are more grout lines to guide water toward the drain. For a bathroom with a vintage or Spanish Colonial sensibility, pairing herringbone with a patterned accent, such as a wall of tile in a complementary color, keeps the whole room cohesive.
Where herringbone struggles is in very small, chopped-up floor plans with lots of jogs and cutouts. The pattern needs a reasonably continuous field to read correctly. If your floor is broken up by islands, half-walls, or multiple thresholds, a simpler grid layout, as shown in our installation gallery, may photograph and wear better over time.
Planning for Material and Installation
Herringbone generates more cut tiles than a straight grid layout, because every row along the perimeter needs an angled piece. Budget extra material above our standard 15% overage recommendation. Many installers suggest 18-20% for herringbone specifically, especially in rooms with multiple corners or an irregular footprint.
Each box of 2×8 cement tile covers roughly the same square footage as our standard 8×8 boxes, so your installer can calculate quantity using the room’s square footage plus the higher waste percentage. If you’re unsure how many boxes to order, our team can run the math with you during a quote request.
Installation itself follows the same core steps as any cement tile project: a flat, cured substrate, unmodified thinset, and careful sealing before grout. However, herringbone adds one extra step, chalking a true 45-degree reference line before the first tile goes down. A layout that’s off by even a degree compounds visibly by the time you reach the far wall. Review our installation guidelines with your contractor so everyone starts from the same reference lines.
Once the floor is in, maintenance doesn’t change because of the pattern. Herringbone cement tile needs the same sealing and gentle cleaning as any cement tile floor. Our maintenance and cleaning guide covers the sealing schedule and the cleaners to avoid, since acidic products can etch the surface regardless of layout.
Frequently Asked Questions
Can any cement tile be laid in a herringbone pattern?
No. Herringbone needs a rectangular tile in roughly a 2:1 ratio, like a 2×8 or 4×8 format. Standard 8×8 squares can’t interlock the way herringbone requires, so you’ll need a brick-shaped tile from our in-stock collection or a custom run in that ratio.
Is herringbone more expensive to install than a straight layout?
The tile itself costs the same per box. However, labor usually runs higher because of the extra cuts and the precision needed to keep the zigzag straight. Expect your installer’s labor quote to reflect that added time, even though material pricing doesn’t change.
Does herringbone work with patterned cement tile, or only solid colors?
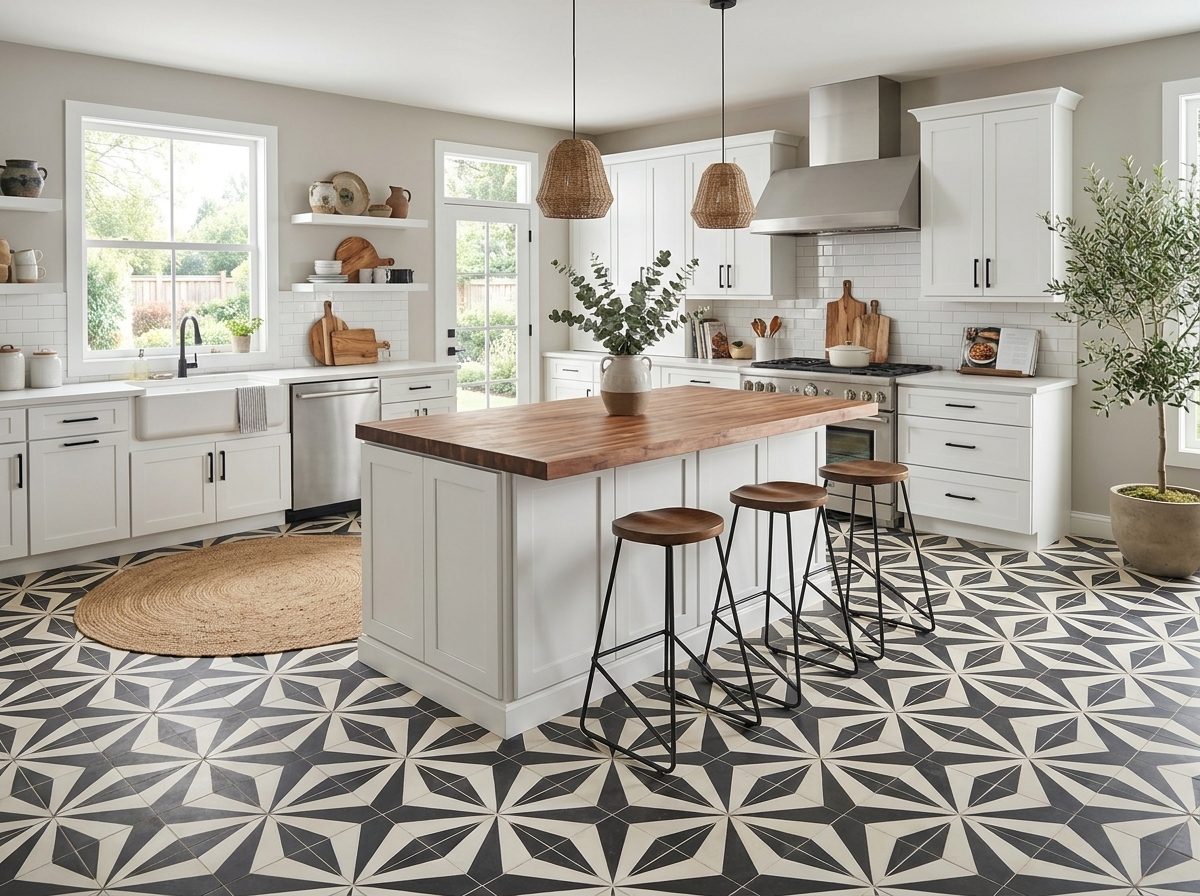
Herringbone is almost always laid with a solid or lightly textured tile, because the layout itself is the pattern. Adding a printed design on top of the zigzag usually looks busy and makes seams harder to read. Save patterned tiles, such as those in our color collections, for a straight-lay field or a border instead.
How many extra tiles should I order for a herringbone floor?
Plan for 18-20% over your square footage, higher than the standard 15% overage we recommend for straight layouts. The extra cushion covers the angled cuts along walls and thresholds, plus a few spares for future repairs.
See the tile in person before you commit
Photos only tell you half the story. Colors, texture and the handmade character of cement tile are best judged in your own light. Order a sample of any in-stock pattern for $20 (additional samples $10, free shipping) — or tell us about your project and we’ll help you narrow it down.
Browse in-stock cement tiles →
Talk to us about your project →