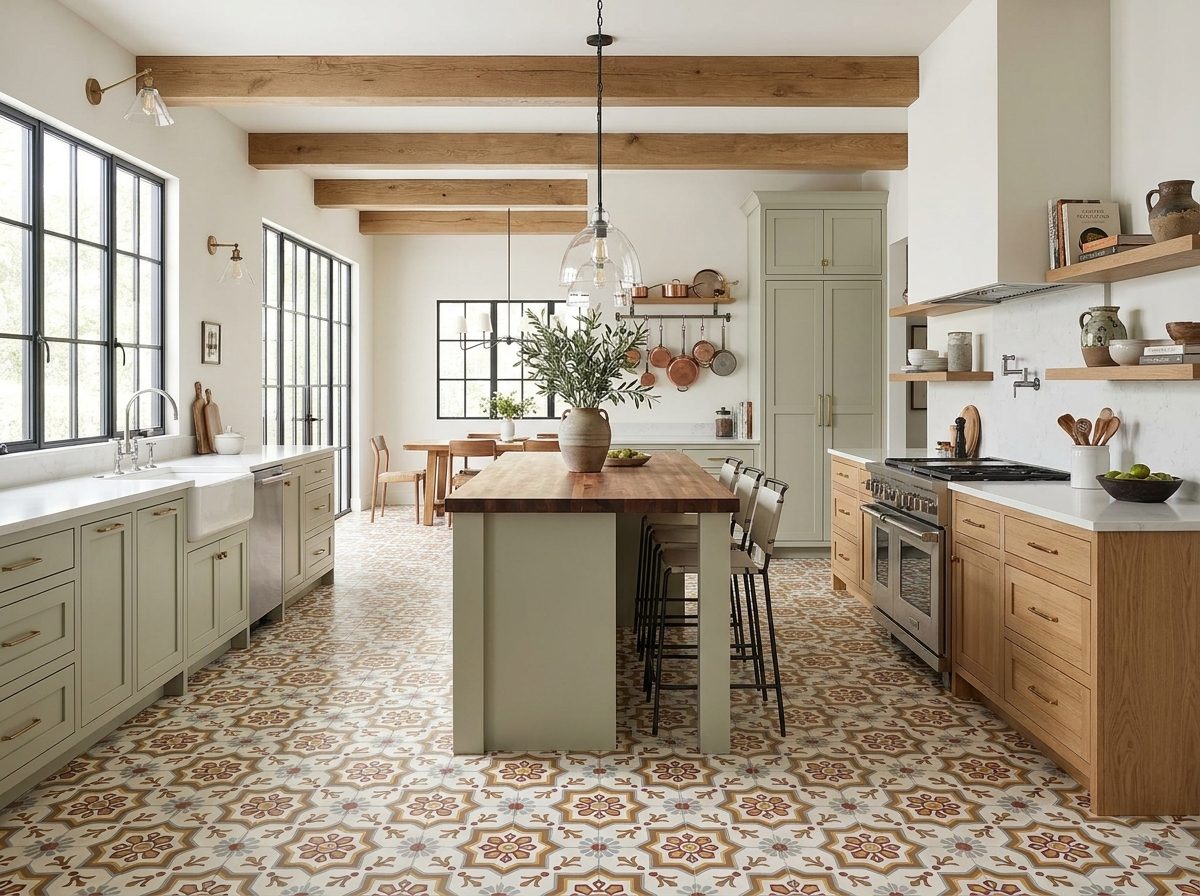
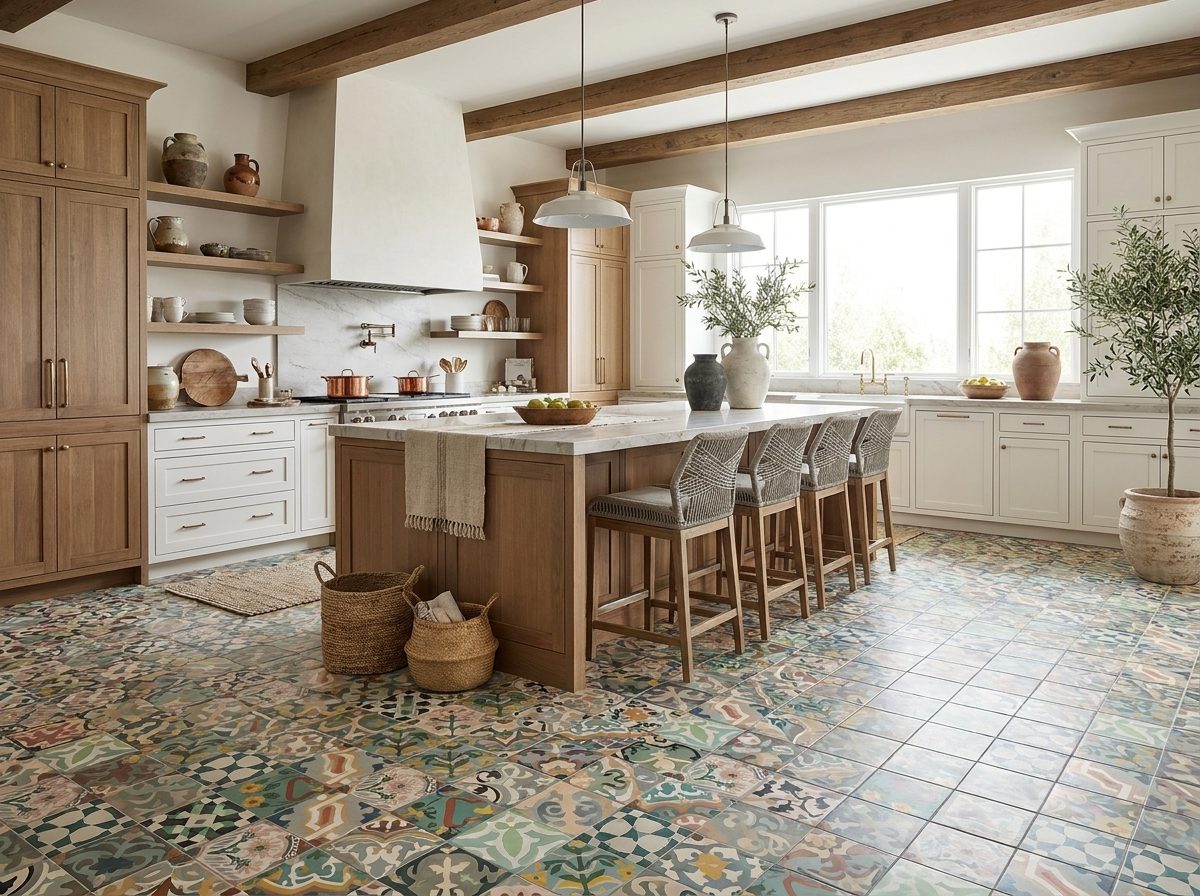
You can stand at your stove and feel the problem before you name it. The wall behind it catches every burst of grease, steam, and heat, yet it also happens to be the one surface guests see first when they walk into the kitchen. That's why a backsplash behind stove can't be treated like the rest of the backsplash run, it has to earn its place as both a protective assembly and a design focal point.
If you're comparing tile samples, checking hood heights, or wondering whether the wall should stop at the cabinet line or continue upward, you're already asking the right questions. A remodel team like Home Pro's Remodeling & Repairs kitchen work can help coordinate the wall finish with cabinetry, ventilation, and appliance placement, but the underlying decisions still come down to materials, clearances, and layout. Get those right, and the stove wall stops feeling like a compromise.
Why the Wall Behind the Stove Demands a Different Approach
The wall behind a stove lives in a harsher environment than the rest of the kitchen. A pot of pasta throws steam upward, a skillet sends grease into the air, and a simmering stockpot keeps the surface warm long after the burner is turned down. That's why the backsplash behind stove should be thought of as a working surface first and a decorative one second.

The stove wall is a micro-environment
At the counter sink zone, splashes are usually water-based and easy to wipe. Behind the range, the mess is different. It's hotter, stickier, and more likely to involve oils that cling to texture or porous surfaces. That's why installation guidance calls for heat-resistant, non-combustible materials in this zone, such as ceramic, porcelain, glass, or stone, and why a standard decorative wall finish doesn't belong here (Bob Vila's backsplash cost guide).
Think about a weeknight dinner sequence. Water boils over, salmon sears, and stock simmers. The same square footage handles all of it, and it gets cleaned more often than any other vertical surface in the room. In that sense, the stove wall is the kitchen's hardest-working patch of drywall.
Practical rule: if a material can't handle heat, grease, and repeated wiping without changing shape or color, it doesn't belong behind the burners.
The language helps, too. The splash zone is the area that catches airborne mess. The burner zone is the hottest part, directly adjacent to the flame or cooktop. Combustible clearance means the safe distance from heat sources to surfaces that can burn, and a full-height run means tile continues beyond the usual counter-to-cabinet band. Once those terms are clear, the rest of the decision tree becomes much easier to read.
Sizing the Splash Zone Correctly
A stove wall needs to be measured from the heat source outward, not just from the cabinet line down. A backsplash that looks balanced on paper can still fail if it stops before the area that catches grease and heat, because this zone is shaped by burner placement, hood height, and the way splatter travels. General kitchen guidance often puts the backsplash height behind a stove in the 30 to 36 inch range, which usually lines up with the counter-to-cabinet span in many rooms.

Width comes before decoration
The first measurement is the cooking surface itself. A backsplash behind stove should cover at least the full width of the range, and many layouts extend it to the cabinet edges so the finish feels deliberate instead of cut off in the middle of the wall. That extra width catches side splatter, which often lands just beyond the burners where people do not expect it.
Gas ranges need even more careful sizing. James Hardie's technical guidance says that when a gas burner is less than 200 mm from a combustible surface, the splashback must cover the full width of the cooking surface and extend at least 150 mm high, with adjacent horizontal combustible surfaces kept at least 10 mm below the hob or above the trivet (James Hardie technical supplement). That is a clearance rule, not a decorative suggestion. A range wall has to work like a safety assembly first, then as a finished surface.
Ventilation affects the sizing conversation too. Strong exhaust helps carry heat and grease away from the wall, which is why planning around hood performance and local restaurant ventilation requirements NZ can matter even in a home kitchen with a busy cooktop.
Hood line or ceiling line
The next decision is how high the tile should run. Some kitchens stop at the bottom of the hood, while others carry the backsplash all the way to the ceiling for a cleaner vertical field and easier wipe-downs around the stove area (MSK Design Build). Both approaches can work, but they create different visual weight. A hood-height stop reads lighter, while a full-height run gives the wall more presence and reduces the small ledges where grease tends to settle.
Tile selection also affects the final layout, and a good reference point is this guide to choosing kitchen backsplash tile from Original Mission Tile. The width, height, and tile module need to line up before the pattern is locked in, especially if the stove sits off-center or the surrounding cabinetry is uneven. Once those three lines are set, the backsplash can be drawn like a frame around the appliance instead of a patch placed after the fact.
Measure the stove first, then the hood, then the cabinet edges. Pattern comes after those three lines are settled.
Choosing a Material That Handles Heat and Grease
A stove wall has a different job from the rest of the backsplash. It sits closer to flame, catches more grease, and usually gets judged under the strongest light in the kitchen. That is why the material choice starts with performance, then moves to appearance. If the surface cannot handle heat, wipe-downs, and repeated use, the pattern will not matter for long.
Compare the usual options
| Stove-Zone Material Scorecard | Heat Tolerance | Porosity | Grease/Stain Resistance | Cleanability | Pattern Range |
|---|---|---|---|---|---|
| Ceramic tile | Strong, especially in glazed formats | Low to moderate depending on body and glaze | Good when sealed and glazed | Easy | Broad |
| Porcelain tile | Very strong, often the safest high-heat choice | Very low | Strong | Easy | Broad |
| Natural stone | Good, but depends on stone type | Often more porous | Moderate with sealing | Moderate | Moderate |
| Glass tile | Good for heat, but installation and finish details matter | Non-porous | Strong | Very easy | Limited compared with pattern-heavy options |
| Cement tile | Strong in the stove zone when properly sealed | More absorbent than porcelain | Good after sealing and maintenance | Good with care | Very broad |
Porcelain is the heat anchor in this group. A detailed Original Mission Tile's backsplash tile guidance is useful because it shows how surface type, finish, and layout all affect the final result before installation even begins. One independent installation guide also notes that porcelain is fired at roughly 2,200°F, which is why it is often treated as a highly heat-tolerant choice for cooking areas. That kind of body strength makes it a practical option when the stove wall needs to take repeated heat without extra worry.
Natural stone adds depth and warmth, but it usually asks for sealing and more upkeep. Glass is easy to wipe, yet it does not always give the same tactile range as patterned tile, and its look can feel very different once task lighting hits the wall.
Some materials should be ruled out near a gas flame. Untreated wood, wallpaper, standard laminate, and peel-and-stick vinyl do not belong in this zone because they are not built for burner heat or grease exposure. The wall behind the stove is not the place to test a finish that only works in low-contact areas.
Cement tile also belongs in the conversation because it behaves like a serious wall finish while still giving you room to shape the room visually. It pairs well with kitchen design choices that already have to balance heat, grease, and layout, and it makes even more sense when you have looked at restaurant ventilation requirements NZ. Good exhaust reduces the load on the wall, but it does not remove the need for a finish that can handle direct cooking conditions.
Design test: pick the material whose weakest trait still beats your messiest cooking habit.
Why Cement Tile Earns the Stove Zone
Cement tile makes sense behind a stove for a simple reason, it behaves like a serious wall finish and still gives you a designer's palette. The tile is crafted by layering cement, sand, marble dust, and natural mineral pigments through traditional hydraulic-press methods, without clay, glazing, or firing, which produces inlaid color and a silky matte surface well suited to the heat and light conditions near a cooktop. That composition gives the stove wall a more grounded feel than printed tile, especially under hood lighting.

What the material does well
Cement tile's color isn't just sitting on top of the surface. It's part of the tile body, so the look reads richer and more dimensional than a surface print. That matters behind a range hood, where directional light can flatten lesser materials and exaggerate shine. The matte finish also softens glare, which is especially helpful when the cooktop wall is one of the brightest visual zones in the room.
Cement tile also opens the door to formats and pattern families that feel custom-made rather than off-the-shelf. Classic squares, hexes, arabesques, fish-scale shapes, and star-and-cross layouts can all make sense in the stove zone when the composition is sized correctly. If you're working through a concept digitally, a 3D modeling for interior design workflow can help you preview how pattern rhythm, hood width, and cabinet lines interact before anything is cut.
The trade-offs are real
Cement tile is not maintenance-free. It should be sealed before grouting, sealed again after grouting, and then resealed over time, especially where cooking grease is constant. That's the main trade-off, and it's one that homeowners should understand before falling in love with a sample board.
A design studio approach also helps here. Original Mission Tile's custom work lets a designer shape a layout to the exact wall instead of forcing a stock motif into leftover strips, which is useful when the stove wall has an unusual width or an especially strong hood. That kind of alignment is where cement tile tends to shine most.
Pattern and Layout Strategies Behind the Stove
The stove wall is the one place where pattern can't just “continue.” It needs a composition. A good backsplash behind stove works like a frame around the range and hood, which means the layout should feel centered, balanced, and deliberate from the start. If the pattern is off by even a little, your eye finds the mistake every time you cook.
Three layout moves that work
Center the pattern on the range.
Start from the cooktop centerline, then mirror the layout outward. That keeps the hood and stove visually connected, which is especially important when the backsplash area is the room's focal wall.Use a clean termination at the hood.
If the tile stops below the ceiling, a border or cap rail can help the run end neatly at the hood underside. Without that edge, a full-height wall can feel unfinished, even if the tile itself is beautiful.Treat the stove wall as a feature panel.
This is the move for people who want the backsplash to feel like one complete composition rather than a strip behind a range. A feature panel can be a full-height field, a framed panel, or a pattern block that stops and starts with intention.
The wall tile patterns guide is useful if you're weighing herringbone, stacked, or more decorative layouts, but the stove wall asks for a different filter. Bigger tile often calms the field. Smaller pieces can work around outlets or switches, but too much fragmentation near the burners can make the wall feel busy.
Pattern behind a stove should support the appliance, not fight it.
Cement tile behaves especially well here because its color depth and matte finish read as part of the architecture, not just surface decoration. That lets the pattern carry visual weight without needing gloss or heavy contrast to do the work.
Sealing, Cleaning, and Long-Term Care
A beautiful stove backsplash only stays beautiful if the maintenance routine is realistic. Cement tile asks for more care than porcelain or glazed ceramic, but it doesn't ask for difficult care. The key is to seal it correctly, clean it gently, and keep grease from building into the finish. Once that habit is in place, the wall behind the stove becomes much easier to live with.
The sealing sequence matters
Cement tile should be pre-sealed before installation so grout haze doesn't stain the face of the tile. It should be sealed again after grouting, then resealed over time based on how much cooking happens in the kitchen. That's different from porcelain or glazed ceramic, which are much less demanding in everyday care.
The joint between countertop and backsplash needs attention too. Use mildew-resistant silicone at that transition instead of grout so the assembly can move slightly with heat and structural shifts. Grout at that line cracks more easily, and once it cracks, grease and moisture find their way in.
The cleaning rhythm
Daily cleanup doesn't need harsh chemicals. A pH-neutral cleaner is the safer choice for cement tile and natural stone because vinegar or bleach can etch the surface over time. After heavier cooking, dry the wall so oil doesn't sit long enough to bond with the sealer. If splatter lands near the burners, deal with it before it hardens.
That simple routine is the difference between a backsplash that ages gracefully and one that starts to look tired after a few cooking seasons. In a stove zone, gentle consistency beats aggressive scrubbing every time.
When to DIY, When to Hire a Pro
A backsplash project looks simple until the wall starts asking hard questions. Is the substrate flat? How many outlet cuts are involved? Does the pattern need to line up with the stove centerline? Those variables matter more than whether the material is technically “easy.” A sound drywall wall with a basic ceramic field is one thing. A full-height cement tile run with symmetry, border cuts, and a hood-focused composition is something else entirely.

Use scope, not ego, to decide
A careful homeowner can usually handle a straightforward subway layout on a stable wall, especially if the run stays at counter height and the cuts are simple. A pro installer becomes the smarter call when the backsplash runs full height, the tile is handmade, or the stove wall has to align with cabinets and a hood opening at the same time.
The installation guide at Original Mission Tile's wall tile install page is a good reference if you're comparing labor complexity across materials. It becomes even more relevant when the tile body has natural variation, because handmade pieces usually need more sorting, dry-laying, and patience.
If you're evaluating a custom design, the shape of the wall can drive the decision. Narrow widths, unusual hood profiles, or a pattern that must line up across the full cooking surface are all signs that fabrication and professional setting are worth the investment. The typical U.S. kitchen backsplash installation cost of about $1,000, with a common range of $600 to $1,300, is a useful reference point for scope, but the value is in the wall's visibility and daily use (Bob Vila's backsplash cost guide).
Rule of thumb: the more pattern, height, and cut work you add, the less the project behaves like a weekend DIY.
Putting It All Together for Your Kitchen
A backsplash behind stove works best when you treat it like a fire-clearance assembly first and a design surface second. Start with the dimensions and clearance, because the wall has to fit the cooking area before it can carry a pattern. Then choose a heat-tolerant material whose weak point still matches the way you cook, and only after that decide how the tile should read across the wall. A stove wall that carries heat, grease, and daily attention asks for a plan, not a last-minute decorative choice.
Before you buy anything, check four points. Width should match or exceed the cooking surface so the protected area does not feel pinched. Heat-rated thinset or mastic belongs in the burner zone, where the wall works hardest. Mildew-resistant silicone should finish the counter joint so the lower edge can handle moisture and cleanup. If you choose cement tile, seal it before grouting, seal it again after grouting, and keep up with a real maintenance routine so the finish keeps doing its job.
A stove wall also rewards careful pattern thinking. A centered field, a repeated motif, or a clean border can make the cooking zone read like a planned focal surface instead of a patch of protection. With cement tile, layout matters even more, because the handmade variation that gives the surface character can also make the eye notice sloppy alignment. Dry-lay the design, check how the joints meet the range and hood, and make sure the pattern does not fight the cabinets around it.
If the wall is simple, a confident homeowner can usually handle it. If the run goes full height, the tile is handmade, or the layout has to line up with cabinets and a hood opening at the same time, a pro installer is the safer choice. The labor cost for backsplash work often rises with height, cut complexity, and custom pattern work, which is why scope matters as much as material choice. That is especially true behind a stove, where the most visible part of the kitchen is also the one that gets used the hardest.
Skip these steps, and the wall is harder to clean, less durable, and more likely to look unfinished. Get them right, and the stove zone becomes the part of the kitchen that balances protection, upkeep, and design the best.
A CTA for Original Mission Tile. Explore in-stock cement tile, compare custom pattern options in the Design Studio, and request samples before you commit, so your backsplash behind stove is sized correctly, sealed properly, and composed to fit the exact wall you're building around.