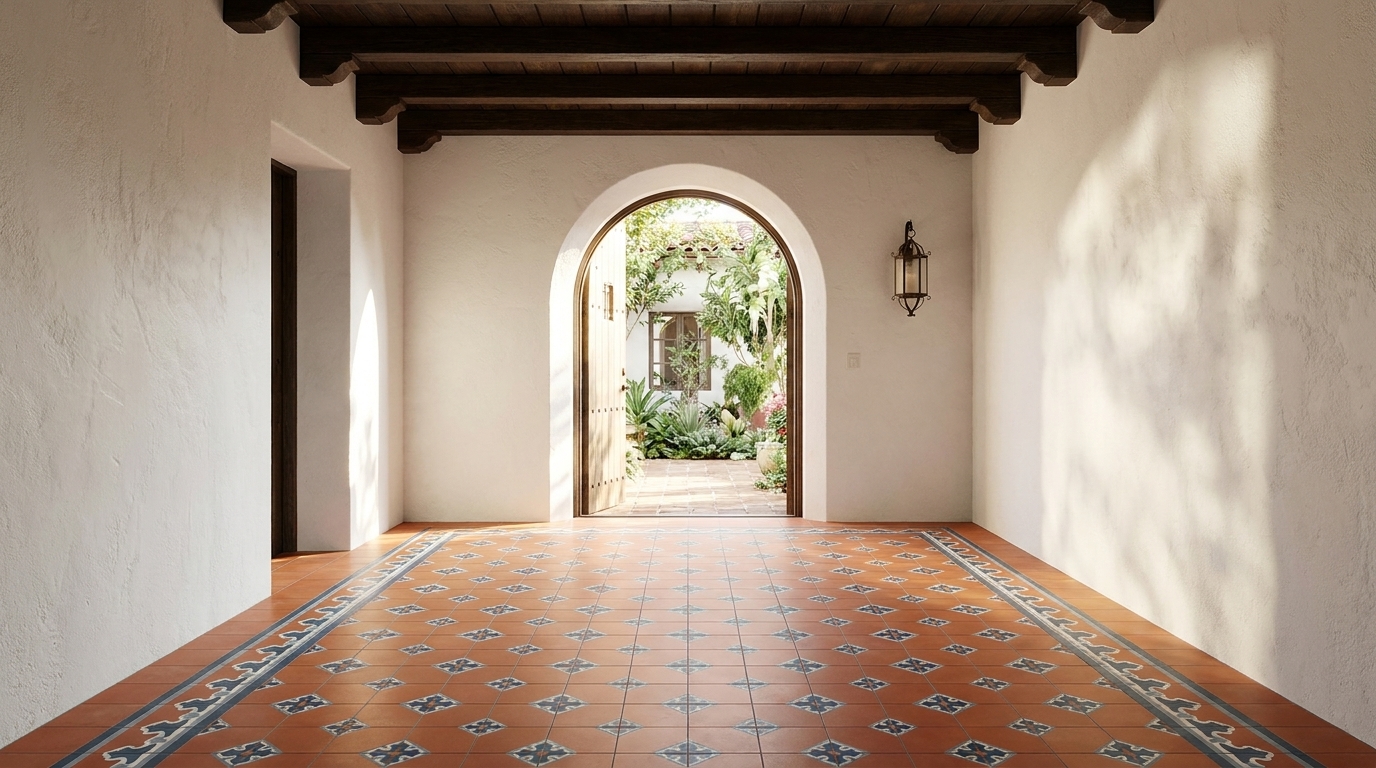
Restoring original cement tile floors in a historic home is equal parts detective work and careful hands-on labor. You are not just cleaning a floor. You are reading eighty or a hundred years of wax, wear and foot traffic to figure out what is still there underneath. Do it right and you keep a piece of the house’s original character. Do it wrong, with the wrong stripper or an aggressive sander, and you can grind away the very pattern you are trying to save.
This guide walks through the restoration process in the order a good contractor would actually tackle it: understanding what you have, assessing the damage, stripping old coatings safely, repairing or replacing broken tiles, resetting loose ones, and sealing the floor so it survives another century. We will also flag the mistakes that ruin more historic floors than age ever does.
Restoring Original Cement Tile Floors Starts With Knowing Your Material
Before you touch a scraper or a cleaner, figure out what material is on your floor. Many old homes have what people loosely call “encaustic” tile, but two very different products get that name. True encaustic tile is fired clay with the pattern inlaid before baking. Cement tile, the kind made by hand since 1900 at our factory in San Luis Potosí, is unfired. It is built from layers of pigmented cement poured into a mold and hydraulically pressed.
The difference matters because of thickness. A cement tile’s color lives in a pigment layer roughly 3 to 4 millimeters deep, sitting on top of a thicker structural backing. Sand that layer away during restoration and the pattern is gone for good. A clay encaustic tile’s inlay runs deeper, so it tolerates more aggressive refinishing. If you are not sure which you have, chip a small sample from a broken piece (you likely have a few) and look at the cross-section under good light.
Assess Before You Touch Anything: A Walkthrough Checklist
Start with a slow walk across the entire floor, in shoes with hard soles, listening for hollow spots. A hollow sound under a tile usually means the mortar bond has failed and the tile is no longer fully adhered. Mark those spots with painter’s tape so you do not forget them once the dust starts flying.
Next, check for these common conditions, because each one calls for a different fix:
- Cracked or chipped tiles: note how many and where, since a few in a low-traffic corner are easier to live with than cracks in a main walkway.
- Thick wax or coating buildup: look for a cloudy, yellowed film that dulls the pattern. This almost always needs full stripping.
- Efflorescence: a chalky white haze caused by mineral salts migrating to the surface, usually from moisture below the slab.
- Stains and etching: dark rings from furniture, or dull matte patches where something acidic once sat on the tile.
- Missing tiles: gaps where a tile cracked beyond repair and was removed years ago.
Photograph everything before you start. That record helps you plan the work and gives you a clear reference if you later order replacement tiles that need to match.
Stripping Decades of Wax and Sealer the Right Way
This is the step that damages the most historic floors, because homeowners reach for whatever is under the sink. Cement tile is alkaline by nature and reacts badly to acid. Vinegar, lemon juice and any “natural” acidic cleaner will etch the surface and dull the color permanently. Avoid them completely, even for a quick test spot.
Instead, use a pH-neutral or mildly alkaline commercial wax stripper made for natural stone and cement, and test it first in a closet or under a radiator where any damage will not show. Work in small sections, let the stripper dwell for the time the label recommends, then lift the softened wax with a plastic scraper held at a low angle. Never use steel wool or metal blades. They scratch the pigment layer and leave marks that no amount of polishing will remove.
For stubborn stains that stripping alone will not lift, a poultice, a paste of absorbent powder and cleaner left on the stain overnight, draws contaminants out of the porous cement instead of scrubbing them in deeper. This is the same approach restorers use on natural stone, and it works because it pulls rather than pushes the stain through the tile body.
Repairing Cracks, Chips and Missing Tiles

Small chips can be filled with a tinted epoxy putty, mixed to match the surrounding color as closely as you can, then smoothed level with the surface. It will not be invisible up close, but it stops the chip from catching dirt and growing worse. For hairline cracks that are stable (not shifting underfoot), a penetrating sealer applied after cleaning is often enough; you are not trying to erase a hundred years of history, just stabilize it.
For tiles that are cracked straight through or missing entirely, replacement is the honest fix. Sometimes a previous owner left a few spare tiles in the attic or garage, so check before you assume you need new ones. When no spares exist, the most accurate route is a custom made tile run, pressed to match your original pattern, colorway and size. Because custom tiles are made to order, expect roughly four to six weeks of lead time, which is worth planning for before the rest of the restoration begins.
If your pattern happens to be a classic that is still produced today, you may be able to source it from current in-stock designs instead of waiting on a custom run. Diamond and geometric patterns like Rombos Gris 02 and checkerboard-style florals like Merida Black 01 are close cousins of patterns found in many early-20th-century homes. Order a sample first and hold it against the original tile in daylight before committing, since cement tile color can shift subtly between production runs even when the pattern is identical.
Resetting Loose Tiles and Fixing the Subfloor
Those hollow spots you marked earlier need attention before you reseal anything on top of them. A tile that sounds hollow has usually debonded from its mortar bed, often because of moisture, settling, or decades of vibration from foot traffic. Walking on it long-term just grinds the loose tile against its neighbors and widens the gap.
Resetting a loose tile means lifting it carefully, cleaning out the old mortar, and re-bedding it with fresh thin-set, matched level to the surrounding field. This is delicate work; cement tile is brittle enough that a pry bar in the wrong spot cracks the tile you are trying to save. For more than a handful of loose tiles, bring in a flooring contractor experienced with historic tile rather than attempting a full re-set yourself. Our installation guidelines explain the mortar bed and setting approach we recommend, which is useful background even if a professional does the hands-on work.
Honing, Sealing and Protecting the Restored Floor

Once repairs are done and the surface is clean, resist the urge to sand or hone aggressively. Light honing with a fine diamond pad can even out minor lippage (uneven tile edges) and remove surface haze, but because the pigment layer is shallow, this should be a light touch, not a resurfacing. A professional who regularly works with cement tile will know how to stop well before reaching bare backing material.
After honing, let the floor dry fully, then apply a penetrating, breathable sealer formulated for cement or concrete tile. A penetrating sealer soaks into the pores and protects from within instead of forming a plastic-like film on top, which is important because cement tile needs to breathe moisture from below. Follow the sealer manufacturer’s reapplication schedule, typically every one to three years depending on traffic, and always check our maintenance and cleaning guide for the ongoing care routine that keeps a resealed floor looking right.
Living With a Restored Floor: Long-Term Care Habits
A restored floor rewards gentle, consistent care more than any single deep clean. Sweep or dust-mop often, because grit tracked in on shoes is the single biggest cause of surface wear over time. Use a pH-neutral cleaner for routine mopping, and skip ammonia, bleach and vinegar-based products entirely; they are hard on cement the same way they were hard on the original finish.
Place felt pads under furniture legs and use entry mats at exterior doors to catch grit before it reaches the tile. If you want advice on matching a pattern before committing to a restoration plan, reach out through our contact page.
How do I know if my floor is cement tile or ceramic encaustic tile?
Check a broken edge. Cement tile shows a visible, roughly 3 to 4 millimeter pigment layer over a thicker gray backing. Fired ceramic encaustic tile is a single, uniform clay body all the way through, with no distinct layered look.
Can I refinish a cement tile floor myself?
Light cleaning, stripping with the right pH-neutral products, and sealing are reasonable DIY projects for a patient homeowner. Honing, resetting loose tiles, and replacing broken ones are better left to a contractor experienced with cement tile, since mistakes there are hard to undo.
Will a sealer change the color of my original tiles?
A quality penetrating sealer should not noticeably alter color; it may slightly deepen or saturate tone the way water does on dry stone. Always test on an inconspicuous tile first, since sealers vary and some finish more “wet-look” than others.
What if I can’t find an exact match for a missing tile?
Custom made tiles can be pressed to match an original pattern and colorway closely, though cement tile color naturally varies a bit between batches even decades apart. Browse custom made tile designs to find the closest starting point, and order a sample before committing to a full custom run.
See the tile in person before you commit
Photos only tell you half the story. Colors, texture and the handmade character of cement tile are best judged in your own light. Order a sample of any in-stock pattern for $20 (additional samples $10, free shipping) — or tell us about your project and we’ll help you narrow it down.
Browse in-stock cement tiles →
Talk to us about your project →